
By booting macOS from a USB flash drive, users can repair the system as well as upgrade to the most recent version of the OS.
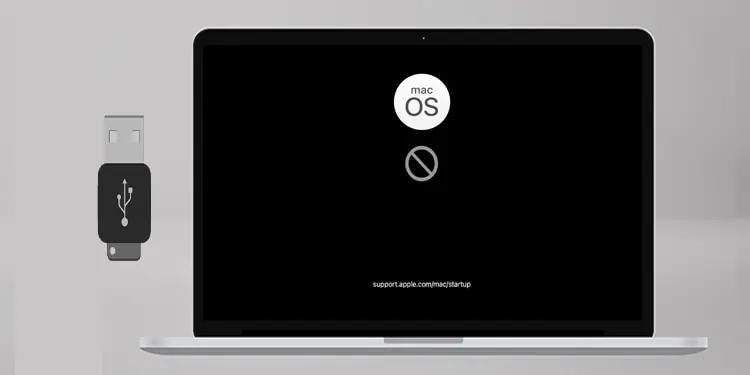
If you can’t boot macOS from a USB drive, the option might be disabled by default. This can also happen if the bootable media is not properly created or the USB drive has a problem. It is also probable that the bootable media’s Disk partition and file system are incompatible with the system.
In today’s article, We’ll go over how to deal with all of these different factors and get the Mac to boot from the USB.
How to Fix if Mac won’t Boot from USB
First, ensure the USB flash drive is properly connected and functional. You can connect a spare flash drive to check the USB port’s functionality. If you use the latest generation USB drives on an older Mac device, the system may not recognize them. So, use the appropriate USB drive in accordance with the support offered by the ports on your device.
Additionally, it is advised to make a bootable drive with a Mac OS version that is compatible with the Mac device you are using. For instance, if you have a Macbook from before 2015, you should use macOS Monterey rather than the newly released versions.
Format USB Drive
As a further precaution, make sure the USB drive you’re using is not formatted with the MBR partition type, which is typically the default one on a new USB. Follow these steps to format the USB flash drive with the specified file system.
- Connect the USB to the computer.
- Press Command + Space, type Disk Utility and open the application.

- Select the USB drive from the menu.
- Click on the Erase tab from the ribbon bar.
- Change the file system Format to Mac OS Extended (Journaled) and set the scheme to GUID partition Map.
- Finally, click on the Erase.


Note: This process will erase all the contents of the USB drive. Back up the data before attempting this process.
Creating the Bootable USB Drive
Users must follow the precise steps very carefully in order to create a bootable drive. If the procedure is interrupted or is not carried out correctly, the Bootable USB drive won’t function as intended.
Here is a detailed process for creating a bootable Mac OS (Ventura) USB drive.
- Connect the USB drive to your Mac Device.
- From the Finder, go to Applications > Utilities folder.
- Open the Terminal.
- Execute this command. Replace MyVolume with the name of the USB volume.
sudo /Applications/Install\ macOS\ Ventura.app/Contents/Resources/createinstallmedia --volume /Volumes/MyVolume - Enter the administrator password when asked.
- Type Y to confirm erasing the USB drive and then press return.
- Follow the on-screen prompts, and when the process is finished, close the terminal and eject the bootable USB drive.


Note: The USB flash drive must have a minimum storage capacity of 14 GB and be formatted with a GUID partition along with a Mac extended (journaled) format.
Allow Booting From USB
As a security feature, macOS disables the ability to boot from any external or removable media by default. Fortunately, you can enable this option from the Startup Security Utility. Here’s how to do it.
- Restart your Mac Device.
- When you see the Apple logo, Press Command + R for a few seconds.
- Select the User and enter the login credentials.
- Go to Utilities > Startup Security Utility from the Menu.
- Choose the option to Allow booting from external or removable media.
- Now, again restart the device.
- At the startup, immediately press the Options Key and hold it for a few seconds until you see the Startup Manager screen.
- Select the removable media and boot into Mac OS.


Use Internet Recovery
Older Mac devices running on OSX Snow leopard or prior do not have a recovery partition. And in case you are booting Mac using a USB flash drive for recovery purposes on such devices, and it does not work, internet recovery is the only option for you.
Also, this feature comes in handy for the newer mac devices that have the recovery partition damaged. This feature lets users install macOS from Apple servers.
Here’s how to use this on the Intel Based Mac.
- Restart your Mac device.
- As soon as the device boots up, press
- Command + Option + R to reinstall the compatible version of macOS.
- Command + Option + Shift + R to reinstall the already installed version of MacOS
For the newer Mac devices with M1, M1 Pro, M1 Max chipsets
- Shut down your Mac device.
- Press the power button and hold it for a few seconds. You will see a screen with the message “Loading startup options”.
- Select Options and click on the Continue Button.
- Follow the prompt, and you will enter Internet Recovery mode.

Reset NVRAM, PRAM, and SMC
Resetting NVRAM, PRAM, and SMC are the go-to solutions while troubleshooting common issues of Mac. Performing this solves most of the issues associated with the system configuration of Mac devices. This is one of the recommended fixes for the Mac that won’t boot.
The new generation Macs with Silicon chipsets perform this process automatically when the device restarts.
On older Macs, here’s how to reset the NVRAM or the PRAM.
- Shut down your device and press the power button for some time.
- Before you see the grey screens, press the Command + Option + P + R keys for a few seconds until you hear a beep sound.
- This resets most of the settings on your Mac device. Finally, try booting MacOS from the USB.

To reset the SMC for different Mac devices, you can follow this thorough guide from our Website.