
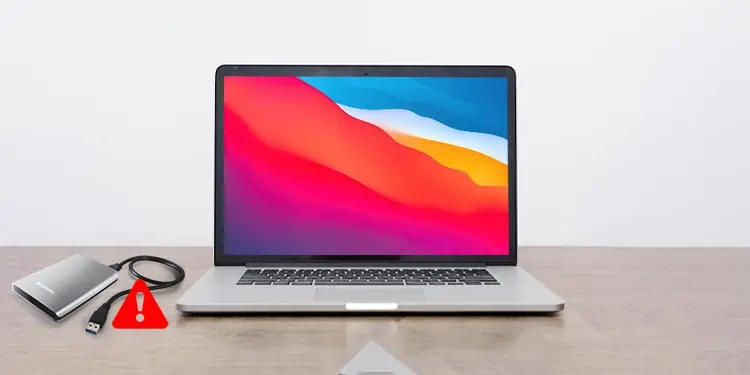
It goes without saying that you should connect your external hard drive to a computer to access any files inside it. But in the case of Mac, there are times when the hard drives do not mount on the system, leaving users with an unresponsive drive and inaccessible files.
Usually, when you plug in an external drive on a Mac, it automatically gets mounted to the system. But whenever it doesn’t, it’s usually because of unsuitable preference settings or corrupted SMC data.
Nevertheless, you can force mount the external drive by different methods, all of which are listed below.
Why is My External Hard Drive Not Getting Mounted?
- Hardware malfunction
- Unsuitable Preferences
- Disk drive issues
- Corrupted SMC data
- Unsuitable drive format
- Outdated OS
External Hard Drive Not Mounting Mac? Here’s How to Fix It
There are a few different steps you can take to troubleshoot your misbehaving external hard drive. We advise you to follow each of these steps from top to bottom until one of them fixes your problem.
Make Sure There Are No Hardware Malfunctions
The first thing you can do when your external disk is not mounting on a Mac is to make sure that there are no hardware malfunctions. These include a possibly damaged Mac port as well as damaged hard drive cables.
For this, you can try connecting the hard drive to another computer and see how it responds. You could further connect other external peripherals to that particular port on your Mac to make sure that there’s no problem with any hardware parts.
Restart and Reconnect
Restarting and reconnecting your external drive might be the only fix you’ll need. That’s because restarting your system starts a new user session, discarding any bugs/glitches that might have been present in the previous session.
Furthermore, we recommend you force quit the Finder as well. This will restart the file explorer and might help your system mount the hard drive. So, here’s the exact workflow you could follow:
- Unplug your external drive.
- Restart your computer.
- Open Finder.
- Hold Shift and click the Apple icon on the menu bar.
- Then, Force Quit Finder.

- Reconnect your external drive.

Check Your Finder Settings
A Mac’s Finder preferences usually go under the radar. Here, you can view and modify a ton of system accessibility settings, one of which is the option to enable external disks.
When you enable external disks, your system has the option to mount the disk automatically, and it will also allow you to access the drive directly from the desktop screen.
- Open Finder.
- On the menu bar, go to Finder > Preferences.
- Click on General.
- Enable External disks.
- Now, go to the Sidebar tab and enable External disks here as well.

Mount Your Drive Using Disk Utility
Disk Utility is an essential macOS tool to track, alter and improve your disk’s health. So this tool offers you the option to forcefully mount your external drive to your computer as well.
Disk Utility can be accessed from the Spotlight, and here’s how:
- Connect the drive.
- Press Command + Space to bring up the Spotlight.
- Type and go to Disk Utility.
- From the sidebar, select your external hard drive.
- Click on Mount.

First Aid Your External Drive
To discard any possibilities of internal hard disk issues, you can run a First Aid test. As the name suggests, the First Aid tool aims to restore your disk health by scanning for and fixing any issues that might be currently present on your external drive.
First Aid is also accessed via the Disk Utility tool, and here’s how you run this test:
- Connect the external drive.
- Press Command + Space to bring up the Spotlight.
- Type and go to Disk Utility.
- From the sidebar, select your external hard drive.
- Click on First Aid.
- Then, Run the First Aid.

Reset SMC
The SMC is responsible for making sure that all the hardware components on your Mac work to their full capacity. So, whenever your external disk shows unwanted issues, you can reset the SMC to fix the problem.
However, the exact way to reset the SMC on your system might differ depending on your system characteristics. So,
On Macs With T2 Chips
- Shut down.
- Unplug your external hard drive and the power cable.
- Hold left Control button + left Option button + right Shift key for 7-10 seconds.
- Now, without leaving the above buttons, hold Power for 10 seconds.
- Power on your computer.
- Replug the external drive.

For Macs With M1 Chips
- Shut down.
- Unplug your external hard drive and the power cable.
- If you’re using a Macbook, close its lid for 30 seconds. But, if you’re using an iMac, leave it turned off for 30 seconds.
- Power on your computer.
- Replug the external drive.
On Macs Without Any T2/M1 Chips
- Shut down.
- Unplug your external hard drive and the power cable.
- Hold left Control button + left Option button + left Shift key + power button for 10 seconds.
- Power on your computer.
- Replug the external drive.

On Macs With a Removable Battery
- Shut down your Mac.
- Unplug your external hard drive and the power cable.
- Remove the battery from the back panel.
- Hold Power for 5 seconds.
- Re-attach the battery.
- Power on your computer.
- Replug the external drive.

Erase Your External Drive
Erasing your external drive will delete every file and folder inside of it. However, doing so will clear your drive with a file format suitable for your Mac computer.
If you usually use multiple operating systems, you might have set the external drive to operate with a file system that doesn’t support the macOS. In this case, the only thing you can do is erase your entire drive and set the correct format for your drive to operate on.
Popular file systems, such as the NTFS file system and also the ext3, are not supported on a macOS. So, we recommend you set the file format to either APFS, exFAT, MS-DOS, or Mac OS Extended.
- Connect the drive.
- Press Command + Space to bring up the Spotlight.
- Type and go to Disk Utility.
- From the sidebar, select your external hard drive.
- Click on Erase.
- Set a Name to recognize your external hard drive.
- Choose a Format for your drive.
- Then, Erase the drive.

Update macOS
New OS updates are usually incorporated with compatibility patches and new security features. So, if you have a couple of Mac updates piled up, we recommend you install all those updates as soon as possible. Not only will it fix your external hard drive compatibility issues, but you’ll also notice that your computer starts to perform better overall.
- Open Finder.
- From the menu bar, go to Apple > About This Mac.
- Click on Software Update.
- Wait until the system scans for new OS installs.
- When it returns a list of updates, click Update Now to upgrade your system.
