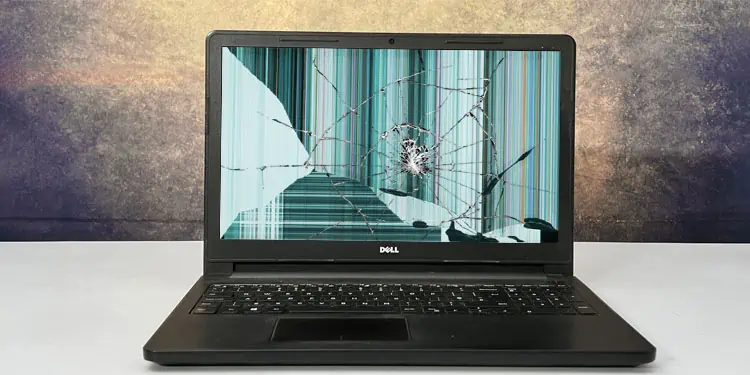
The display panel on your laptop can break easily due to any sort of physical damage. In such cases, you will see cracks, spots and patches, splotches of ink, etc., on the screen. The only way to resolve such issues is by replacing the screen panel.
If there are splotches or spots only at small areas or sides of the screen, you will still be able to view the contents of the screen so, you may not need to replace the panel. But if the damage is more severe, you have no other choice.
If your Dell laptop is covered by Accidental Damage support, an add-on to the warranty, you can have Dell replace the screen free of charge. Otherwise, you need to pay for the replacement services. Alternatively, you can also buy a new screen panel for your laptop model and replace it yourself if you have the proper tools.
Step 1: Remove Power to the Laptop
While you do not need to disconnect the power from the laptop before replacing the screen, it’s always recommended to do so. This way, your laptop won’t turn on by accident. If you leave the power as it is, some circuit components can also short and you may need to replace the whole motherboard in such scenarios. Removing the power is especially necessary if you are replacing a touch screen.
- First, make sure to unplug the AC charger.
- If the laptop has a removable battery, slide the latch to unlock it and then take it out.

- If the battery is internal, you need to open the laptop and disconnect the battery.
- Unscrew the back panel using a proper screwdriver. There may be additional screws under the stickers or the rubber feet, so check there as well. The screw size may vary depending on the location, so make sure that you can identify them later.
- Use a prying tool (optimally, pick-shaped ones) to unhook the panel from the locks on all sides. Then, take out the panel. Make absolutely sure not to touch any internal components with your hands. Doing so can damage these components due to electrostatic discharge.
- Use a spudger to disconnect the internal battery from the motherboard. The cable may be fastened with a lock that you must pull up first.
- Put the panel back in place but don’t screw or lock it. You need to reconnect the battery later.
- After that, press and hold the power button for 30-40 seconds to drain any residual charge from the capacitors in the laptop.


Step 2: Replace Screen Panel
Now comes the main part, opening the screen and replacing the panel.
- Use the pick or card-shaped prying tool to gently pry apart the screen bezel from the seams between the bezel and the screen.
- Repeat the process on all sides and then take out the bezel.
- Remove all the screws connecting the panel to the screen. If there are no screws, the panel should be attached to the screen using double-sided adhesive tapes. You can pull the tabs on the bottom to remove these adhesives.
- Then, lay down the screen on the keyboard carefully.
- In some models, a ribbon cable runs straight in the middle to connect to the webcam area. So, you will need to remove the cable or the webcam first. If the webcam is attached with double-sided tape, you can simply peel it out.
- Otherwise, unlock the clip on the ribbon cable connector by pulling it up, and then use the plastic tab to unplug the ribbon cable. Be careful as the cable is very delicate.
- After that, look for the display ribbon cable. You need to remove the cable in the same way. If it is taped to the panel, first remove the tape carefully such that you can stick it again on the new display panel.
- Put the panel aside and lay down the new panel on your laptop keyboard.
- Fully plug in the ribbon cable and then lock it using the clip.


Step 3: Reassemble Screen and Finish Up
After replacing the screen, you need to put everything back in place in a proper manner.
- If you removed the adhesive tapes earlier, you may need to use additional pull tab adhesives on the left and right portions of the screen to attach the panel.
- For screens with screw holes, you can simply align the panel carefully and then reinsert the screws. Use the aligning posts to align the panel.
- New display panels come with protective films which you need to peel off before reattaching the bezel.
- Also, we recommend checking if the new display works before attaching the bezel anyway as the locks on the screen or the bezel can break off easily. Reattach the battery and then power up the laptop to check the display. Make sure to look out for any artifacts on the screen as well.
- If it doesn’t power up or the laptop shows a POST error (usually 8 beeps), the display ribbon cable is not connected properly and you need to redo the connection.
- After making sure there’s no problem, properly reconnect the laptop’s panel in case you unscrewed it earlier. Press on all sides to lock the panel and connect all the screws in their proper place.
- Then, put the bezel back in place and lock it to the screen by pressing on all sides and corners. Ensure that no panel gap remains.


