
Apple’s AirPods add a great convenience factor to our daily lives given the fact that they’re wireless. But, the very same can also oppose a negative consequence as they often run into connectivity issues. Such issues usually mean that either the battery is dead only on one side or the earbud is clogged with debris. But luckily, there are tricks you can apply to fix one of your AirPods not working.
Basic Troubleshooting
Before going over the solutions below, try unpairing and then pairing your AirPods again. Although it may not sound as effective of a method, it can work if the AirPods not working is only because of a minor technical glitch.
Let’s start by unpairing your AirPods. First make sure they’re connected to your iPhone. Then, go to Settings > Bluetooth. Once you notice your AirPods, tap on the blue info icon next to it. Now, select Forget This Device. Again, tap on Forget Device to confirm. Next, reconnect your AirPods to your iPhone.
Charge Your AirPods
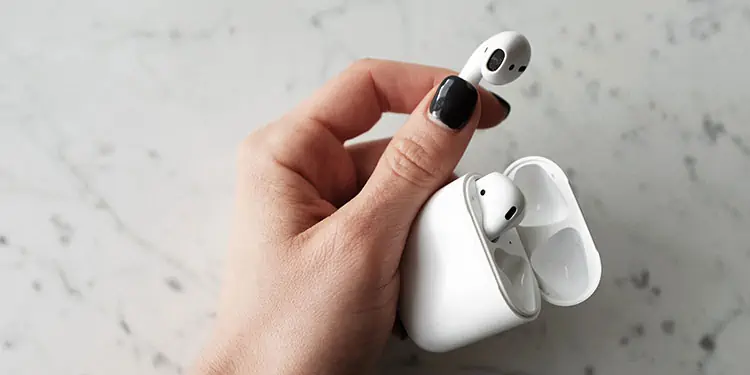
The first indicator of a completely dead AirPods is that it’s out of battery. Even though you use them together, each separate AirPod can have different levels of charge. This is especially true if you recently only had one AirPod in your ear and the other inside the case. Doing so will make one AirPod continue charging while the other consumes battery.
- Keep both AirPods inside the case to charge. Even just five minutes can give both your AirPods enough charge.
 1")
- Your AirPods won’t charge if the case is out of battery. To charge it, any lightning cable or a wireless charging pad that’s Qi-enabled will work. You can still place the AirPods inside the case so that they can charge together.
- If you see a red light inside the case, it signifies that it’s charging. Or, open the case with your iPhone unlocked and it’ll show you its charging animation.
 1")
Clean Your AirPods
If it’s been a long time since you started using AirPods, you might not have noticed the accumulated dirt inside it. With frequent usage, the AirPods can slowly collect earwax or other dirt particles which can clog the speakers and give you a muffled sound. If there is even more debris, your AirPod can stop playing any sound at all.
It’s important to keep your AirPods clean and thankfully, you can do it at home. All you need is a lint-free microfiber cloth, a cotton swab, and 70% Isopropyl alcohol.
- First, clean the excess dirt particles with just a dry cotton swab.
- To get the earwax or dirt out of the earbud parts, use a soft-bristled brush or a toothpick to get into the corners precisely.
- Clean the exterior parts or the case with the Isopropyl alcohol wipes.
 2")
If you want a complete and comprehensive guide on properly cleaning all AirPods models, you can check out our other article. If you want to professionally clean your AirPods, you can also visit any nearby Apple Store.
Check Volume Levels
Even if both the AirPods play sound together, there’s a setting on your iPhone that allows you to adjust the volume on either AirPod separately. There’s a chance someone might’ve changed the setting. You can check it by following this method.
- Go to Settings and then open Accessibility.
- Navigate to Audio/Visual.
- Below the Balance option, adjust the volume for the left and the right AirPod.
- You can also turn on the Mono Audio option to make sure that both sides are playing the same content.
 3")
 4")
If you’re using AirPods with an Android phone, you can’t manually change the volume levels on either side of the AirPods.
Check Water Inside AirPod
Besides dirt particles, there might be water drops inside the earbuds. If this is the case, one AirPod may not temporarily play any sound. To dry your AirPods, you can take a microfiber cloth and then wipe the AirPod. You can also use a fan to help dry the AirPods. But, make sure not to make the fan face towards the front of the earbuds which can push the water further inside.
If you want a detailed guide on how to withdraw water from your AirPods, you can check out our other content.
Turn On Automatic Ear Detection
Your AirPods play when they detect that they’re in your ear. If there are issues with the sensors on your AirPods, it might be because the Automatic Ear Detection feature is turned off on your iPhone.
- Pair AirPods with your iPhone.
- Then, go to Settings and then Bluetooth.
- Tap on the info icon beside your AirPods.
- Scroll down and then toggle the switch to turn on the Automatic Ear Detection option.
 5")
Reset Network Settings
Since AirPods rely on connections with Bluetooth, they are sensitive to any connectivity errors. You can fix such issues by resetting your network settings. Doing so clears all information regarding your current networks, like Wi-Fi, Bluetooth, Cellular Data, custom DNS server settings, and more. Although you’ll need to eventually re-enter the credentials, it solves most network-related problems.
- Open Settings and then go to General.
- Scroll down and select Transfer or Reset iPhone. If your iPhone is iOS 14 or older, directly go to Reset and then Reset Network Settings.
- Tap on Reset > Reset Network Settings.
- Enter your passcode.
 6")
 7")
Reset AirPods
Hard resetting your AirPods can help troubleshoot any network or connectivity-related issues with your phone. Regardless of the model of your AirPods, the steps to reset them are identical. First, we’ll need to disconnect the device and then pair them again.
- Go to Settings > your AirPods name.
- Scroll down to the bottom of the screen and then select Forget This Device.
- Then, ensure that the AirPods are properly inside the case. Then, close the case.
- Wait for around 30 seconds.
- Open your AirPods case.
- Press and hold down the Setup button on the back of your case for around 15 seconds.
- Keep pressing the Setup button until there’s an amber-to-white status light.
- Now, reconnect AirPods with your iPhone.
 8")
If none of the solutions are working for you, there are chances that one AirPod is permanently damaged due to shocks or hardware failure. To diagnose and fix the problem for your AirPods professionally, the optimal solution is to contact Apple Support