
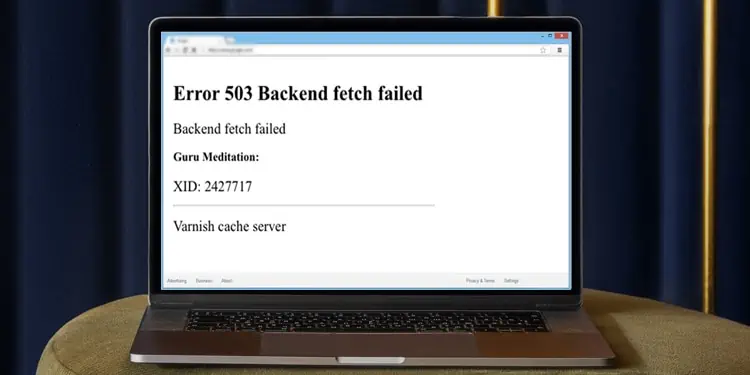
Error 503 Backend Fetch Failed is displayed when the HTTP cache fails to fetch the requested data from the webserver.
There could be numerous reasons why it was unable to retrieve the data; the server could be down or unavailable, the connection could’ve closed before the cache server was done reading the response, the backend code or plugins could be at fault, and so on.
Regardless, we’ve listed what you can do both as a user and as the webmaster to fix Backend Fetch Failed Error 503 below.
What causes Error 503 Backend Fetch Failed?
On the client-end, heavy packet loss can cause requests to pile up which can also lead to this error in rare cases.
Of course, sometimes the server might just be unable to handle the request because it is down for maintenance, but that’s only a temporary issue that doesn’t need solving.
What Can You Do as a User / Visitor?
As a user, there’s really not a lot you can do since this error occurs due to server-side issues. Nonetheless, here are some general troubleshooting steps you can take to make sure everything is good on your end:
- Press F5 or the refresh button and refresh the page multiple times.
- Ensure there isn’t too much packet loss with a ping test. If there is, move closer for a stronger connection or use an Ethernet cable.

- Reboot your device and router.
- If the browser has a lot of tabs open, close some of them and try loading the website now.
- Reset your browser configurations to default. Alternatively, try using a different browser entirely.
- Change your DNS and reset your network settings.

If you’ve taken all possible steps from your end, the only thing you can do now is wait. Since this error is often caused due to server overload, the site should work again as soon as the traffic settles down.
Generally, we’d recommend trying to visit the website outside of peak hours, but if you need to access the site urgently, you could contact the site administrator and notify them of the issue.
How to Fix Backend Fetch Failed Error 503 as a Website Owner?
If you installed any new Word Press plugins recently that you suspect may have caused this error, you should first disable/uninstall them.
Even older plugins that were working fine have malfunctioned and caused this error in the past. Fortunately, in cases like this, they get patched very quickly, so you needn’t worry about not having a certain plugin for long.
If deactivating the plugin helped, great! If not, check the solutions below.
Purging the cache will temporarily increase requests to your origin server. If the Backend Fetch Failed error was caused due to server overload (too many requests) in the first place, this will only add to the problem.
So, purging the cache can be helpful but only do it if you’re sure that the issue wasn’t caused by a traffic spike in the first place. Otherwise, your origin server might take even longer than necessary to resolve all the lined-up requests.
Check Varnish Plugin
If your website uses Varnish cache, you should first determine if the issue is with Varnish or your web server. You can do this by turning off Varnish and trying to fetch without it. Here are the steps to do so:
- Log in to your site’s cPanel.
- Under the Web Accelerator section, select Manage Varnish > Disable Varnish.
- Press Confirm Action to disable it.
- Check if your website loads properly now.

If the site is working now, something is wrong with Varnish. You can re-enable it once to check if restarting fixes the issue. If it doesn’t, you can find out what exactly is wrong by checking the log file which you can create with the steps listed below:
To log entries where varnish response or backend response status is 503, use the following command:$ varnishlog -q 'RespStatus == 503' -g request
To log all entries >=500, use the following command instead:varnishlog -a -w /var/log/varnish/varnish50x.log -q "RespStatus >= 500 or BerespStatus >= 500"
Modify Cache Tag Length
The default length of cache tags in Varnish is 8192 bytes. Exceeding this can cause the HTTP 503 Backend Fetch Failed error.
You can resolve this issue by increasing the value of the http_resp_hdr_len parameter in your Varnish configuration file.

The Adobe Commerce support site has an excellent article on how to do exactly this.
Modify Varnish and NGINX Configuration Files
The steps listed are for Varnish but the same can apply for NGINX as well. Here are the steps to modify the configuration files:
- Locate and open the file from
/etc/varnish/default.vcl. - Find the line
.url = "/pub/health_check.php";and remove /pub as such:
.url = "/health_check.php"; - Or vice versa. If there’s no /pub, try adding it.
- Next, navigate to the Magento 2 root folder and open the
ginx.conf.samplefile. - Find the following line:
location ~ (index|get|static|report|404|503)\.php$ { - Edit it by adding health_check as such:
location ~ (index|get|static|report|404|503|health_check)\.php$ { - Save the changes and restart Varnish.

User-Reported Fixes
A user on Stack Exchange reported that another website on the server was causing this issue, which affected his site as well. So if you’re currently hosted on a shared server, this might be something to consider.
One user said the issue was caused by a plugin of the hoster. Once the faulty plugin was disabled, the Backend Fetch Failed error was resolved.
Another user reported that the maintenance.flag file generated by Magento was causing the issue for them. This issue can be fixed by logging into your cPanel and renaming or deleting the maintenance.flag file from the Magento root directory.
Contact Hosting Provider for Support
If you’re still facing the Backend Fetch Failed error, we recommend contacting your hosting provider and asking for support. The error log files created using the steps above may help the support team determine the root of the issue and apply the necessary solutions swiftly.