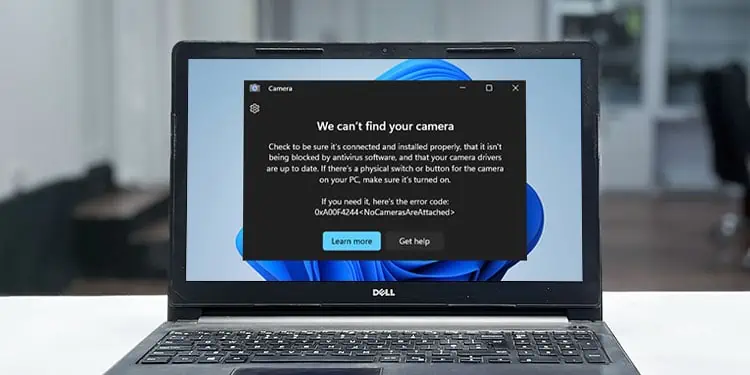
If the camera or webcam on your Dell laptop is not working, you’ll usually see some error message or a black screen on the camera window depending on the application. This issue usually happens due to improper permission or camera settings and driver issues. But it can be a hardware issue as well.
First, figure out if the camera does not work on all applications or only some. If only the Camera app is not working, you can go to its settings and then repair or reset it. But if no applications can use the camera, you need to check and manage a few processes.
Check the Camera Shutter/Slider
Some Dell laptops have a shutter on the camera for privacy reasons. You need to slide it to the left to expose the camera.

Some models also contain a button on a Function key (usually F8 or F9) to enable/disable the camera. In such cases, you should be able to see a camera icon on this key.
Try pressing this key or Fn + this key and see if the camera works now. You might also see an icon that tells whether the camera is on or off on the screen.
Enable Camera Access
Your computer contains privacy options that restrict usage to trackable components like a Camera or Microphone. So, you may need to go to such privacy settings and enable access before being able to use the camera.
- Press Win + I to open Windows Settings.
- Go to Privacy & security > Camera or Privacy > Camera.
- Enable Camera access, Let apps access your camera, and all the necessary apps.

- On Windows 10, you need to select on Change and toggle on Camera access for this device. Then, enable the switches next to Allow apps to access your camera as well as each required application.


Check the Camera in BIOS
You should also check if the camera is disabled in your BIOS. In such cases, your system won’t even try to detect and use the camera device.
- Restart your laptop. As soon as the Dell logo appears, press the BIOS key (usually F2) to get to BIOS. You may need to press this key repeatedly to get the proper timing.
- Go to System Configuration > Miscellaneous Devices.
- Tick Enable Camera and click Apply.
- Click on Exit to get out of the BIOS/UEFI setup.

Check Camera Status
The next thing you should do is go to the Device Manager and check the camera driver or device to determine why it is not working. Depending on the icon you see on the camera, you should be able to determine the potential causes.
- Press the Windows key + R to launch Run.
- Type
devmgmt.mscand click OK. It will run the Device Manager. - Expand the category Cameras or Imaging Devices.
- Check the icon on your camera device.
- If it shows a black arrow icon pointed down, the device is off. Right-click on the camera and pick Enable device to enable it.
- If it shows an error sign (yellow exclamation mark), it indicates a device or drive issue. Double-click on the device to open its Properties and see the error message corresponding to the error’s nature. You usually need to update or reinstall the drive to resolve the errors.
- If you can’t find a camera device, check under Sound, video, and game controllers. If it’s not there, right-click your computer name (the first name on the device manager) and select Scan for hardware changes.
If the camera is still missing, it shows that the laptop has not detected any camera. So, either there are some connection issues or the camera device is damaged. - Some devices that the system hasn’t detected properly can come under Other devices. So, check this category and look for the error code here as well.
- If it does not show any error, it is likely blocked by an antivirus app for privacy or because it detected some malware.
- If it shows a black arrow icon pointed down, the device is off. Right-click on the camera and pick Enable device to enable it.


Update/Reinstall Camera Driver
If the camera device shows some errors, there might be some problems with the current driver. Also, even if the camera icon on the Device Manager does not show any error, we still recommend troubleshooting for driver errors as Windows may not always be able to detect the exact condition of the camera.
First, try updating the driver.
- Go to the Device Manager and get to your camera device.
- Right-click the device and select Update driver.
- Click on Search automatically for drivers.

If your system already contains the latest version of the driver, you should uninstall and then reinstall it to take care of any bugs within.
- Go to the Device Manager and get to your camera.
- Right-click the camera and choose Uninstall device.
- Tick the option in the window and click Uninstall.
- After that, right-click on the computer name and then Scan for hardware changes to automatically detect the camera and reinstall its driver.

Close Other Apps Using the Camera
If an application is already using the camera, it will prevent all other processes from using this resource. So, you should also check if any such apps are open on your system and close them appropriately. You can use the built-in program, Task Manager for this purpose.
- Open the Task Manager by pressing Ctrl + Shift + Esc hotkey.
- If you can’t see many tabs, select More details.
- Go to the Processes tab.
- Search the applications that can use the camera under Apps or Background processes.
- If you find such an app, select it and click End Task.

After looking through all the processes, try opening the app where you need the camera and see if it works now.
Check Antivirus App
Some third-party antivirus apps also include a separate option to disable access to the camera as a privacy setting. You need to go to the app’s settings and change this option in such cases. If you are unable to find the option, we recommend searching official sources to find where it is.

Scan for Malware
It is also possible that your current camera driver is infected with some malware. Or the app’s file that helps access the camera is suffering from this issue. In such cases, your antivirus program will restrict running such software components.
You need to scan and remove such threats from your system. To do so from the built-in Windows Security or Defender,
- Open Settings and select Privacy & security > Windows Security.
- Go to Virus & threat protection and then Scan options.
- Tick Full scan. Then, click Scan now.

Repair or Reset the Camera App
This solution is only applicable to the scenario where the Camera app on Windows doesn’t work and shows some error messages. If all other apps can use the camera or webcam, the issue is with the Camera app itself. You need to repair or reset the app in this case.
- Press the Windows key + S to pop up search bar.
- Type
Camerabut don’t open the app. - Right-click on Camera and select App settings.
- Scroll down to the Reset section.
- First, click on Repair. If it doesn’t help, select Reset the next time.


If the Camera app still doesn’t work, you need to reinstall it.
- Open Run.
- Type
powershelland press Ctrl + Shift + Enter to launch the Elevated Windows PowerShell. - Enter
get-appxpackage *Microsoft.WindowsCamera* | remove-appxpackageto remove the app. - Then, install Camera from Microsoft Store.

Run Dell SupportAssist
Dell provides a dedicated support app that helps perform all possible troubleshoots on your laptop. It is also possible to use this app to automatically resolve most of the camera issues.
- Open Dell SupportAssist on your laptop. If you don’t have this application, you need to download it from the official website.
- Click on Run all from the Home tab. It will optimize your system, install all driver updates as well as check your hardware devices for errors.
- Check the results of the hardware diagnostics and apply the solutions suggested by the apps.

Repair the Camera Device (Hardware)
Your laptop won’t detect the camera at all if its connection to the motherboard is broken or if the device itself has some damage.
The only way to check for and resolve such issues is by exposing the camera hardware by removing your screen bezel. Doing so without prior experience and training can damage other components like the screen as well as the bezel. Also, you may not have all the necessary equipment to perform such operations.
So, we highly recommend you seek help from service centers or hardware specialists. It is especially true if the laptop warranty is still valid as any attempts to open the laptop parts will void the warranty.