
Xbox consoles have been a fan favorite for many years for their list of features. With newer lineups of devices like Xbox One hitting the market, users can expect many more things to be added.
One such feature is the ability to use your console on the go. Now you don’t need to rely on the large TV screen to play the newest and greatest games; you can play them anywhere you choose. This comes in handy, especially if you frequently travel and don’t want to miss the brand-new game you just got.
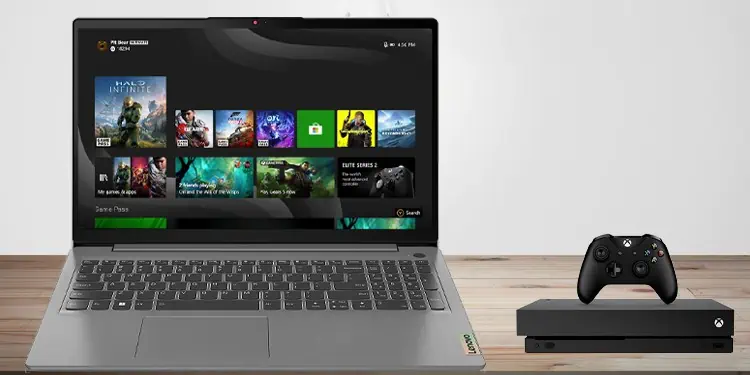
Most people opt for a laptop when looking for a portable setup option. Laptops being cheaper and easy to access than their counterparts makes them a viable option. Choosing one also grants you access to Microsoft technology to stream games. Now let us look at some of the options you can choose when trying to use a laptop for Xbox one.
Benefits of Using a Laptop as A Monitor
We can’t deny that a laptop does it all when it comes to portable electronic devices. A machine running a fully working OS but almost half the size of a fully-fledged Desktop. Besides doing the everyday task a normal PC would, laptops are also widely used as a display for various streaming applications.

Due to their small form factor, they are the ideal choice for entertainment/content work when you are traveling or cannot access your home system. Therefore, it is an ideal option to use as a monitor.
If you are used to the big screen, you will certainly notice the resolution change, but it is one of the things you’ll have to compromise for portability. Other than that, most laptops have decent displays with fairly accurate colors and rich contrasts. The option to choose a higher refresh rate display is a noticeable upgrade.
How to Use a Laptop as a Monitor?
When trying to use a laptop for Xbox One, there are mainly three ways to do it. Let’s discuss what they are and how you can do it yourself.
Using an HDMI Cable

Almost all laptops these days come with an HDMI port which you can use to connect the Xbox’s HDMI port to display its content. However, not all of them are compatible with the work. An HDMI input port is required for your laptop to be able to display content from other devices. So, if your laptop does not have an input port (most likely in most laptops), then it cannot work with the Xbox.
While some laptops may have an input port, you most likely will need to use an adapter to be able to use your Xbox One.
- First, turn OFF your Xbox One and your laptop completely.
- Grab your Xbox’s HDMI cord and connect the other end to your laptop / HDMI adapter.
- Turn on your Xbox and the laptop, it should automatically detect the connection and display the Xbox’s content.
- If it does not, manually change the display to HDMI.
- Press Windows Key + I to open the Settings, and click on System.
- Now under the Display tab, click on Advanced display settings.

- Now choose your desired input source. In our case, the HDMI.
- Next, you can change the resolution and other settings according to your liking.

Using Xbox Remote Play

Microsoft recently launched their new feature for Xbox consoles, you can now enjoy the same experience on other devices such as iOS, Android, and Windows. This technology came in a clutch for people dealing with the HDMI input hassle.
Since you are not using any sort of cords to transmit data, everything is done entirely wireless. This also means that a good internet connection is required for an ideal experience.
Prerequisites for using Xbox remote play feature:
- Laptop running on either Windows 10 or 11.
- Xbox App.
- Decent Wi-Fi connection (preferably below 50ms network latency).
- Xbox One.
- Xbox Controller with Bluetooth.
The next step is to enable a remote feature on your Xbox One console.
- Hit the Xbox button/logo on your controller.
- A side menu should pop up which reads Profile & system.
- Click on Settings, then Devices & connections and Remote features.
- Now choose the Enable remote features and enable it.
- While there, set Sleep Mode to Standby.

Next, you need to make a few changes.
- Download the Xbox app from the Microsoft store.
- Run the app, and Sign in to your Xbox account.
- Next, on the homepage, you should see a small icon beside the search bar named Consoles.
- You should see your Xbox One on standby, press on it.
- Xbox should now be running on your laptop itself.

Note: Make sure that both devices are on the same network. Being on different ones can create issues like higher input lag and so on.
Using Xbox Cloud Gaming

If you do not want to go through the trouble of carrying your console everywhere you go, you can opt for an Xbox cloud subscription. It is a paid subscription that allows you to play your Xbox’s entire game library on your laptop or any other device.
Keep in mind that you need a good internet connection for a smooth experience since you are streaming the game over the cloud network.
- Run the Xbox client on your laptop.
- On the homepage, navigate to Cloud Gaming.
- Next, you will need to get the Game Pass subscription to start playing the games.
