
Optical cables connect your TV to the sound system. The external speakers you use, like the home theater or soundbar, also stop working when it stops functioning.
There can be many cases when the optical cables cease to work. For instance, your TV software might be outdated, or the optical cable itself might be damaged. Or, you might be using a mode on your TV that does not support the use of optical cables.
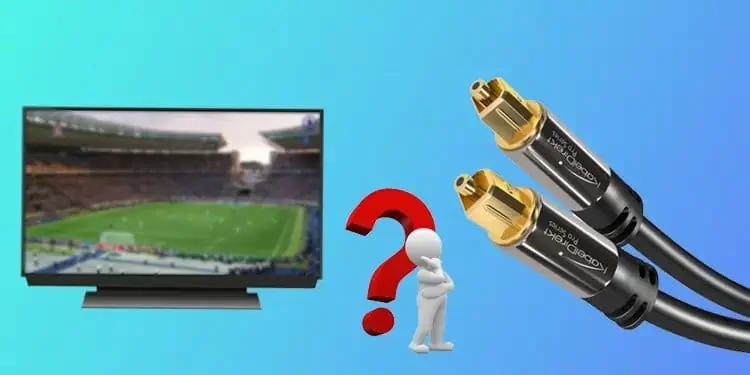
Whatever the case, In this article, we have discussed the fixes that you can apply when your optical cable is not working.
Fixes For Optical Cable Not Working
Since a damaged optical cable will prevent you from using your external speakers, you need to solve it as soon as possible. Figuring out the cause and solving it is not that cumbersome. You can easily sort out the problem once you go through all the fixes mentioned here.
We have compiled a list of 6 fixes to help you solve the problem of optical cable not working. Let’s dive straight into them.
Restart Your TV
Restarting the TV is the first thing you can do before troubleshooting your optical cable. Restarting fixes many minor issues that may prevent the audio from playing on your TV. Steps to restart your TV may vary depending upon the manufacturers and models. Consider trying a few of the methods:
- Press and hold the Power button on your remote until it shows the message shutting down. After the TV shuts down, you need to press the Power button again to turn on your TV.
- Keep pressing the Power button until a menu shows up. Select Restart from the list of options.
- If you don’t have access to the remote, you can use the Power button on the TV to restart it.
Check the Cable Connections and Ports
The problem of optical cable not working mostly arises due to an issue in the cable itself. You need to perform a few hardware checks before you move to the software fixes. We have listed some preliminary fixes below that you can apply.
- Optical cables are provided with protective caps at both ends to prevent any harm to the connector. Consider removing it before you connect it to your TV and the sound system. If you just purchased the cable and didn’t see the caps, probably the connectors might have been damaged. Ask for a replacement in such cases.
- Some Smart TVs like Sony Bravia series and Hisense TVs also have caps in the optical port so that any foreign particles don’t get into it. Remove it and connect the cables properly. Please keep it safe for future use if you discontinue using optical cables later.
- You must also be very careful while connecting the cable to the TV. Do not force press it. You must properly align the cable connector to the TV port and insert it. You will feel the cable fitting the port if it is properly inserted.
- The ports might have dust and debris collected over it. Consider cleaning it with cotton swabs. You may also use a can of compressed air to clean the port.
- Optical cables are too sensitive. Even minor bends and twists can damage it. When you face the issue, check that the cable is not twisted or bent anywhere. You should not lay your cable under carpets or whatsoever. They can get twists or cuts and may stop functioning.
- You can perform a red light check to verify if the cable is properly connected. Fiber optics connectors have red light glowing features at both connector ends. It is provided to ensure the correct connection of the cable. You can inspect if the red light indicator is glowing or not. If it is, your cable is OK.
Else there might be a physical issue with your cable. In that case, you can take another cable and check if it is working.
Configure the TV Settings Properly
When using an optical cable with your TV, you must be conscious that you have set the proper mode for it to work. Various input and output modes are available on your TV, depending on the device and cables you are using. For optical cables to work:
- Connect the cable to the TV’s Digital Out / Optical Out port and Digital In / Optical In port of the sound system.
- Ensure the settings are not saved so that audio output is set to the built-in TV speakers and not the external sound system.
- In the Sound settings of your TV, navigate to the Expert Settings and then change the input and output audio format to PCM instead of HDMI.


Update Your TV Software to the Latest Version
Outdated TV software can be another reason why your optical cable is not working. The drivers needed for the optical cable to function may be missing and you may encounter the issue. Updating your TV software to the latest version will help in such cases.
- Open your TV Settings.
- Navigate to Support > Software Update > Auto Update and let the update begin.

Factory Reset Your TV
If you have made some conflicting changes in TV settings, it might prevent the optical cable from working. You may choose different sources of input and output that might be incompatible with the optical cable.
If you can not figure out exactly what settings you made, you can factory reset your TV. Factory resetting your TV would flush every setting and data in your TV and fix the problem with optical cable if incorrect settings were the issue.
Steps to factory reset the TV depends upon the TV manufacturers. I have tried to cover the reset methods for Google TV, Android TV, and non-Android Sony TV here.
For Google TV
Factory resetting your Google TV will delete all data, including your Google account information, your TV channels, downloaded apps, Wi-Fi settings, and everything else.
If you want to keep a backup of your data, you can synchronize them with your Google account and recover it later. You can easily access the Sync now button from the Google menu inside your TV Settings and perform synchronization.
Now let’s see how to reset the TV:
- Access the Settings of your TV by pressing the Quick Settings(⚙️) button.
- While on Settings, select System / Device Preferences or Storage & reset depending upon your TV model.
- Then Select Reset > Factory data reset
- Finally, select Erase everything and confirm the reset by selecting Yes.


Factory resetting your TV will take some time. You must set up everything from scratch once your TV restarts.
For Android TV
A factory reset on your Android TV will also delete everything on your TV, as mentioned previously under Google TV. You can also synchronize data as we did in Google TV. Follow these steps to reset an Android TV:
- Power on your TV and press the Home button on your TV remote.
- Select Settings and then Device Preferences or Storage & reset depending upon the TV model.
- Select Factory data reset option and confirm it.

For Non-Android Sony TV
If you own a non-Android TV from Sony, the step to reset it is different than the Android version. Here’s how to reset it:
- Press Home button on your TV remote.
- Move down to select Settings.
- Select Customer Support > Factory Settings
- Press OK and then select Yes to complete the factory reset.


Replace the Optical Cable
If you went through every fix mentioned in this post, you should surely be able to sort out the problem with your optical cable. But sometimes, there may be some complex problems in your system. The ports in your TV might get damaged, the sound system itself may be faulty, or the cable entirely may be damaged.
In such a scenario, you can consult a technician and figure out the issue. If it’s the issue with the cable, you can get the replacement easily. But it may be tedious to solve if it’s the issue with the TV or sound system. Please take it to the repair center and get it fixed.