Gmail notifications are extremely useful to catch up on any incoming emails quickly. But, if you see flooded emails only when you launch the app, your Gmail notification is not working.
In most cases, it won’t work unless you allow Notifications from the app and device settings. You may also miss them when your iPhone is on Do Not Disturb or Low Power mode. Other times, app bugs or internet connectivity issues can be responsible too. Although minor tweaks on settings can help trouble troubleshoot the problem.
Check and Disable DND
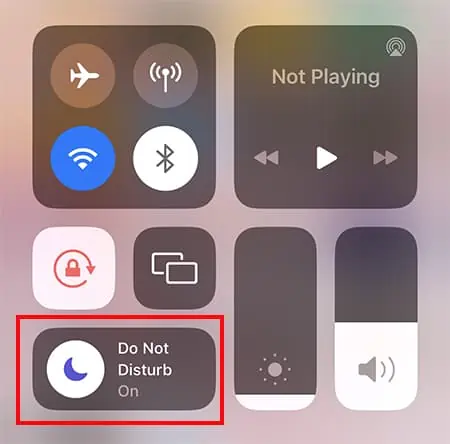
The Do Not Disturb (DND) feature of the iPhone can be helpful to silent notifications when you want to avoid them for some time. If you have forgotten to turn it off, you will not get Gmail Notifications. Check if DND is enabled on your mobile and disable it.
- For iPhone X or above users, Drag the screen down from the upper-right and release to open Control Center.
- For iPhone users with Home button, Swipe up the screen from bottom to center and release it. It will appear Control Center.
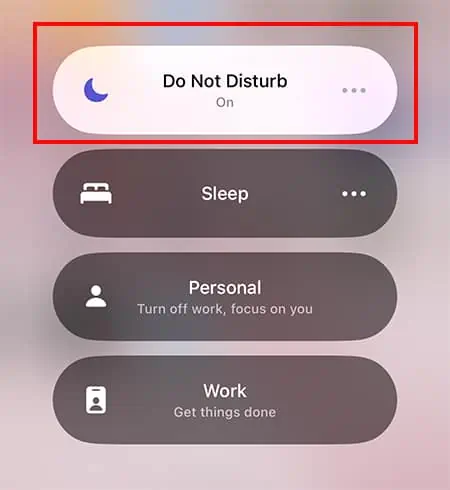
- Locate Do Not Disturb Menu. Tap on the Menu to disable it.

- Again, tap on Do Not Disturb. (The DND should now appear as Focus when disabled).

Disable Low Power Mode
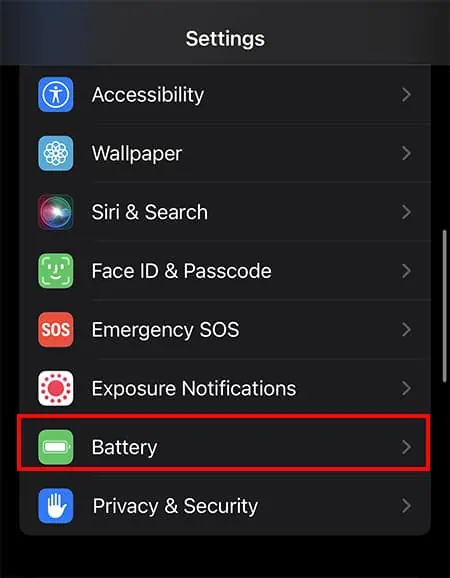
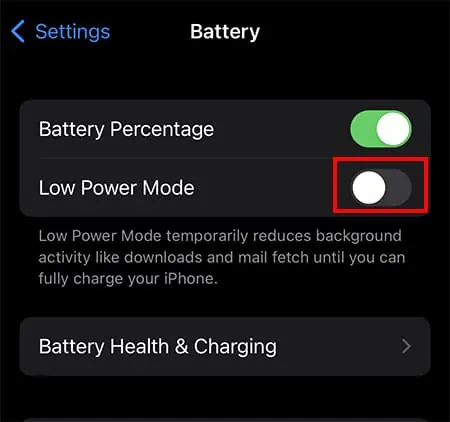
Is your iPhone on Low Power Mode? If you have enabled it to save battery, it might affect notifications. Therefore, you can turn it off from the Control Center by simply tapping on the Battery icon. If menu is not on the control center, disable it from Settings.
- Open Settings.
- Tap on Battery.

- On Low Power Mode, drag the Toggle left to turn it off.

Allow iPhone Notifications
On iPhone, you can choose to get notifications for particular apps only. If it is turned off for the Gmail app, you will not receive any alerts. In such case, you can check from settings and turn it on.
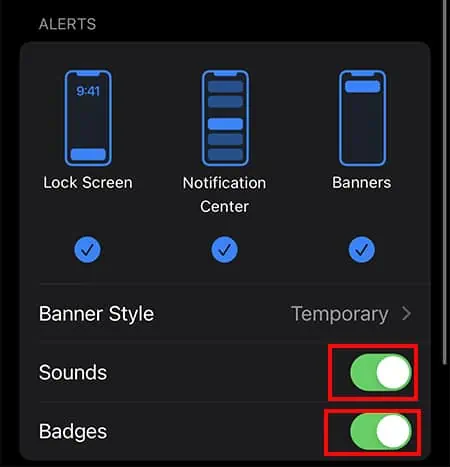
Also, turning on iPhone Notifications Settings for Gmail is not enough. You will miss them if the Alerts such as Sounds, Badges, or Previews are Off. You can enable them from Settings.
- Launch Settings.
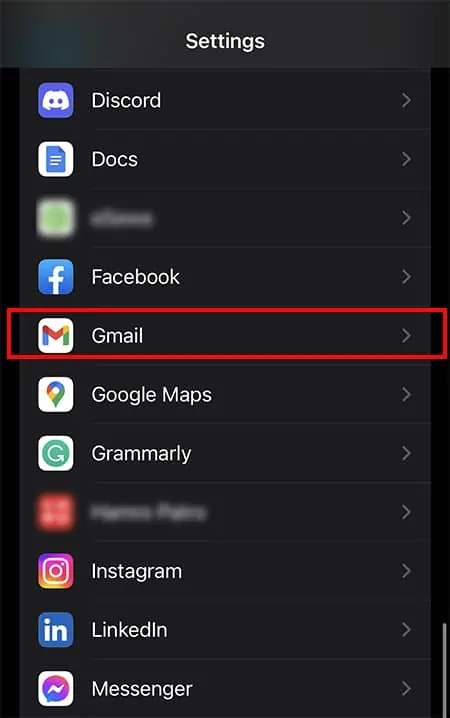
- Scroll down to locate Gmail and open it.

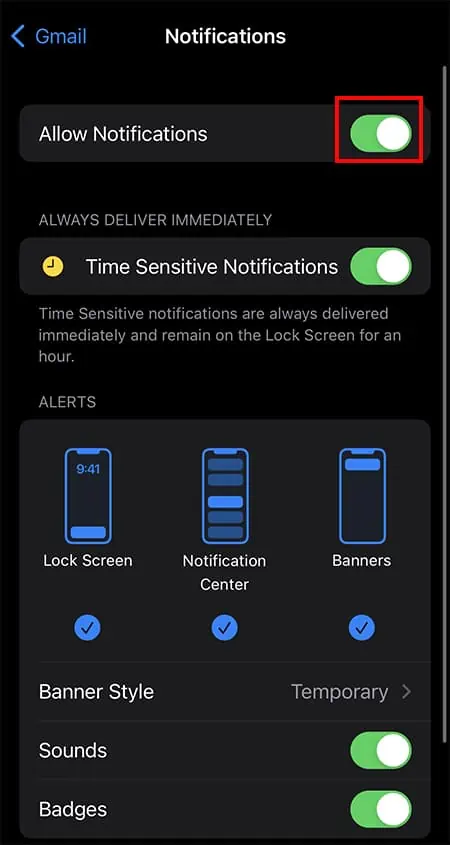
- Tap on Notifications.

- On Allow Notifications, slide the toggle Green.

- Under Alerts, choose a Banner Style.
- Then, turn on the toggle for Sounds and Badges menu.

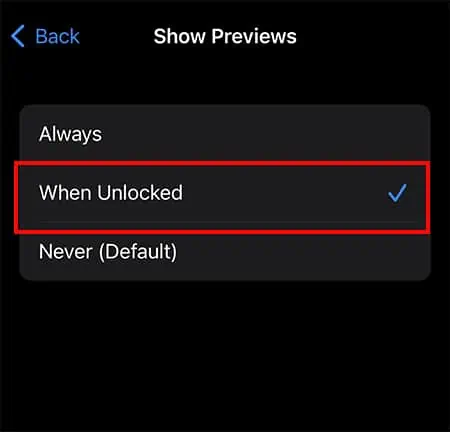
- Under Lock Screen Appearance, tap on Show Previews. Choose Always or When Unlocked.

Prioritize Gmail Notifications
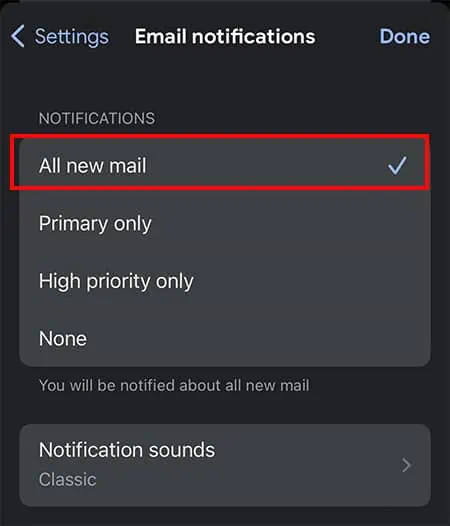
In order to receive Gmail notifications, you must allow it on both iPhone Settings and the app. If the Email notification is set to None, you won’t receive it. You can choose to get High priority only, Primary only, or All new mail notifications. We recommend you set the latter one to be on the safe side.
- Launch Gmail App.
- Sign In your account if needed.
- Now, navigate to the Three-lines menu on the upper-left.
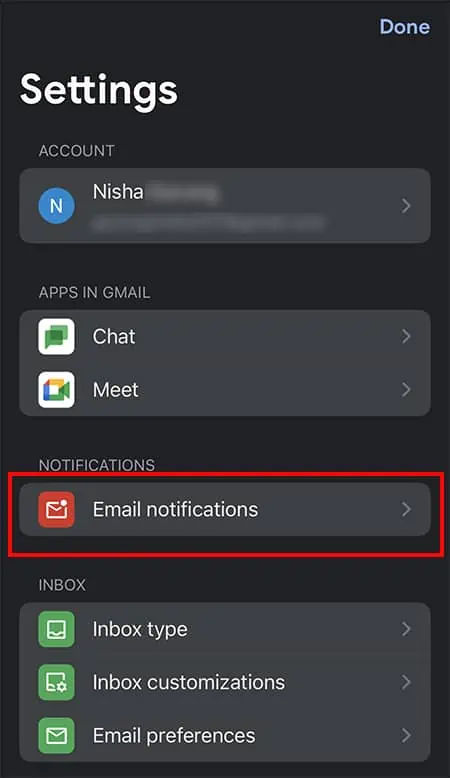
- Scroll down and tap on Settings > Email Notifications.

- Under Notifications, pick All new mail.

Enable Background App Refresh
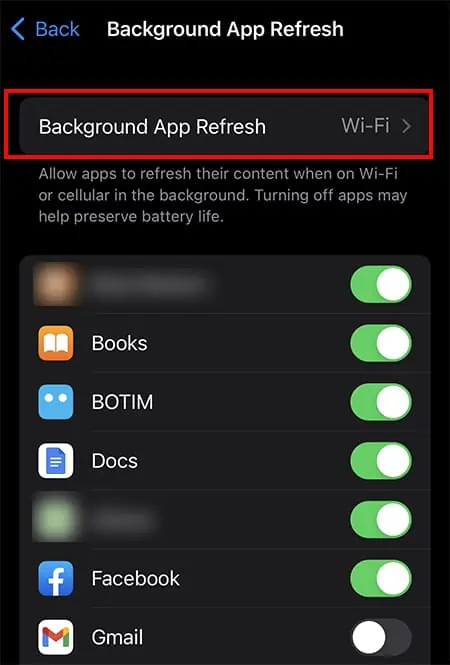
When you are not using Gmail app actively, it goes into suspended state. So it won’t check for newer updates or content. This can be the cause of Gmail badge notifications not working. In such case, you can turn on the Background App Refresh. It will automatically refresh the background information of app when your iPhone is on Wi-Fi.
- Launch Settings.
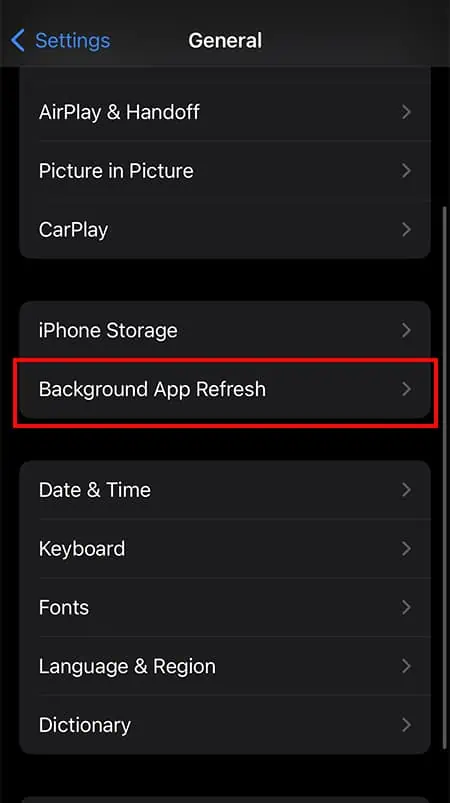
- Tap General > Background App Refresh.

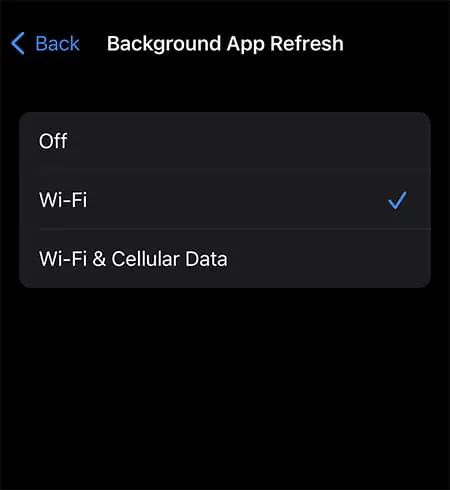
- Choose Background App Refresh.

- Tap on Wi-Fi or Wi-Fi & Cellular Data.

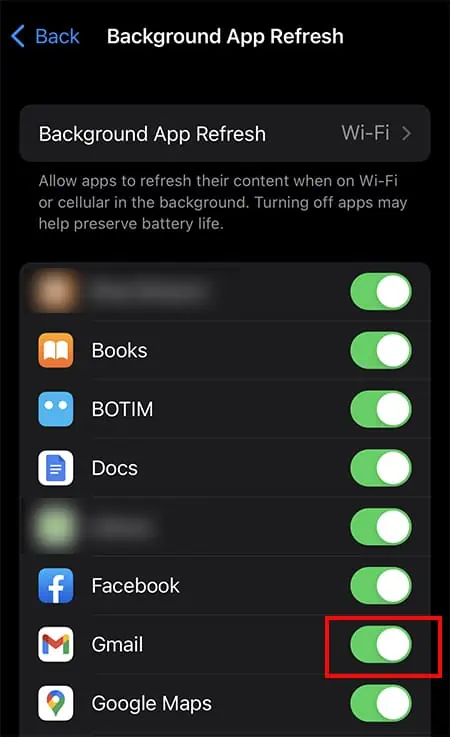
- Turn on the toggle for Gmail app.

Re-login to Gmail Account
If you have multiple Gmail accounts logged in on your device, log out of all of them. Then, you can log in back only the mostly used account. This should help with the notification error.
- Launch Gmail and Sign In.
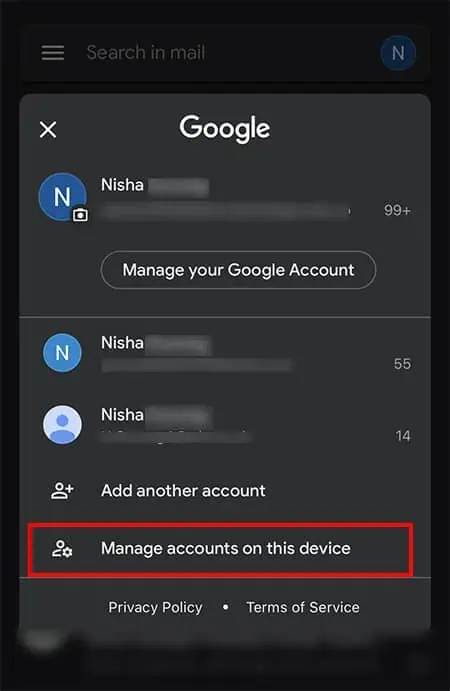
- On the top-right, tap on your Profile icon.

- Choose Manage accounts on this device.

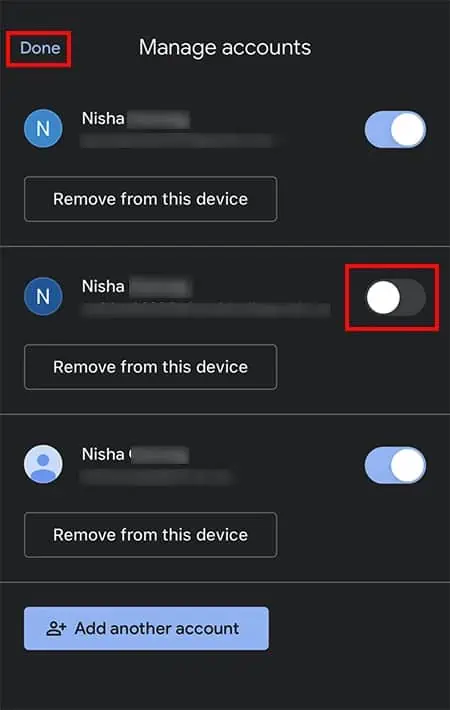
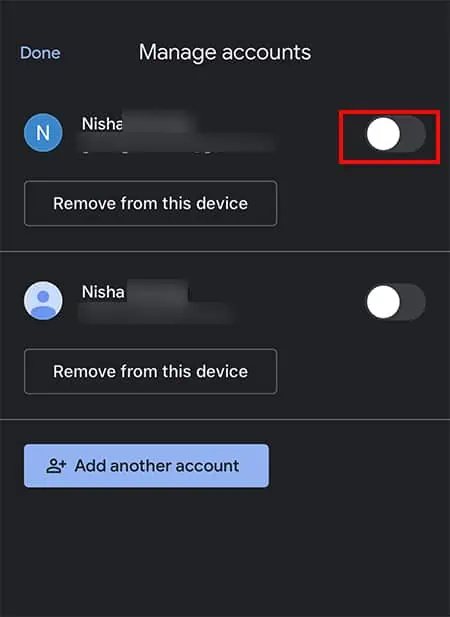
- Now, turn off the toggle next to your account to Sign Out.

- Repeat the steps for other Accounts.
- Tap Done.
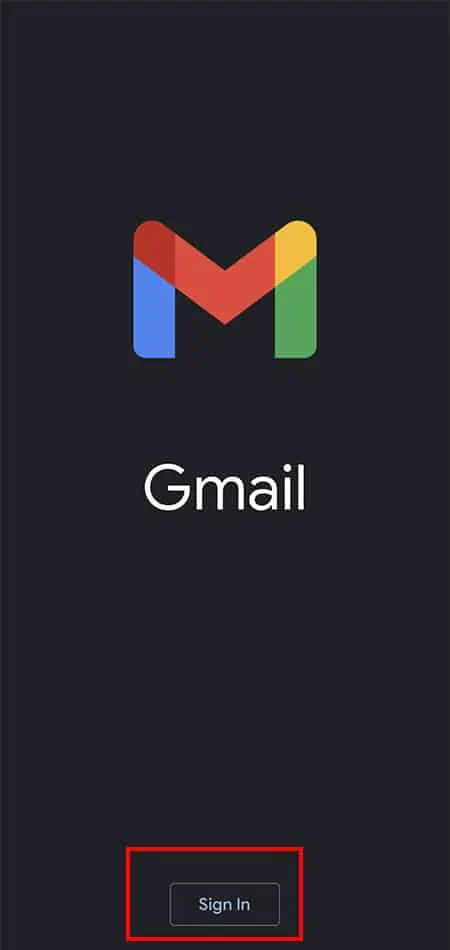
- Now, relaunch the app. Choose Sign In.

- If you see Manage accounts, turn on the Toggle next to the account and choose Done. It will sign in to your account.

Update Gmail
Another fix to solve Gmail notifications not working is to update the app. If there are bugs or issues on their side, it releases fixes in the latest version. You will see an open button instead when there are no updates available.
- Launch App Store.
- Search Gmail.
- Tap Update.
Reinstall Gmail
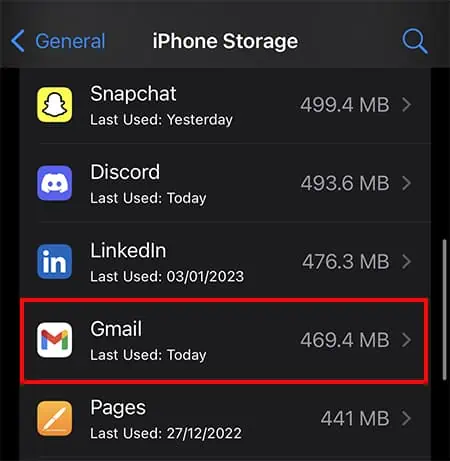
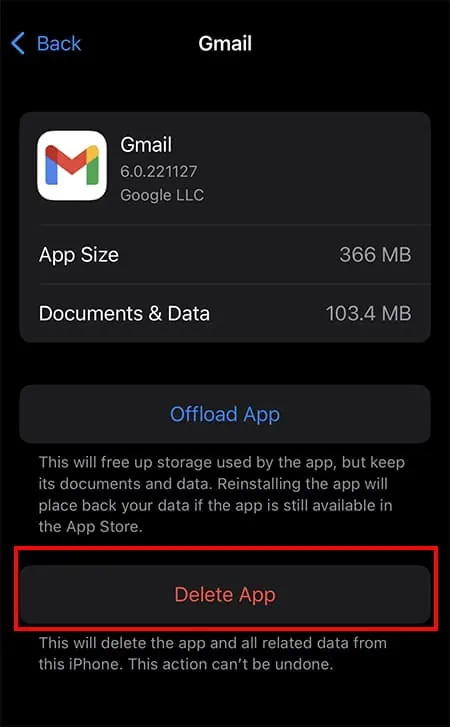
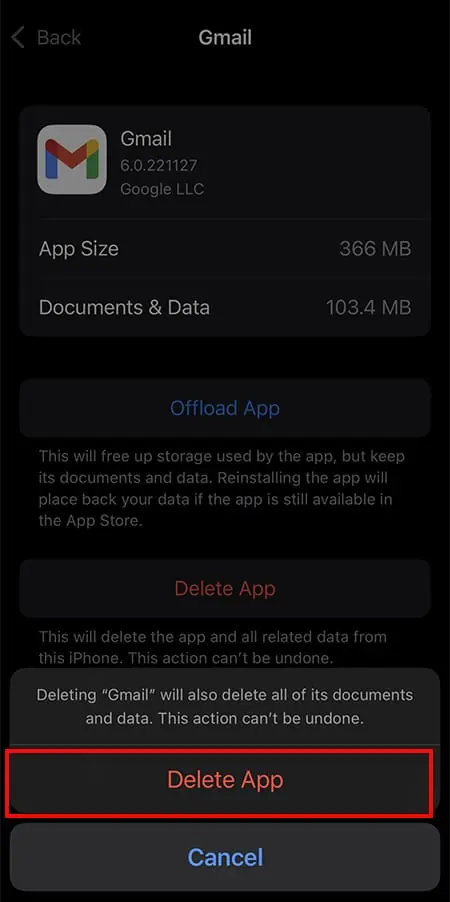
If the Gmail notifications are still not working, reinstall the app. There might be a problem with the app itself. Deleting it will clear out existing bugs in the app. You can install the app again. It should fix the problem.
- Launch Settings.
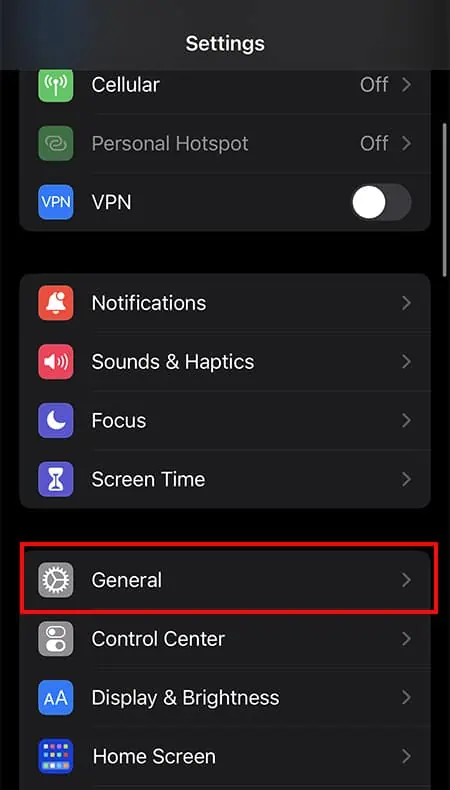
- Choose General.

- Select iPhone Storage > Gmail.

- Tap Delete App.

- Again, choose Delete App.

- Now, navigate to App Store and search Gmail.
- Tap on the Download icon.

Update iPhone
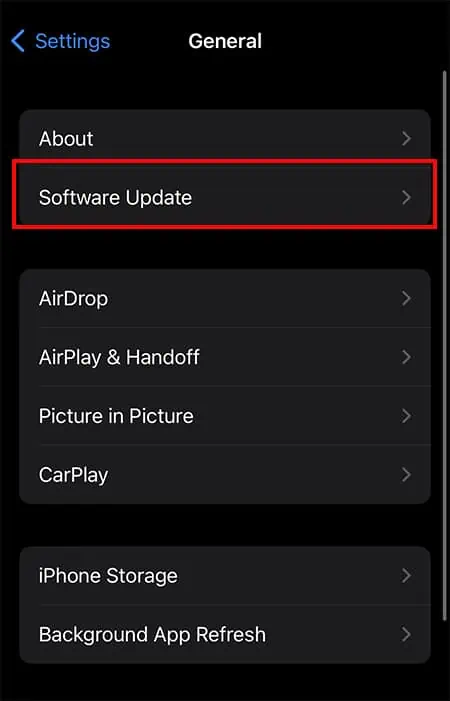
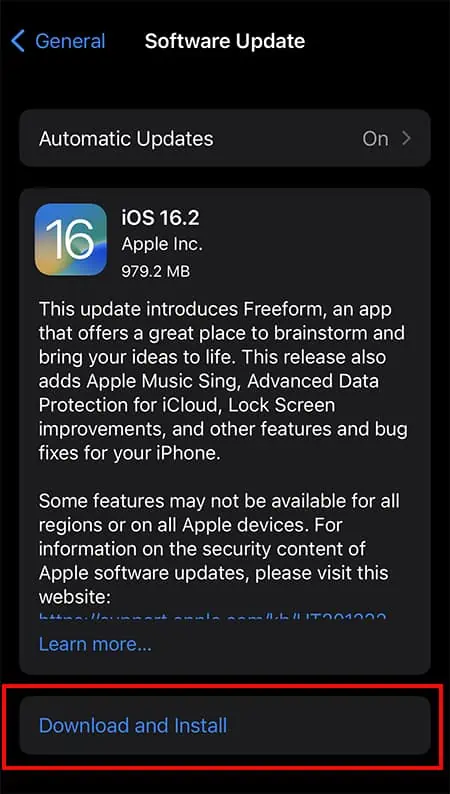
When using an outdated iOS version, bugs can affect the app’s performance. It may be the reason your Gmail notifications are not working. iOS frequently introduces the latest firmware updates with advanced features and bug fixes. So, updating your iPhone should troubleshoot the error.
- Open Settings.
- Choose General > Software Update.

- Tap Download and Install. (If there are no latest Software Update, Your software is up to date will appear on the screen)


