
The addition of plugins allows you to customize your Notepad++ text editor and even extend its functionality. In the older days, you either required Plugin Manager or had to manually install these add-ons. But with the recent introduction to Plugins Admin, installing plugins has become a piece of cake.
Yet, several users are still facing different problems during the installation. In most cases, you correctly add the plugin but it will simply not show in the dedicated section of the app. Also, some users have reported that they get compatibility or download error messages. Without further delay, let’s get into each of these scenarios in detail.
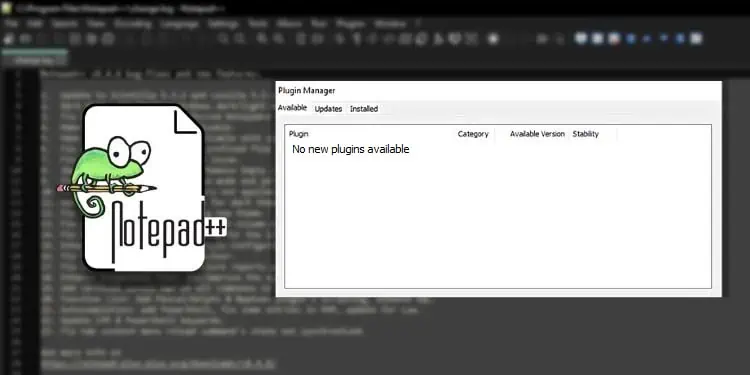
Update Notepad++ and Use Plugins Admin
It seems most users still rely on Plugin Manager for installing Notepad++ plugins. However, this plugin is already obsolete since the 7.6.3 version. If you’re still using this feature in a newer version, it will simply not install the plugins in the appropriate directory.
In fact, some users even get the “Download Error” message after manually adding Plugin Manager. Well, this is normal to happen as the latest Notepad++ versions simply do not support it. Thus, even though you can open the manager, you’ll likely get the “Still downloading plugins list…” error.
Instead of all these headaches, you may simply update the app to its latest version. Then, use the built-in Plugins Admin which allows the installation of any plugin much quicker and faster than the obsolete Plugin Manager.
- Launch the current version of Notepad++ from the Start Menu.
- In the menu bar, select ?.

- Choose the Update Notepad++ option.
- A confirmation prompt should pop up. Hit the Yes button to continue.
- Wait for the installation file to be downloaded.
- Another dialogue box should appear asking you to close the currently running app. Press Yes to move forward.
- Next, hit Yes in the User Account Control prompt.
- Now, follow the on-screen instructions to complete the setup.
- Once the app relaunches, go to the Plugins menu.
- You should now see the Plugins Admin option. Choose this to open the dedicated window.
- Under the Available tab, search for the desired plugin in the Search field.
- Check the selected plugin and hit the Install button, as shown below.
- Click on Yes in the ‘Notepad++ is about to exit’ prompt.
- Again, hit Yes in the UAC prompt.
- Wait for a few seconds for the plugin to be installed. Once the app reopens, navigate to the Plugins menu to verify its installation.


Note: If you’re still looking to use Plugin Manager, you’ll need to downgrade the application to 7.5.9 or lower.
Correctly Install the Plugin [For Manual Installation]
There can be cases when you require installing some plugins manually. However, some users are facing issues while doing so. Basically, copying the .dll file in the Plugins directory will simply not install it. You need to create a subfolder with the same name as the .dll file.
Also, files created for a different system architecture won’t work on a different one. For example, if you’re trying to install a 32-bit (x-86) plugin on an x64-based PC, you will likely get a compatibility error “Cannot load plugin.”
Likewise, some plugins come with different versions compatible with dedicated Notepad++ versions. A popular example is the Compare plugin. For example, if you install the older ComparePlugin v2.0.0 or 2.0.1 in the latest Notepad++ v8.4.9, the plugin will simply not show even if you’ve correctly installed it.
For the latest Notepad++ versions (8.2.2 and higher), you need to install ComparePlugin v2.0.2. But if you’re running Notepad++ v7.7 to 8.2.1, check and install ComparePlugin v2.0.1. And if it’s a much lower version, you require the plugin’s v2.0.0.
For demonstration, we are going to manually install the Compare plugin in the steps below. Note that this should be similar to other plugins as well.
- First, ensure you’re running the latest Notepad++ version (as of now, it’s 8.4.9).
- Next, download the appropriate zip file from the GitHub repository. Ensure you choose the right system architecture. As for us, we have a 64-bit OS, so we download the
ComparePlugin_v2.0.2_X64.zipfile from the Assets section. - Get to the downloaded location and unzip it.
- Now, copy both the
ComparePlugin.dllfile and the ComparePlugin folder (which containsgit2.dllandsqlite3.dll). - Next, navigate to the following address in Windows Explorer:
C:\Program Files\Notepad++\plugins - Here, create a new folder and name it “ComparePlugin.” The general rule is that the folder should have the same naming convention as the
.dllfile. - Navigate to the created folder and paste the copied content. Note that you require admin privilege to do it. So, you need to press the Continue button in both prompts.
- Now, launch or restart the Notepad++ application.
- Get to the Plugins menu and check if the Compare plugin is now installed.


Run Notepad++ as an Administrator
Some plugins require elevated permission for the Notepad++ app or even the Plugins subfolder. In that case, installation using either the Import Plugin feature or Plugin Admin will simply not work. A simple workaround to this problem is to run the program as an admin and reinstall the desired plugin:
- Close the currently running Notepad++ program.
- Click on the Windows icon from the leftmost corner of the taskbar.
- Search for Notepad++, and you should see the app under the Best match section.
- Move to the right section and select Run as administrator.
- Press the Yes button once the UAC dialogue box opens.
- Now, try importing the plugin again, and check if the issue persists.


Configure Proxy Settings
If you’re using Notepad++ in your office, your organization has likely set up a proxy server. This could be the reason you’re unable to install the plugins. You can either ask for the proxy server and port number from the administrator or simply follow the below steps to get it manually:
- Open Control Panel from the Start Menu.
- Select Network and Internet.
- Next, choose Internet Options.
- Once the Internet Properties dialogue box pops up, switch to the Connections tab.
- Under Local Area Network (LAN) Settings, find and press the LAN settings button.
- In the new dialogue box, you should notice that the Use automatic configuration script is checked. In the address field, the address ahead of the colon is your server address, and next to it is the port number.


After knowing the proxy server address and port number, here’s how you can change the proxy settings for Notepad++:
- First, open Notepad++ as administrator, as discussed earlier.
- In the menu bar, select ?, and pick Set Updater Proxy.
- Once the Proxy Settings dialogue box pops up, set your company’s corporate proxy IP in the Proxy Server field. Also, input the port number in the Port field.
- Hit the Ok button.
- Now, try installing the desired plugin.


Note: If you’re having an issue with the Set Update Proxy, we recommend creating a gupOptions.xml file with the proxy address manually.
Reinstall Notepad
If none of the aforementioned methods worked, the final option is to simply reinstall the application. This should fix related bugs, corrupted configurations, or permission issues. Below is the step-by-step guide on how to do it.
Caution: Removing the Notepad++ application will also delete all the installed plugins. So, it’s a good idea to back up the dedicated folders from the Plugins subdirectory first.
- Press Windows + R and execute the following command:
appwiz.cpl - Once you’re in the Programs and Features window, look for Notepad++ and uninstall it.
- Now, open any web browser and get to the official Notepad++ download section.
- Choose the first version from the list (currently it’s 8.4.9).
- Click on the Download icon right under the specified system architecture.
- After the setup file is downloaded, run it. Follow the on-screen instructions to complete the installation.
- Launch Notepad++ and install the plugins.


