
NVIDIA is the name that pops up straight away when you want the best graphical experience in your computer games and creative works. Over the years, it has improved both its hardware and the accompanying software.
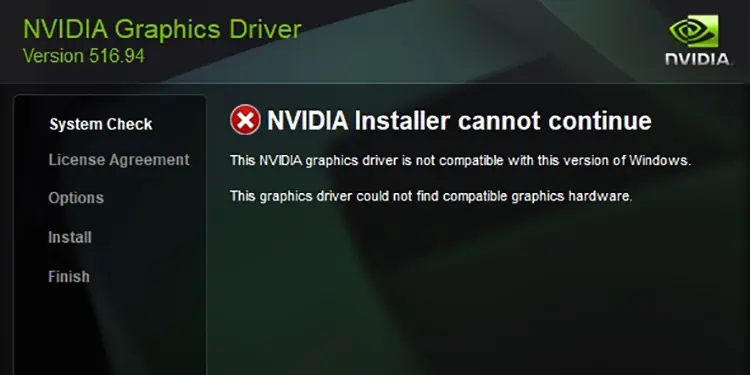
But it is not always free of errors. And the most common one that the users have experienced is the “NVIDIA Driver Not Compatible With This Version of Windows” error. But NVIDIA may not be the culprit here. This issue usually occurs if the Windows version and driver do not match or the driver software has some bugs.
How to Fix NVIDIA Driver Not Compatible With This Version of Windows?
If you have newer NVIDIA cards, NVIDIA does not provide drivers for the 32-bit Operating system. So, you should first check the architecture of your Windows.
- Press Windows + ‘I’ to open Settings.
- Find the About option in the System menu.
- Look at the System type to see if it is a 64-bit Operating system.


If your system does not have a 64-bit OS, then you will have to re-install the correct version of Windows. But if the error appears despite the correct Windows architecture, let’s go through the fixes without any delay.
Perform Clean Installation of the Correct NVIDIA Drivers
Even if you are using the correct driver, cache files and configurations of old or corrupted drivers may be interfering with the installation. So, you will have to perform a clean installation of the NVIDIA drivers after removing the old one completely.
Let’s look at the steps to do it.
Disable Automatic Driver Update
Windows update does not always install the latest driver. It looks for the most stable one and tries to install it automatically for the devices. The installation of this version by Windows might block the one you are trying to install, resulting in the error.
So, first, you need to disable the Windows Update feature to prevent automatic driver installation.
- Press Windows + ‘R’ and type
systempropertieshardwareto get to the Hardware tab in System Properties. - Find Device Installation Settings and click on it.
- Check the No (your device might not work as expected) option.
- Click Save Changes.


Now, let’s move to uninstall the old driver.
Uninstall the Old Driver Using DDU
When we uninstall a driver, it may not always remove its registry entries, signature, configurations, cache files, etc. This remnant can cause errors while installing the appropriate driver.
Display Driver Uninstaller (DDU) removes the drivers completely from your PC. It is recommended by NVIDIA as well. Let’s get to the steps of uninstalling the old driver right away.
- Go to open Settings > Recovery.
- Find Advanced Startup.
- Then, click on Restart now.
- When the system reboots in the recovery environment, go to Troubleshoot>Advanced Options>Startup Settings.
- Click Restart.
- Boot into Safe mode with Networking by pressing 5 or F5 after the PC restarts.
- Download DDU and extract the zip file.
- Run the Display Driver Uninstaller program.
- Select the Device type and model.
- Click Clean and restart (Highly recommended).


In the next boot, the old drivers will be removed completely.
Re-install the Latest Driver From NVIDIA
Now, you should download the latest driver that is compatible with your Windows. Let’s look at the way to do it correctly.
- Press Windows + ‘R’ and type
dxdiagto open DirectX Diagnostic Tool. - In the System tab, find the build, architecture, and edition of your Operating system.
- Go to the Display tab consisting of your Nvidia GPU and look for its model.
- Now, Go to the NVIDIA Drivers Download website.
- Enter the Product type, Product series, and Product Name for your GPU. If you have a laptop, make sure to choose the notebook version.
- Select the correct OS edition and architecture.
- Click Search and then download the first one from the list.
- Install the driver.


If the problem still appears, let’s try the next fix.
Re-install Driver Using GeForce Experience
NVIDIA provides the GeForce Experience application to update the drivers and optimize the graphics settings for the programs on your PC. It looks for the best driver for your device and installs it.
You can use this application to check for the correct driver and install it.
- Search GeForce Experience in the Windows Search bar and open it.
- Login using your credential if you have not logged in before.
- On the top left, find the Drivers menu and click on it.
- Click Check For Updates.
- Click Download after it finds the driver for you.

The driver will be installed after the download completes without any error.
Perform Windows Update
NVIDIA graphics card does not support all Windows Builds and versions. For instance, the RTX 2080 Ti works only on Windows build 1803 or later.
So, if your Windows is of an older or incompatible build, then it might be the reason for the installation error. Most of the time, Windows updates the build automatically. But, sometimes, it may be stuck to the older build for some reason. You can manually look for updates and complete them.
- Press Windows + ‘I’ to open Settings.
- Go to Windows Update.
- Click Check for Updates.
- Click Download and Install for all the updates on the list.
- Similarly, go to Advanced Options and find Optional Updates.
- Download and Install the pending updates from there as well.


Restart your PC and perform a clean installation of the driver by using the above methods.
Perform In-place Upgrade
If the Windows Update did not change the build version, you could perform an in-place upgrade. This can also fix any errors in your Windows that may be hindering the installation.
Let’s see how to do it.
- Press Windows + ‘I’ to open Settings and go to the About options in the System menu.
- Find the Windows version, architecture, and build.
- Download the respective ISO file for Windows with the same version and architecture but with the latest build.
- Mount the ISO file and Double-click on
Setup.exein the installation drive. - Click Change how setup downloads updates and choose Not right now.
- Click Next.
- The system will ask to insert a storage drive with more than 10 GB of space. Insert the drive into your system if you have not already done it.
- Click on Change what to keep and choose the Keep personal files and apps option.
- Click Install to start the in-place upgrade.


When the upgrade completes, install the compatible NVIDIA driver without any error.
Reseat the GPU and Change the PCI-e Configuration
Sometimes, it might be just that the Graphics card may not be properly inserted into the slot if you have a desktop computer. Or, the BIOS is not detecting the GPU automatically.
Let’s see the way to fix the issue in this case.
- Power off your system and remove all the cables.
- Unscrew the side panel and get to the motherboard.
- Remove the graphics card carefully and clean the dust out of it properly.
- Reseat the GPU in the appropriate slot.
- Assemble your system and insert the power cable.
- Start your PC and press F2, F12, or the respective key repeatedly to get into the BIOS page.
- Go to Tools or a similar menu and find the GPU information.
- See the slot name and number where the card is inserted.
- Go to Advanced and find System Agent Configuration, PCI-e Configuration, or similar settings.
- Find the Slot with the GPU and change the Link Speed to the specific mode instead of Auto.
- Save the settings and reboot your PC.


You should be able to install the driver without any errors now.