
The installation process of windows 11 from USB is very simple, but some of the Windows 11 requirements, such as Secure Boot capable UEFI with GPT partition flavor, TPM 2.0, CPU, etc., have left many users stumped.
First things first, you’ll need a Windows 11 ISO. You’ll use this ISO to create a bootable USB and install Windows 11. CD-ROMs are rarely used these days, but if your PC has one, you can also apply the steps in this article to install Windows 11 using a DVD.
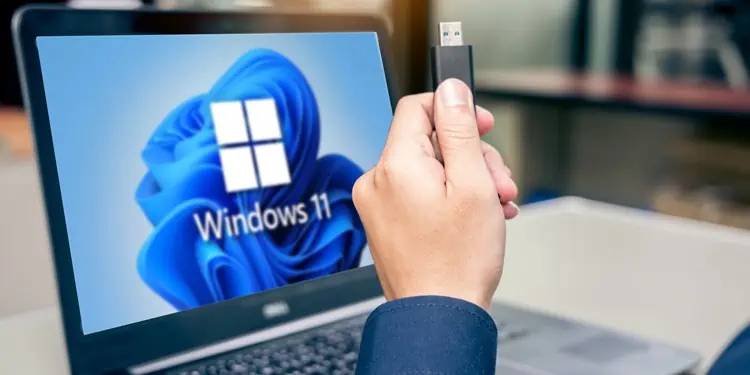
Step 1 – Create Bootable USB
You can use Diskpart if you’re trying to install Windows 11 on your current PC. But if you’re not familiar with diskpart, it’s easy to mess up. Or perhaps you’re creating a bootable USB for future use on other PCs. In such cases, the Media Creation Tool or Rufus would be better options.
Disk Management / Diskpart
Here are the steps to create a bootable USB using Disk Management:
- Connect an 8 GB or higher capacity USB to your PC.
- Press Win + X and select Disk Management.
- Right-click and format the USB as FAT32 if it isn’t already so.

- Right-click the USB and select Mark Partition as Active.
- Copy the Windows 11 ISO to the USB.

On GPT drives, the Mark Partition as Active option will be grayed out. In this case, you should use diskpart instead, as detailed below.
- Press Win + R, type
cmd, and press CTRL + Shift + Enter. - Execute the following commands:
diskpart
list disk - Type
select disk 7, replace 7 with the drive number or letter of the USB drive, and press Enter. - If the USB is already formatted as FAT32, skip ahead to Step 5. If not, execute the following commands in the order listed below to format it to FAT32:
clean
create partition primary
select partition 1
format fs=ntfs quick - Finally, execute the following commands to set the USB as the active partition, then exit diskpart:
active
exit - Copy the Windows 11 ISO to the USB.

Media Creation Tool
Here are the steps to create a bootable USB using the Media Creation Tool:
- Download the Media Creation Tool.
- Launch the tool, accept the license agreement, and select Create Installation media for another PC.
- Select USB flash drive as the type of media to use and press Next.


Rufus
Here are the steps to create a bootable USB using Rufus:
- Download a recent stable version of Rufus and launch it.
- Insert the USB and select it in Rufus.
- Press the SELECT button and browse the Windows 11 ISO.
- Under Image Option, you have two options.
If your PC meets the Windows 11 requirements, select Standard Windows 11 Installation. - If it doesn’t, you can bypass the requirements by selecting Extended Windows 11 Installation (no TPM/no Secure Boot/8GB- RAM) instead. We’ve included other ways to bypass the requirements further in this guide if you don’t want to do so via this method.
- Next, select the partition scheme (GPT) and target system (UEFI non CSM).
- Finally, press Start at the bottom.
- After the bootable media is created, you can use it to install Windows 11 without any problems.


Situational – Convert MBR to GPT
Windows 11 requires your PC to be running UEFI firmware with GPT partitioning. So, first, check if you’re currently using the MBR partitioning style on your system drive with the following steps:
- Press Win + R, type
diskmgmt.msc, and press Enter. - Right-click the system disk from the left and select Properties.
- Switch to the Volumes tab and check the partition style.
- If required, you can use either of the methods listed below to convert it to GPT.


MBR2GPT
You can use the mbr2gpt.exe tool with the following steps:
- Back up the contents of the system drive.
- Press Win + R, type
cmd, and press CTRL + Shift + Enter. - Execute the following command:
mbr2gpt /convert /allowFullOS

Diskpart
Unlike the mbr2gpt tool, the diskpart method requires you to delete all the data on the drive. So only use this method in case of empty drives or ones whose contents are backed up elsewhere.
- Launch an elevated Command Prompt window and execute the following commands:
diskpart
list disk - Type
select disk 7, replace 7 with the system disk number, and press Enter. - Execute the following commands:
clean
convert gpt

Step 2 – Install Windows 11
The final part of the puzzle is to simply use the bootable media to install Windows 11. Ideally, you should back up any personal files from the system partition (usually C:) so that you can format it later for a clean installation.
- Connect the USB to your PC, reboot your PC and press the BIOS key as shown on the screen (F2, F10, F12, Del, or similar).
- Look for the Boot Priority / Order option and bring the USB to the top of the list.
- Situational: Look for the Boot Mode or similar option. Change it to UEFI if it isn’t already so.
- Press the key shown on the screen (usually F10) to save the changes and exit.
- Upon rebooting, you should boot from the USB and arrive at the Windows installation wizard.
- Situational: In case you face the This PC can’t run Windows 11 error at this stage, we recommend referring to Bypass Windows 11 Requirements for detailed instructions on resolving this issue.
- Configure the language, and other preferences and press Install Now.
- Click on I don’t have a product key.
- Select the Windows 11 version to install and press Next.
- Accept the license agreement and press Next.
- Select the Custom: Install Windows only (Advanced) option.
- Select the partition to install Windows 11 on. Most users select the old system partition. If you directly press Next here, Windows 11 will install on said partition while the files of the previous installation will be moved to the
Windows.oldfolder.
Our recommendation is that you format the partition before pressing Next. - After a few restarts, you’ll be prompted to configure the Device Name, privacy, and other preferences. Once that’s done, the Windows 11 installation is complete.


