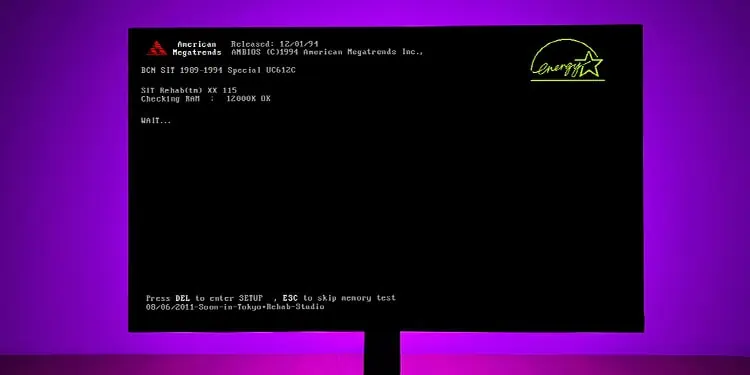
After starting your computer, the BIOS runs a Power On Self Test (POST) to check all the hardware components. And if they are working properly, the BIOS looks for the boot loader in order to load the operating system (OS) and handle your PC’s control to this software.
During this transferring process, you will see the boot screen on your display. But if the screen gets stuck on the boot screen, it means the BIOS can’t handle the control to the OS.
Although it indicates that the computer passed the POST test, some hardware errors may still be responsible for the issue.
In case, the screen says to press a certain key to boot into setup, do so. After that, select the option to exit while saving changes even if you haven’t made any changes. If you continue to see the boot screen, cannot press the key or the option is not available, move on to following solutions.
Remove Peripheral Devices
The first method you should try is to remove all your peripheral devices and then power up your PC. Sometimes, such devices can affect your boot-up processes.
For instance, the boot priority configuration on your BIOS may be set to boot from the network or a USB device before the default storage device. In such cases, your PC can get stuck while looking for the OS from such systems if you have connected an Ethernet or a USB storage device respectively. At other times, the external device itself may have issues.

Power Cycle PC
Your motherboard circuit contains many capacitors, whose main job is to hold charge to facilitate a smooth flow of current. However, such charges prevents your hardware from properly restarting. This can cause some system issues, especially after power failures or hard resets.
In such situations, you need to power cycle the computer to drain all the capacitor charge and properly refresh your hardware components.
- Remove the power cable from the PC along with all peripheral devices.
- For a laptop, you need to remove the battery as well. If it has internal batteries, unscrew the back panel and open it using a prying tool. Then, detach the battery cables and unscrew them if necessary.
- After that, press and hold the power button for about a minute to drain the capacitor charge.

- Then, reinsert the power cable only, not the peripherals. You also need to reconnect the batteries on the laptop and reassemble it properly.
- Power up the computer and see if it passes the boot screen.

If you need to power cycle your PC every time to get it to work, or if you need to power cycle the PC multiple time before being able to boot once, some capacitors on the motherboard may have blown. And it is also possible that the motherboard is failing in other ways.
In such cases, you need to take your PC or motherboard to a hardware specialist and have them repair any failed components.
Clear CMOS Memory
Misconfigured BIOS configuration is also another cause of this issue. We already discussed how improper boot priority settings can be responsible. But some other settings can also cause similar issues.
If you can access the BIOS, you can easily select the corresponding option to reset your BIOS and resolve the issue. Otherwise, you need clear CMOS memory from your hardware end, which is the same as resetting BIOS settings.
Removing and reinserting the CMOS battery resets its memory. However, some devices also have backup CMOS due to which this method of reinserting the battery doesn’t work. So it’s better to use the motherboard jumper instead.
- Disconnect all power sources on the PC.
- Look for any Clear CMOS or Reset BIOS buttons on the motherboard panel. If it’s there, press and hold it for a few seconds.
- If not, open the side panel or the back panel (if laptop) after removing all the screws holding it in place. You may need to use a prying tool to remove the laptop’s case.
- Look for pins on the motherboard that say Clear CMOS. You can check the user manual or official sources for its exact location on your specific device.
- It should usually contain three pins where two are connected using a jumper cap. Take out the jumper and use it to short the other two pins to clear the CMOS (you may also see which pins you need to short on the motherboard).
- Leave it there for 10-15 seconds and put the jumper back in the original place.


If the jumper cap is not there, try not to use other conductive materials to short the connection. Instead, go to a local electronic store to buy a new one.
Check Storage Device
It is also possible that you are experiencing the issue while the system is trying to find an operating system to boot from. Issues with the storage drive are very likely in this case and you can check it by using a bootable media.
First, create a Linux Live USB or a Windows To Go Media using Rufus and boot using this media. If it doesn’t work, it’s more likely that your motherboard is not working properly. However, if your computer boots properly through such media, it indicates the following possible causes for the above error:
- PC not detecting the storage drive with the OS partition
- PC not recognizing the OS in the storage drive.
So, after booting to the media, use it to check if the system detects the storage drive or not. If it does, you need to clean install Windows to resolve any issues within. If not, it indicates a hardware issue. In such a scenario,
- Disconnect all power sources on the PC.
- Open the side panel on the PC after unscrewing it. If it’s a laptop, you need to remove all screws from the back panel and open it using a prying tool.
- Some laptops come with many panels that cover different hardware components. In such a case, you simply need to remove the one over your storage device.
- Look for your storage drive. If it’s a SATA device, you can find it easily and if it’s an NVMe SSD, a heat sink might be covering it. Remove any screws from the heat sink.
- Unscrew the device from the case of the motherboard. Make sure not to touch the circuit parts with your hands unless you are wearing an antistatic band.
- For SATA storage, take out the SATA and the power cables and for NVMe SSD, you can simply pull it out after unscrewing it. Also, it’s better to hold the edges so that you won’t touch the circuit while taking it out.
- Reinsert them again after cleaning the ports using canned air or an ESD brush and reassemble everything.


Power up your PC and check if the issue resolves. If not, open the PC again, take out the storage devices and try connecting them with other computers. If they don’t work there as well, they are damaged and you need to replace them. Otherwise, your motherboard is responsible for the issue and you need to replace it.
Check RAMs
The above error can also occur if your RAM sticks or slots are not functioning properly. This situation is actually quite easy to diagnose as RAMs are the easiest hardware part you can replace on your system.
- Disconnect all power sources on the PC.
- Open the side panel of the PC or the back panel of the laptop after unscrewing it.
- Look for the RAMs and unlock the clips on the side of the slots holding them in place. The sticks should pop up and then you can take them out.
- Clean the sticks using rubbing alcohol and microfiber cloth and the slots using compressed air or an ESD brush.
- First, try booting up your PC without any RAM (after reassembling everything else) and see if the same issue continues. If yes, the RAM is not responsible and you can move on. Otherwise, you need to troubleshoot this hardware component.
- Try inserting the RAM sticks one at a time to separate DIMM slots and check if your PC boots every time. You can also try using the RAM on other devices or other RAM on your PC if applicable.

If you determined any faults with the RAM, you can naturally resolve the issue after replacing it with a functional one. If any of your slots are responsible, we recommend seeking help from a technician to replace them as it is a more delicate process.
Replace Power Supply or Motherboard
You can also encounter this issue in rare situations if your Power Supply Unit (PSU) is not working properly. In such cases, sometimes, you won’t see the boot screen at all after powering up the system, and sometimes you do.
You can also check the PSU using the paperclip method or multimeters to make sure the issue is with the PSU. Then, you need to replace it to resolve your issue.

If the PSU is not responsible and all previous methods did not help, your motherboard is not working properly. And similar to the above, you need to replace it as soon as possible.