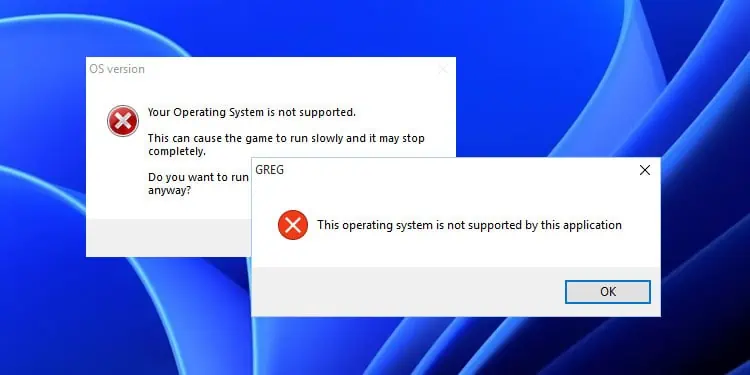
Whenever you try running an application or an installer that does not support your current Operating System (OS), you will get the error message “This operating system is not supported.”
This issue mostly occurs in two situations:
- If you try running some old applications in newer operating systems.
- If you are running a newer application in compatibility mode with an older operating system.
In both situations, the app can not run in its target OS, which leads to the error.
Check Application Compatibility Settings
The easiest way to resolve the issue is to manually check and change the compatibility settings to the appropriate configuration. You can do so through the app’s executable file properties.
- Press the Windows key + E to open the File Explorer.
- Navigate to the installation location of the application showing this error.
- Search for the executable file that runs the app.
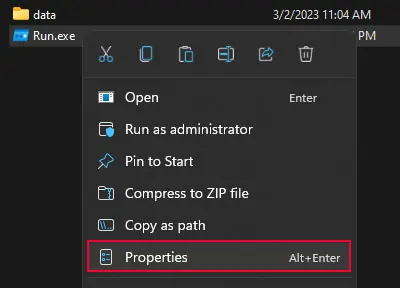
- Right-click on it and select Properties.

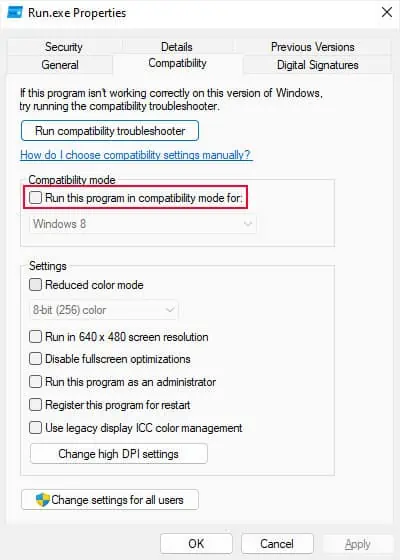
- Go to the Compatibility tab.
- If Run this program in compatibility mode for is enabled,
- Uncheck this option.

- Click OK and Apply.
- Run the program and see if it works. If the application has a separate launcher file along with its main executable file, you need to modify the compatibility properties for both files.
- Uncheck this option.
- If the option is not enabled, or disabling it doesn’t work, follow these steps.
- Check the option and set the drop-down box to the latest operating system in the list.

- Click OK and Apply.
- Similarly, change the setting of the launcher file if it exists.
- Try running the program and get back to the Compatibility properties if you encounter the error.
- Change the OS drop-down box to another system and repeat the process until you find the system where it works.
- Check the option and set the drop-down box to the latest operating system in the list.
Run Program Compatibility Troubleshooter
You can also run the Windows Program Compatibility Troubleshooter to automatically detect and set the proper compatibility settings on the program.
- Go to the installation location of the application showing the error.
- Right-click on the executable file of the app and select Properties.
- Go to the Compatibility tab.
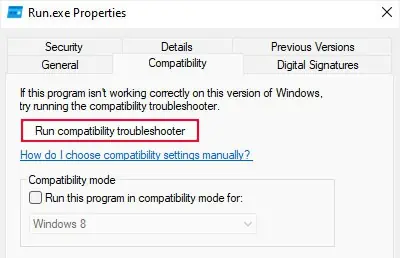
- Click on Run compatibility troubleshooter.

- After it detects the issues, click Try recommended settings.
- Then, after it makes the changes, click on Test the program. If the app runs, get back to the troubleshooter and click Next > Yes, save these settings for this program.

Upgrade Your System
Rather than the application requiring a previous Windows version, it is possible that it requires an upgraded version instead. First, check the official sources for the minimum requirements of the application.
If you have a much older operating system, you need to upgrade to the latest or at least the minimum supported system.
If you want to upgrade to Windows 11,
- Download and install the PC Health Check app.
- Click Check now. If it shows This PC can run Windows 11 or This PC meets Windows 11 requirements, you are good to go.

- Go to the Windows 11 download page on Microsoft.
- Click Download Now under Windows 11 Installation Assistant.

- Run the program and follow the on-screen instructions.
If your PC does not meet the requirements, I recommend checking out our article on installing Windows 11 from USB. It will tell you how you can install Windows 11 while meeting or bypassing these requirements.
If you want to upgrade to Windows 10,
- Go to the Windows 10 download page on Microsoft.
- Click on Download Now under Create Windows 10 installation media.
- Run the downloaded media creation tool.
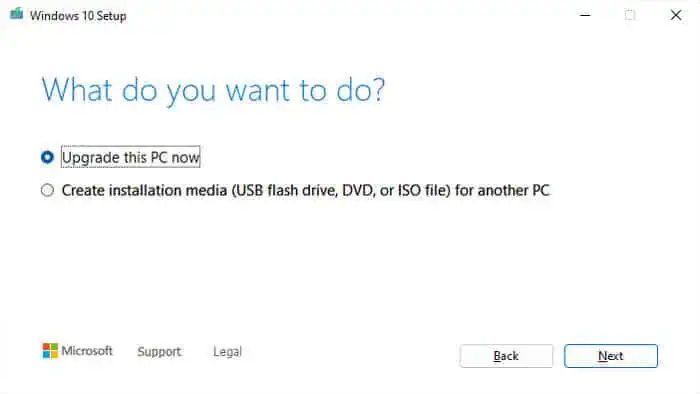
- Accept the license terms. Then, check Upgrade this PC now and click Next.

- Follow the on-screen instructions.
If you get stuck in the process by any chance, I have also written a detailed guide on installing Windows 10.
Update OS and Drivers
If you already have a system that should meet the application’s specifications, then it is likely that you don’t have the most updated version of your build.
You need to update the system as well as your drivers to prevent any compatibility issues.
- Open Windows Settings by clicking Win + I.
- Go to Windows Update or Update & Security > Windows Update.
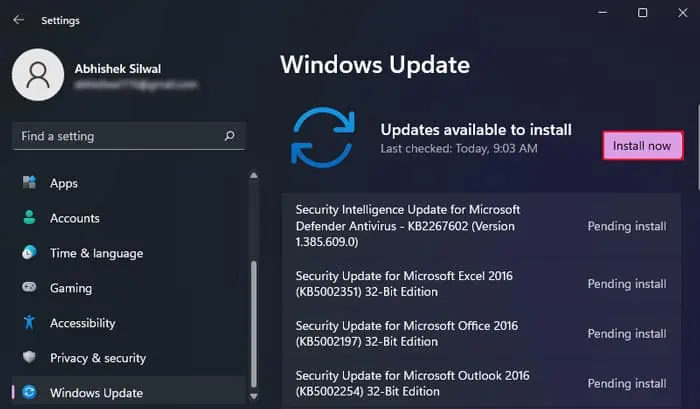
- Click on Check for updates to look for updates and Install now to install them.

- After installing the updates (and restarting your computer if necessary), go back to the Update Settings.
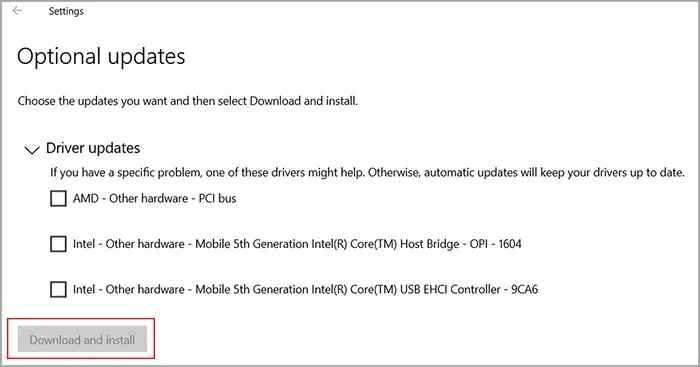
- Click on View optional updates or Advanced options > Optional updates.
- Expand all available categories, check all the options, and click Download and install.

If your motherboard or laptop manufacturer also provides some configuration software for your device, you should use it to install all available driver updates.
Otherwise, you will need to manually install the drivers for third-party devices like graphics cards and some of the peripherals. You can find the drivers on their manufacturer’s website.
