Tar files are a collection of files wrapped up into a single file. Tar.gz files use the standard gnu zip(gzip) compression. Due to their portability, you don’t need any extra software to unbundle them in Linux/macOS.
Because of this, the source code of open-source software is generally packaged as tar.gz files. Using system-provided package managers is an easier way for installation. But, not all software is available across all Linux systems. Also, the type of licensing may prevent some applications from being available altogether. This is where the tar.gz build system comes in.
How to Install Tar.gz
How to Extract Tar.gz Files
You can decompress a tarball in one of two ways. Most Ubuntu-based distros come with the Archive Manager application. Use either one of these approaches as you see fit.
Extract Tar.gz Files Using Archive Manager (Ubuntu/kali Linux/ Mint/ Debian)
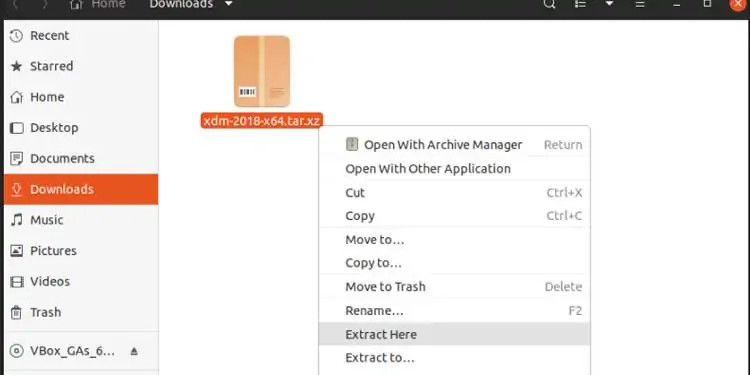
- Use your File Manager to get to the location of the file.
- Right Click on the file and click on Extract Here. You should see the Archive Manager extraction progress.
- After completion, you will notice a new folder created along with the tar.gz files.
- Open this folder in the terminal.

Extract Tar.gz Using the Command Line (All Linux Flavours + Macos Any Version)
- Open the terminal.
- cd /home/foo/Downloads
- Takes you inside the downloaded location.
- ls *tar.gz*
- Finds any tar.gz files and displays the full filename.
- tar -xzf keepassx-2.0.3.tar.gz
- Extracts from the tarball keepassx-2.0.3.tar.gz and creates a new folder with the same name.
- Extracts (x) using the Gzip algorithm (z) of the file (f) named ‘keepassx-2.0.3.tar.gz’.

- cd keepassx-2.0.3
- Takes you inside the now extracted folder.
- ls
- To confirm if the extraction completed successfully and to Check if you have a
configure.acfile orCmakelists.txtfile in this folder.
- To confirm if the extraction completed successfully and to Check if you have a
How to Extract Tarfile in Windows
If you are using Windows 10 or newer, you can use tar utility from Powershell. If using an older version, you need to install extraction software to get files from tar.gz. This article lists some of the popular software used in Windows PC.
- Type Powershell in Start Menu to open Windows Powershell.
- tar -xzf keepassx-2.0.3.tar.gz
- Extracts (x) while being verbose (v) using the gzip algorithm (z) of the file (f) named ‘keepassx-2.0.3.tar.gz’.

- Extracts (x) while being verbose (v) using the gzip algorithm (z) of the file (f) named ‘keepassx-2.0.3.tar.gz’.
How to Install Tar.gz File
For our purposes, we will examine the steps by installing a free application. The name of this application is KeePassX. Check their website for more information.
After following the above steps, we have the files we need under /home/foo/Downloads/keepassx-2.0.3.
The concept of this process is easy to follow.
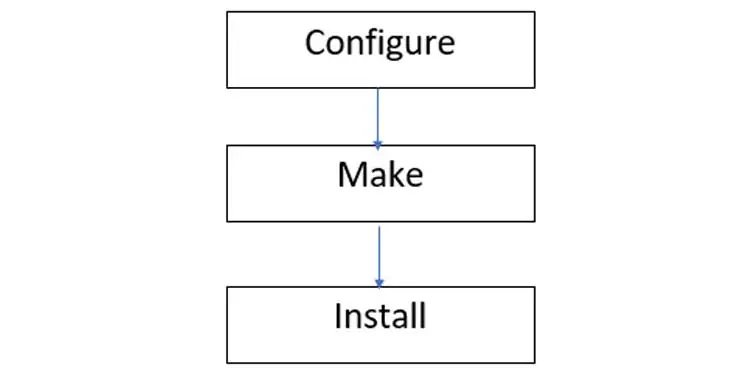
First, we build our configuration, and then we compile it for our Operating System. This process applies to any distro or any flavor of Linux with all tarball applications. Of course, every application has different config files. But they all follow the above general pattern for the installation process.
- cd /home/foo/Downloads/keepassx-2.0.3
- Takes you inside the extracted folder
- ls
- To look for an INSTALL/README file that contains detailed instructions.
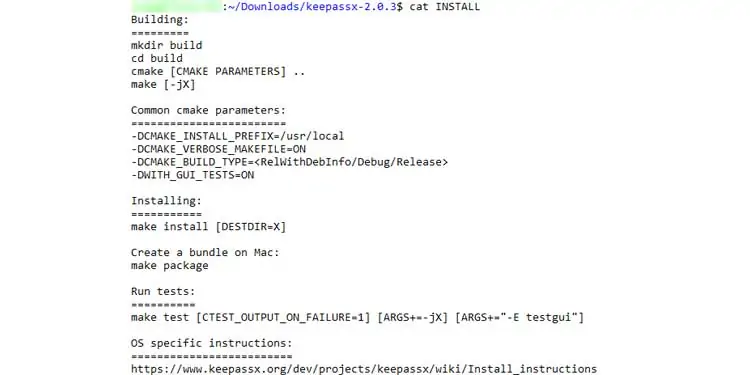
- cat INSTALL
- To read the contents of the file INSTALL. You can do the same for README too.

- To read the contents of the file INSTALL. You can do the same for README too.
- ls configure.ac
- To check if you have a configure.ac file or cmake files/folders here.

- To check if you have a configure.ac file or cmake files/folders here.
- If found, just do ./configure and move to Step 10.
- If not found, you need to create a build folder to generate config files.
- mkdir build
- To make a separate build folder
- cd build
- Go into the build folder
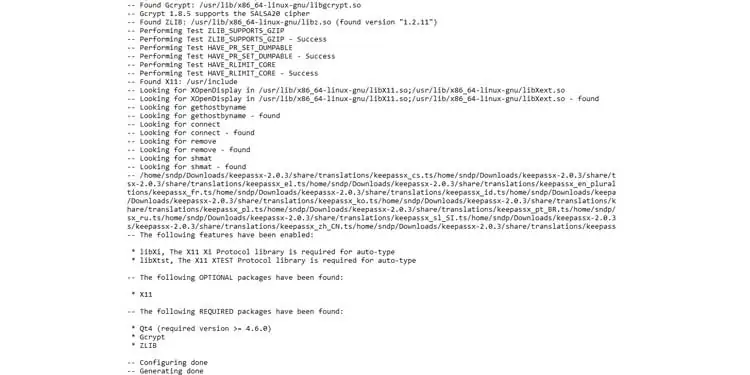
- cmake ..
- Configure using CMakeLists.txt file from directory one-level up into the current build folder.

- Configure using CMakeLists.txt file from directory one-level up into the current build folder.
- make
- Starts building using the freshly generated config files.

- Starts building using the freshly generated config files.
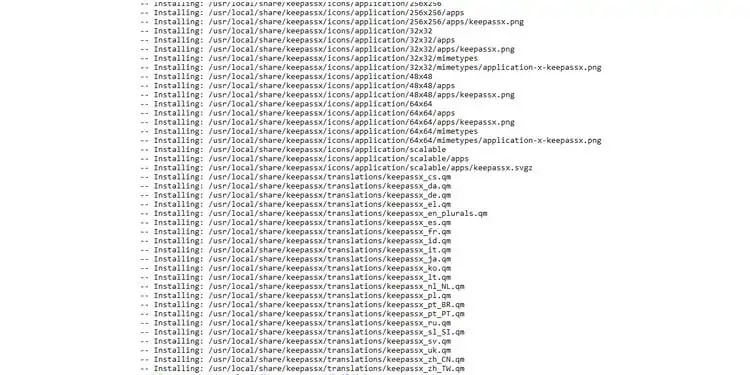
- sudo make install
- Install into the system using the freshly built files from step 10.

- Install into the system using the freshly built files from step 10.
FAQs
What is Dependency Error When Trying to Run cmake or configure?
This means you don’t have the required dependencies installed in your system. If you look at the INSTALL file, you will be able to see the list of dependencies. For Ubuntu-based systems, use apt-get install to install dependencies as shown below.
What Error Do We Get When Using cmake?
Cmake stores errors in CMakeError.log. This can happen when one or more dependencies are installed but don’t have the required versions. Refer to this article to install the correct versions of packages.
Error When Using ./configure?
Autoconf application is missing. Newer Ubuntu versions don’t ship autoconf utility by default. This can be solved by installing it as sudo apt-get install autoconf.
If you want to read more about the source installation process, follow this website.

