
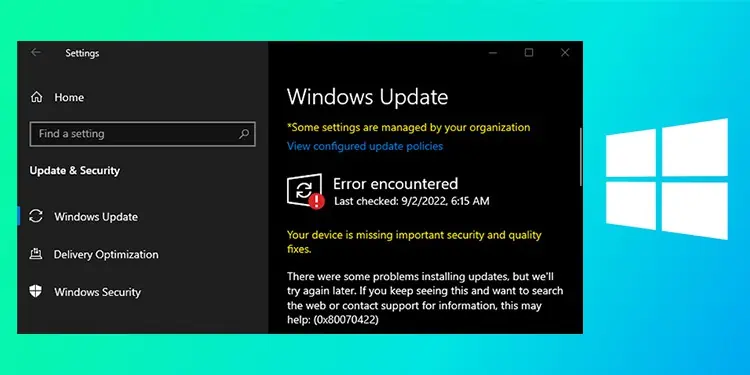
If you have recently upgraded to a newer version of Windows, sometimes you will see a message in your settings “Some settings are managed by your organization.” However, you get this error message regardless of your personal affiliation with any organization.
As the name says, this error limits you from accessing some features on your PC. You might not be able to modify settings like the update schedule. It surfaces as a result of errors and configuration bugs during Windows installation.
The error proves to be troublesome, even to the people who know every nitty-gritty of the PC. But do not worry! we have got you covered.
How to Fix “Some settings are managed by your organization”?
As we know, you usually get this message because of the unknown organization overriding permissions. This can also happen because of any registry changes in the past. Regardless, we have listed some of the things you can try out and see if it works. Bare in mind, that these fixes can differ with the Home and Pro versions of Windows.
Also, before trying any of the fixes create a system restore point. If you end up creating even more issues you can always revert.
Delete Work/School Account
When you are getting this error, the first thing you should try is to remove any extra accounts in your system other than your own one. It could be that such an account is overriding and restricting usage on your account as well. Please note that you need Administrative privileges to remove an account.
Follow these steps to learn how to remove Accounts.
- Press Windows Key + I to open Settings. Click on Accounts.
- Navigate to Access work or school and disconnect any additional accounts.

- Restart your system and see if that resolved the issue.

Allow Telemetry From Registry Editor
Registry Editor is a very useful tool that allows us to check the windows registry files and options to change them. Therefore, we suggest you change a few registry keys/files for Windows and see if it worked. There are many people that have had success with this method, so give it a try.
- Press Windows key + R to open the Run command line and type
regedit. - Next, follow this directory path:
HKEY_LOCAL_MACHINE\SOFTWARE\Policies\Microsoft\Windows\DataCollection. - Double-click AllowTelemetry and change its value to 1.
- Click on OK and Close off the Policy Editor.


Change Windows Service Option
Next, we need to change the properties for the specific service. Here’re the steps to change the Windows service status.
- Press Windows key + S and type in Computer Management and hit Enter.
- Expand Services and Applications and click on Services.
- From the list of different services, find the services called Connected User Experiences and Telemetry.
- Right-click and click on Properties. Set the start-up type as Automatic and hit OK.


Revert Changes of Registry Files
If you modify the registry values to specific settings/apps to modify how it works, this can result in the issue being shown. Specifically, if you have changed the registry files for Windows Update you get this error. We will see how to revert back the changes.
- Go back into the Registry Editor.
- Follow this directory path:
HKEY_LOCAL_MACHINE\Software\Policies\Microsoft\Windows\WindowsUpdate\AU. - Delete all the registry files except for the Default.

Restart your PC once and see if the issue persists.
Use Group Policy Editor
Another reason you might be getting this error is that you set a policy for Windows updates. In that case, you will need to change the settings for them.
Also, this method only works for users with either Pro or the Enterprise build of Windows.
- Press Windows key + R and type in
gpedit.msc. - Next, goto Computer Configuration > Administrative Templates > All Settings.
- Ensure that all the settings are set to Not Configured.
- Next, set the settings to Not Configured for User Configuration > Administrative Templates > All Settings.
- You will need to do another restart.
- Now, navigate to Computer Configuration > Administrative Templates > Windows Components > Data Collection and Preview Builds.
- Find and double-click on Allow Telemetry.
- Press on Enable and from the drop-down menu below, choose Optional.
- Hit Apply and Ok.
- Double-click on it again and this time change it to Not Configured.
- Press Ok and exit out.
- Restart your PC and see if that resolved the issue.


Change Network Setting
If you are still getting the error message, the next thing to do is to change the network property. This will let Windows know that your PC is a home computer and not a part of any organization.
- Press Windows key + I to open Settings.
- Navigate to System.
- Click on About and then Advanced system settings.
- Next, Computer Name > Network ID.
- Now, select the second option that says This is a home computer.
- Hit Next and Finish.
- Restart and see if the issue persists.


Reset Your System
If you are still getting the error and nothing works for you, you should reset your system as a last resort. This will remove all the system files, and settings so you will likely not face this issue afterward.
To reset your system, follow these steps.
- Press Windows key + I to open Settings.
- Click on Update & Security.
- Navigate to Recovery and press on Get Started under Reset this PC.
- Follow the on-screen instruction to start the reset.

You can check out our other article for a detailed guide on how to reset your computer.