
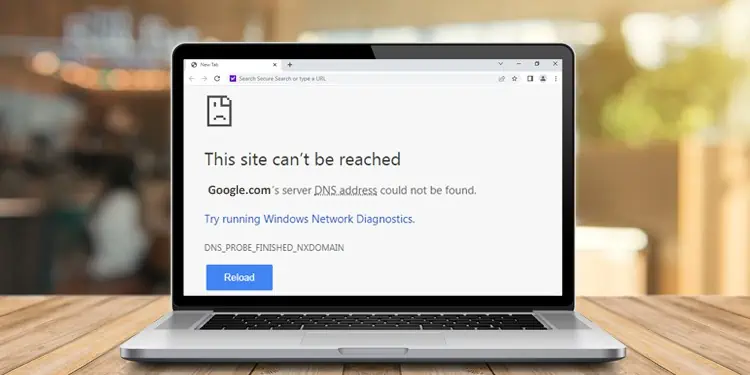
The error message “DNS address could not be found” may appear when trying to browse some websites. It may completely prevent you from using the internet, or in some cases, it may only lock you out of specific websites.
If you are getting this error message for a particular website, it may be a client-side issue. For that, you can try to clear the DNS cache. However, if this issue pops up on multiple devices, the issue may be related to your ISP. You can contact your Internet service provider to make the necessary changes and fix the issue.
We’ve listed how to clear the DNS cache and some other possible fixes you can try on your own device in this article below.
Causes for “DNS Address Could Not be Found” Error
Your web browser throws out the DNS address not found error if it cannot find the IP address of the website you’re trying to reach. This may happen due to the following reasons:
- DNS server is down
- Malfunctioning Router
- Corrupt DNS cache
- Third-party software
- Malfunctioning website
How to Fix “DNS Address Could Not be Found” Error?
The first general fix for this issue would be to restart your router. Turn it off and wait for 10 seconds before turning it back on. This will reset the cache memory of the router itself. If any cache is corrupted, it will clear them out. Here are some other fixes you can try:
Run the Troubleshooter
Windows has a built-in program to solve basic windows problems. It will search for any misconfiguration and notify you about it. Then it will try the fix the issue. Here’s how you can do it:
- Press Win + I to open settings.
- Go to Update & Security.
- Click on the troubleshooter from the left panel and go to Additional troubleshooters.
- Select Internet Connections and Run the troubleshooter.


Change DNS Server
A Domain Name System is a list and location of all the websites on the internet. A web browser uses this list to make requests to the server for connection with the website. A DNS server’s job is to respond to such requests made by the web browser.
You may see this error if the DNS server is unresponsive. So, to fix this issue, you can change the DNS server address. Your ISP usually provides its own DNS, but you can change this in the network settings.
Here’s how you change your DNS server:
- Press Win + I to open the settings.
- Go to Network & Internet.
- Click on Change adapter options.
- Choose and right-click on your type of internet connection. If you’re using an ethernet cable, choose Ethernet, and if you’re using Wi-Fi, right-click on Wi-Fi.
- Click on Properties.
- Under the Networking tab, search for Internet Protocol Version 4 (TCP/IPv4) and click on Properties.
- Click on the General tab and select the Use the following DNS server addresses option.
- Preferred DNS server: 8.8.8.8
- Alternate DNS server: 8.8.4.4
- Press OK to save the settings.


Reset Network Settings
You can use the command prompt to flush and reset the DNS settings on your device. The command prompt is a command line interface you can use to execute system operations. You can force your PC to refresh the DNS list. This process of flushing the DNS will put the resolved DNS cache back after communicating with the DNS server.
Here’s how you flush the DNS cache:
- Press Win + R, type
cmd, and press Ctrl + Shift + Enter to run it as administrator. - Type the following commands and press enter sequentially.
ipconfig /flushdnsipconfig /releaseipconfig /renewnetsh winsock resetnetsh int ip reset


Clear Chrome Browser cache
The chrome browser uses its own separate DNS cache. So, just resetting the Windows DNS cache may not fix this issue. If you use a chrome browser, you can try the steps below to reset its cache.
- Open Chrome and press Ctrl + T.
- Type
Chrome://net-internals/#dnsin the address bar and press enter. - Press the Clear host cache button and restart chrome.

Restart DNS Service
You can also try to restart your DNS client in your Windows system. A DNS client is responsible for sending queries to the DNS servers. Restarting this service may solve issues with unexpected malfunctions. Here’s how you do it using the command prompt:
- Press Win + R, type
cmd, and run as administrator. - Type
net stop dnscacheto stop the DNS service. - Type
net start dnscacheto start the DNS service.

Uninstall Third-Party Software
Third-party applications like antivirus software or VPN apps can also sometimes cause this issue. These apps may create another layer of network configurations which may break your connection as well.
You can try running your PC in safemode to rule out this possibility. Safemode runs your PC with the most basic and minimal files needed to operate your computer. If this issue doesn’t occur in safemode, we can confirm that a third party is intercepting your connection. Here’s how you run your PC on safe mode:
- Press Win + R, type
msconfig, and press enter. - Go to the Boot tab.
- Tick the Safe boot option under Boot options.
- Click OK and restart your PC.

You can follow the above steps and untick the option to change the boot settings back to normal.
You can uninstall any application that you think may be responsible for Apps & features.
- Press Win + I to open settings.
- Go to Apps > Apps & features.
- Select the app from the list and click Uninstall.

If you’ve manually changed proxy and VPN settings, you can temporarily disable it and check if it works.
Repair/Edit Host Files
If you’ve made changes to the host files before, you may want to change them back to default values. It is because the host files are essential to map IP addresses to their corresponding host names. Here’s how you do it:
- Press Win + R to open Run.
- Type
notepad %WinDir%\System32\drivers\etc\hostsand press Ctrl + Shift + Enter. This allows us to open the file as an administrator and save any changes directly. - Remove any entries you might have previously made.
- Press Ctrl + S to save it.

Update Network Driver
An outdated or corrupt driver can also cause this error. Updating the driver can remove the corrupt files and replace them with new ones. Here are the steps to do it:
- Press Win + X and click on Device Manager.
- Expand Network adapters.
- Right-click on your Network adapter and click Update driver.
- Select Search automatically for drivers.
