
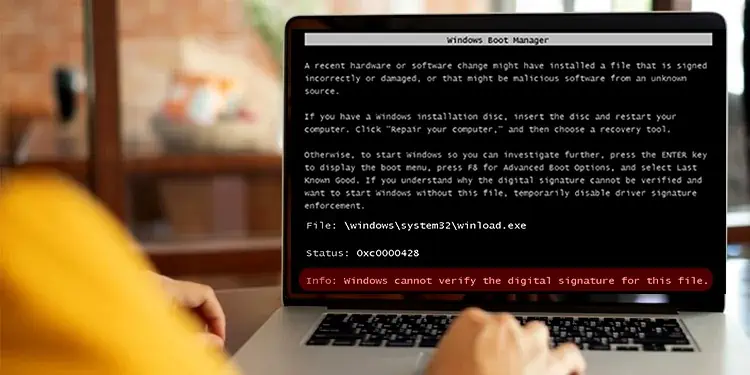
“Windows Cannot Verify the Digital Signature for This File” is a black screen error followed by an error code 0xc0000428. While this error can prevent your computer from booting up, it can also appear in a popup window when installing an application or device driver.
A digital signature is an electronically attached signature in an application that helps Windows verify the integrity and authenticity of the publisher. It helps protect your computer from any susceptible threats. But when Windows can not find a digital signature integrated into an application, you might face this problem.
While you generally encounter this when trying to install unsigned and uncertified drivers on your computer, it can also arise due to corrupted drivers. Whatever the causes are, this article will guide you through all the fixes that will help you eliminate the error.
How to Fix the “Windows Cannot Verify the Digital Signature for This File” Error?
It is always a good idea not to install the driver or software if it has no certified publisher and is unsigned. However, if you think that the software is legit enough to cause no harm to your computer, there are a few methods you can proceed with to install them.
Here, we have compiled 6 methods you can use to troubleshoot the error. Here, you will also learn how to solve the (error code 52) on the device manager since it also deals with digital signature verification.
Disable Signature Check
Windows has a special security feature called Driver Signature Enforcement that only lets the digitally signed drivers and programs load on your computer. When this feature is on, you can not use any unsigned drivers or install them. Therefore, disabling the feature can be helpful in installing unsigned drivers and applications.
- Click the Windows logo on the taskbar.
- Press and keep pressing the Shift button on your keyboard.
- Then click Power icon > Restart.

- After a while, the system will boot into recovery mode.
- Choose Troubleshoot from Choose an option screen and then click Advanced options.
- Click Startup Settings and then click Restart button.
- Follow instructions on the screen and select Disable driver signature enforcement option.
- Your computer will reboot, and now you can install the unsigned drivers without any problem.
- The computer will go into normal boot mode after a restart.


Tip: If you are stuck in the Windows Boot Manager error screen and unable to boot into Windows, you need to enter recovery mode to turn off driver signature enforcement.
You can use keys like F9, F11 or F12 to enter the recovery mode depending upon the PC manufacturer. Then follow the same steps discussed above to turn off the feature.
Reboot System Without Integrity Check
The next security feature on Windows is integrity checking. It looks after if the file system has been altered and helps verify the authenticity of the publisher. When enabled, it can prevent loading the unsigned drivers. So, you may disable integrity checking before installing those unsigned programs.
- Hit Windows + R.
- Type
cmdand press Ctrl + Shift + Enter keys to run the elevated Command Prompt. You can also run Command Prompt through recovery mode if you are stuck in the error screen. - Type or copy and paste this command
bcdedit /set nointegritychecks ONon the command window and hit Enter. - Then restart the computer.
- Proceed with the installation of the unsigned driver.
- Once the installation is complete, run this command
bcdedit /set nointegritychecks OFFto re-enable integrity checking.


Tip: If you encounter the message “An error has occurred setting the element data. The value is protected by Secure Boot policy and cannot be modified or deleted.” while running the command, please disable secure boot before running the command.
It can easily be disabled from BIOS settings. You can consult our article on how to enable or disable secure boot on a computer. Once the command executes successfully, please re-enable secure boot.
Install in Test Mode
Windows also incorporates a separate mode where you can test uncertified software and drivers. You can boot your computer in this mode, install the unsigned applications, and then go back into normal mode easily. This way, you won’t encounter an error.
- Open the elevated Command Prompt.
- In the command window, paste this command
bcdedit /set testsigning onand hit Enter. - Exit from the command window and restart your computer.
- Once the system boots up in Test mode, install those uncertified software.
- Then get out of the test mode. Type
bcdedit /set testsigning offin the command window and hit Enter. - Restart your computer, and you will go back to normal mode.


Run SFC and DISM Scan
As stated in the error message screen, the error can also arise when the file is damaged, possibly corrupted. That’s why you also need to perform a DISM and SFC Scan to fix errors in the file system. This fix is primarily aimed to solve the (error code 52) on the device manager.
- Open Command Prompt with administrator rights.
- Type
DISM /Online /Cleanup-Image /RestoreHealthand press Enter. - Once the DISM scan completes, type
SFC /scannow - Hit the Enter key on your keyboard.
- Let the scan run and repair the corrupted files.
- Restart your computer.


Note: As mentioned earlier, you can also enter the Recovery mode if you are unable to login to Windows to access Command Prompt.
Update or Uninstall Recent Applications or Drivers
You can also opt to uninstall applications or drivers that created a problem after a recent installation. You need to seek signed drivers and software so that you won’t face a could not verify digital signature error.
- Hit Windows +R.
- Type
appwiz.cpland press Enter key. - From the list of applications, locate and uninstall the recently installed application.


Moreover, you can also see if there are any problematic drivers responsible for the error and uninstall them.
- Hit Windows + R keys.
- Type
devmgmt.mscand hit Enter key. - See if you find any device with a warning sign (generally a yellow exclamation).
- Right-click over the device and choose Update driver.
- Proceed with Search automatically for drivers.
- If updating the driver does not solve the problem, you can go with Uninstall device option.
- Confirm uninstallation in the popup and restart the computer.


Tip: If you are still having problems updating the driver, you can consult this comprehensive guide on how to update drivers on PC.
Use System Restore in Windows
Lastly, you can use the restore point created on your computer to restore it to the earlier versions, where everything was working fine. Follow these steps:
- Hit Windows + R.
- Type
rstrui, then press Enter key. - Click Next and choose the restore point.
- Again click Next and follow the on-screen instructions to complete the system restore.

