
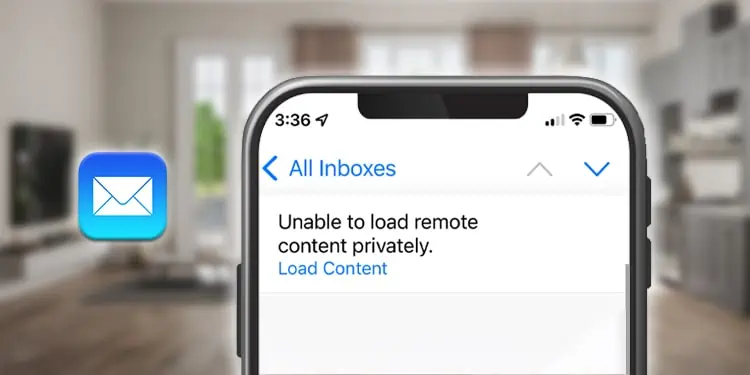
With iOS 15, Apple enhanced its privacy protection that hides IP addresses limiting senders from identifying your location information. However, with these security features enabled, many Apple users are experiencing issues with their Mail app.
They have reported problems loading the mail content and were notified with a message “Unable to load content privately.” Generally, these issues occur if you have recently updated your device. Or, the bugs within the device and apps can also lead to this issue. Luckily, you can get rid of the issues by simply toggling off the security feature.
How to Fix Your Network Settings Prevent Content From Loading Privately?
When you get this error message, first make sure the iCloud server is up and running. If it’s red, it means the server is currently down.
Besides that, you should force close all the apps running in the background and restart your iPhone. However, if this error message still persists, you can try the following methods.
Disable Protect Mail Activity and Block All Remote Content
As mentioned in the introduction part, with the new privacy feature, you are likely to see this message. You can disable this feature and see if it might resolve the problem. If it doesn’t work for you, make sure to turn on this security feature again.
- Launch the Setting apps on your iPhone.
- Scroll down and Click on Mail.
- Go to Privacy Protection.

- Toggle off the Protect Mail Activity.
- Once you toggle it off, Now turn off the Block All Remote Content.


Turn Off Limit IP Address Tracking
IP address tracking is another security feature available on your iPhone, but sometimes it messes up with your app’s functionality. Turning off this feature can also help to get rid of such issues. But, if you disable it for a long time, it can pose a security risk, so make sure to turn it on once you test this method.
- Open the Settings.
- Go to Wi-Fi.
- Tap the (i) button next to the connected Wi-Fi Network.
- Now, Turn off the Limit IP Address Tracking.

Inspect the Private Relay Sync
You can encounter these issues if you haven’t enabled the Private Relay Sync option. The Private relay might only be enabled in an iCloud account, but it’s important to make it active on your current internet connection. Once you enable it on your currently active connection, the problem might get fixed.
- Launch the iPhone’s settings.
- Go to Wi-Fi.
- Tap on the (i) button of the connected network.
- Now, Toggle on the iCloud Private Relay.

Use Cellular Data
There’s a chance that your Wi-Fi connection can be the reason behind the issue. If you are connected to a Public network, your iPhone may disable some of its functionality for the user’s privacy. In such a case, try switching to Cellular Data and see if it might work for you.
Turn Off the VPN
If you have turned on the VPN, the mail message might not load and download from the mail app. So, you can disconnect the VPN and check if the issue is solved.
Also, if you are using third-party antivirus apps or have enabled the Firewalls and DNS Guards, ensure to disable them too.
Reset All Settings
Resetting all settings will restore all of your device’s settings to default. You don’t need to worry as it won’t erase your personal data. However, all your Wi-Fi, VPN, Bluetooth, and other networks and customized settings will be wiped out.
But, if the issue is more serious, you can erase all the content and settings. But this time, it will erase all of your personal data, so if you are planning to erase all the content and settings, ensure to make a proper backup and then only make a further process.
Here are the steps to reset all settings.
- Launch the Settings.
- Go to General.
- Scroll down and Click on Transfer or Reset iPhone.
- Now, Tap Reset All Content and Settings.
- Click on Reset All Settings.
- Enter the Passcode.
- Tap again on Reset All Settings to confirm.
- Your iPhone will start to reset and will restart.


Update your Device
Sometimes due to the device’s bugs, you can come across these issues. For that, you can install the new update. There’s a chance that updating can fix it because most software updates focus on resolving the previous bugs.
Not just that, when you install a new update, you will get brand new features too. Therefore, if the new update is available for your device, install it and see if it works for you.
- Open Settings.
- Tap on General.
- Click on Software Update.
- Then, scroll down and Click on Download and Install.
- You may be prompted to enter the passcode.
- Once you enter it, your iPhone will start updating, which may take a while, depending on the internet connection.
