
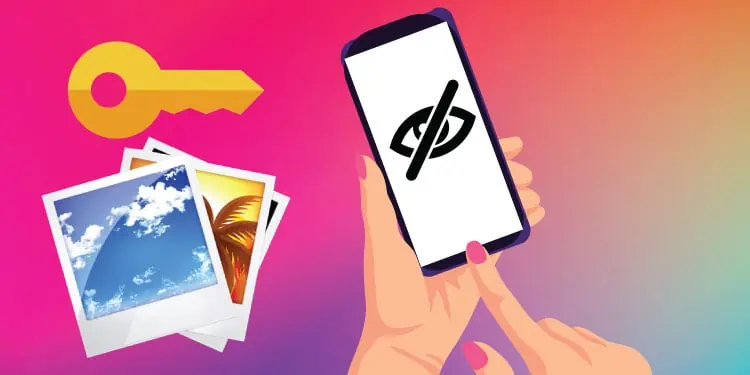
Although Apple’s ecosystem is robust, one aspect that still lacks security is the Hidden album on the Photos app. Merely hiding the photos from your camera roll only moves the location of your photos.
Anyone who opens the Hidden Album folder can get full access to all your private photos. And as of date, Apple doesn’t have a feature that lets you add a passcode to this folder. But, the good news is that there are a few workarounds for this problem. So, let’s check them out in detail together.
Hide Hidden Album Via Settings
One quick way to hide your hidden photos is by entirely hiding the Hidden album. Doing so will not display the Hidden album in the Utility section inside the Photos app.
So, if someone is going through your gallery, they won’t be able to access your hidden photos quickly. Here’s how you can do it:
- Go to Settings.
- Tap on the Photos app.
- Slide the toggle to turn off Hidden Album.


Hiding the album won’t make its photos appear in any other location in your gallery. So, whenever you want to view the hidden photos again, you can go back to your Settings. Tap on Photos and then turn the Hidden Album option back on.
Using the Notes App
The Notes app may seem odd at first. But, it has a security feature that lets you lock files within it. You can either add a photo or a video in a note and lock it using a password or your Face ID.
The best part about this solution is that your locked media with the Notes app will remain intact even if you delete it from your gallery. So, here’s how you can do it:
- Select as many photos as you’d like to lock inside the Notes app.
- Select the Share icon and tap on Notes.
- Tap on a new or an existing note and add a description if you prefer.
- Tap on Save. Doing so will start sending your photos and video to Notes.
- Now, open the Notes app and locate the note with your media.
- Tap on the three-dotted circle in the top-right corner.
- Select the Lock icon and add a password to the file. If you prefer, you can set up Face ID as well.

You can now simply open the note with your password, and all your private photos/videos can remain safe. Similarly, you can also export the hidden photos back to your Photo library by opening the photo and tapping on Share. Then, select Save Image. In this way, your photos aren’t stuck in the Notes app.
Hide Photos in iWork Apps
Finally, you can also hide your private photos in any of the iWork Apps, like Keynotes, Numbers, and Pages, using a password and Face ID. However, there are a few things to consider.
- The quality of the photos will degrade drastically.
- The interface can be a bit confusing to add photos.
- The format of the photos may not always be proper since they’ll need to be included in a document.
However, if you don’t mind the low-quality image and find it easy to use such apps, you can give them a try. Out of all three, we found that Keynote is relatively easy to use. So, here’s how you can use it to add your important photos.
- Open Keynote and tap on the + icon to create a new document.
- Open the document and tap on the + icon again from the menu bar at the top of the screen.
- From the given options, tap on Photo or Video. You can only select one photo or video at a time.
- Then, adjust how you want to add the photo to your document.
- Now, tap on the ellipsis icon and select the Set Password option.
- Create a new password along with setting up Face ID for better security.


Once you’ve locked the file with your photos, the file won’t display the thumbnail as well. It’ll be easy to recognize your private file as it displays a padlock icon.
Use Google Drive
Google Drive may not seem like the best option to keep your photos secure at first. But, we can still make it work because you can lock your G Drive’s content with your Face ID. This step is especially useful if you don’t have storage elsewhere.
Firstly, we’ll need to enable Face ID for Google Drive. You can do this by following these steps.
- Go to Settings and then tap on Face ID and Passcode.
- In the first section that says Use Face ID for, tap on Other Apps.
- Slide the toggle to enable Face ID for Google Drive.


Then, you’ll need to create a new Google account and only use it on your iPhone, not on any other device. Open Google Drive and create a new folder with a random name that doesn’t sound suspicious. Add your private photos to the folder. You can now delete the photos from the Hidden Album on your Photos app.
You can even use google drive to backup your contacts. Want to find out how? If you do, read this article.
Use Third-Party Apps
If you don’t want to use Google Drive, you can use other third-party apps with good security features from the App Store. You can use apps like Folder Lock, Keeply, Private Photo Vault, TouchyNotes, and such. It’s best to remember that some apps may cost a certain amount and may include in-app purchases.
Use a Strong Passcode or Face ID
To prevent people from snooping around your photos on your phone, it’s a wise choice to first create a strong passcode. Additionally, setting up a Face ID is another secure way to make sure your phone stays locked without your permission.
Even if you’re sleeping and someone tries to unlock your phone via Face ID, it won’t work properly. This is because the iPhone requires accurate positioning of your eyes towards the camera. You can set up Face ID in these simple steps:
- Go to Settings.
- Tap on Face ID and passcode.
- Select the Set Up Face ID option.
Store Photos in Another Device
Finally, if you don’t want to store your photos in any location on your phone, you can keep them safe on another device, like your PC. Create a new folder and give it a random name. You can keep this folder inside other folders in a secure location. Then, you can delete the private photos from your iPhone.