
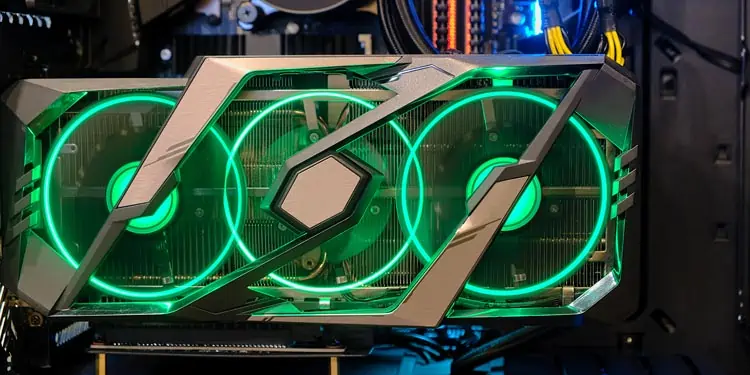
Have you ever been curious about how much of the GPU your AAA game or editing software is actually using? Well, checking it is very simple.
You can check overall GPU Utilization, Dedicated/Shared GPU Memory, usage per engine, and much more directly from the Task Manager. Tools like MSI Afterburner can also provide even more data and functionality if you want to delve deeper.
We’ve included all the details on how to check GPU Usage with these methods and more below.
How to Check GPU Usage from Task Manager
You should first ensure that your Windows Display Driver Model (WDDM) version is 2.0 or above. You can do so with the following steps:
- Press Windows + R.
- Then, type and enter
dxdiagto open the DirectX Diagnostic Tool. - Switch to the Display and Render tabs and check the Driver Model.


If the driver model is WDDMv1.x, the Task Manager won’t show the GPU Resource Usage as it’s not supported. Try the other methods from our guide instead.
But in the case of WDDM 2.0 or higher, Task Manager will display most of the GPU Usage data you need, no third-party utility required. To do so, follow the steps below:
- Press CTRL + Shift + Esc to launch the Task Manager.
- Click on the More Details button to activate Advanced View.
Now, you can switch between the different tabs and view the GPU usage accordingly.
Processes
- Right-click anywhere over the columns section and select GPU and GPU engine to display the tabs if you don’t see them.
- In the GPU column, the value at the top is the overall GPU utilization across all GPUs, the same as the one displayed in the performance tab.
- The GPU usage % for an application or process shows what % of the busiest engine is being utilized. This isn’t overall usage across all engines, only the busiest one.
- In the GPU engine column, you can see which GPU and engine are being used. You can check which GPUs are GPU 0 and GPU 1, and so on in the performance tab. More on that below.

Performance
- Select the appropriate GPU from the left panel. They’re named GPU 0, GPU 1, and so on for conciseness, but you can check their full model name underneath.
- If your system uses NVIDIA SLI or AMD Crossfire, you can also select any individual GPU in the link and check its performance.
- In the graphs section, press the small dropdown arrow to display a graph for another engine type. (3D, Video Encode, Decode, Copy, Compute, etc.)
- At the bottom, you can check the overall GPU Utilization, GPU Memory, Dedicated and Shared Memory, Driver version, DirectX version, and much more.
- Finally, right-click over any of the graphs to access the view settings. These don’t add any new data; they only change the appearance of things.

Details
- Right-click anywhere over the columns and press Select columns.
- Choose GPU, GPU Engine, Dedicated GPU Memory, and Shared GPU Memory, and press OK.
- The GPU and GPU Engine columns are the same as those in the processes tab.
- Dedicated GPU Memory indicates how much of the dedicated VRAM (physically onboard the GPU) a process or application is using.
- Shared GPU Memory indicates how much memory the integrated graphics system is using from the overall system RAM.

Users
This tab is situational as it only applies if multiple users are signed in to the PC in a single session. In such cases, you can check the GPU Usage and all the other info akin to the processes tab, except for all currently signed-in users.

You can right-click a user and press Sign off to force the account to sign out. This is the same as when you normally log out, so keep in mind that this will terminate all open apps and processes on that account.
How to Check GPU Usage with Manufacturer / Third-Party Software
GPU manufacturers like NVIDIA and MSI have some great ways to monitor GPU usage via official tools like the NVIDIA Control Panel or MSI Afterburner. Aside from these, some reputable third-party apps for checking GPU stats include GPUZ and HWMonitor.
NVIDIA
If your PC sports an NVIDIA GPU, chances are, it also has the NVIDIA Control Panel app. By configuring a few settings, you can view which apps are using your GPU directly from your taskbar. To do so:
- Right-click on your desktop screen and select NVIDIA Control Panel. Alternatively, press Windows + S and search NVIDIA Control Panel.
- Open the View tab or the Desktop tab at the top and click on Display GPU Activity Icon in Notification Area to activate it.
- Click on the NVIDIA GPU Activity icon from your taskbar. If you don’t see it, click on the Show Hidden Icons arrow.

MSI Afterburner
MSI Afterburner is an incredibly versatile graphics card software with many functions, one of which is to monitor GPU Usage. You can examine various details including GPU usage, memory, temperature, core clock, voltage, power, and so on. To use this:
- Launch MSI Afterburner and open Settings.
- In the General tab, select the GPU you want to configure.
- Switch to the User Interface tab. You can change the skin if you want here. For tutorial purposes, we’ll use the Default Interface.
- Switch to the monitoring tab and change the hardware polling period to 100 milliseconds.
- Select GPU1 Usage and enable Show in On-screen Display.
- Repeat this for GPU2 Usage, Memory, Temperature, Frame rate, or any other stats you want to monitor.
- Press OK or Apply to save the changes.
- The options you selected earlier will now display on the top-left of your screen while in-game. You can customize how the data looks with RivaTuner.

