
Running numerous applications simultaneously increases your RAM usage. You can lower this by closing unnecessary applications from the foreground and the background.
Applications, like your browsers, might also use more memory than required. Removing extensions and using browsers that use less RAM are some other options.
Also, note that memory usage increases during Windows updates. So, it’s best to schedule them.
You can even enable Smart Boost in Microsoft’s PC Manager. This automatically lowers RAM usage by clearing all temporary files.
Now, let’s dive into how you can lower RAM usage in greater detail.
Disable Background Applications
The first thing I recommend is ending unnecessary background applications from the Task Manager. This will completely close any application/process, or service, and free memory resources for the selected application.
- Press the Ctrl + Shift + Esc to open Task Manager.
- From the Processes tab, select the unnecessary applications/processes that are currently using high memory successively.

- Click on End Task.

Additional Tip: When removing a task from the background, check if any application is causing memory leaks. In such a case, you can follow our guide to free memory and re-install them immediately.
While you are here, I also advise disabling all the unnecessary apps that automatically run during startup and consume high memory.
Get to the Startup apps tab and disable those with a ‘High‘ Startup impact.

Close Browser Extension
Browser extensions take up a significant amount of memory. These extensions take even more memory as you open more tabs. This means the system along with the web browser lags and feels choppy.
So, if you want to lower RAM usage, remove any unnecessary extensions:
- Open Browser Settings.
- Click on Extension.
- Here, remove any unnecessary or unused extensions.


My Tip: Using a browser with a RAM limiter helps you keep its RAM usage under a limit.
Pause Windows Update Temporarily
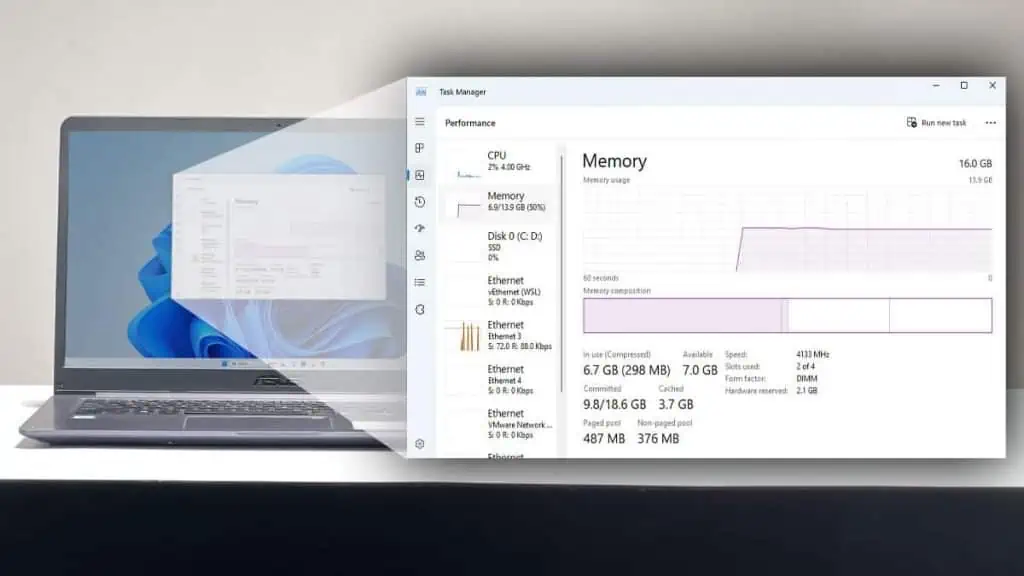
Memory usage is usually high during a major Windows update.
However, during this scenario, the Task Manager’s App section won’t display any sign of high memory usage.
But in the background section, you will see that a Windows update component takes up a significant amount of memory.
If you see high RAM usage, get to the Windows Update section in Windows Settings and check if the system is installing or downloading any updates.

If yes, you need to stop the Windows update from services. I recommend downloading and installing the update when the PC is Idle.
- Press Windows + R, type
services.msc, and press Enter. - Double-click on Windows Update.
- Click on Stop.
- Again, go to Windows Update in Settings and pause Windows Update.


Applications, like your browsers, might also use more memory than required. Removing extensions and using browsers that use less RAM is another option.
Since memory usage increases during Windows updates, always schedule them until the PC becomes idle.
Use Microsoft PC Manager
You can use Microsoft’s PC Manager to lower memory usage and clean all the temporary files. Here’s how:
- Head over to the Microsoft store to download Microsoft PC Manager.
- Open the application and click on Boost. You should see a drop in memory usage and temporary Files.
- To allow the system to clear memory automatically, click on Set Smart Boost and turn on Smart Boost.


Upgrade Your RAM
I had similar issues with my old 8GB laptop. The above steps initially helped to significantly lower the RAM usage. However, after some time during heavy workload, the RAM usage increased again.
To improve the PC experience, the only thing that worked for me was adding more RAM. This allowed me to use numerous applications simultaneously.
So, if the system constantly reaches high memory usage even on idle, I recommend upgrading your RAM.
If adding more RAM is not possible, you can always increase VRAM.
Your system uses virtual memory, taken from the storage devices, to store unused excess data from the RAM. This way, you will have free memory available when necessary.