
Splitting the screen divides multiple windows evenly on your screen without the need to resize them, making multitasking a lot more efficient as you can access all your windows at once.
On Surface Laptops, you can split the screen by sliding the window to one side of the monitor. Once you do this, the window automatically snaps into place. Repeat the same for the other window but on the opposite side of the monitor to split the screen into two halves.
Remember that you need to have Snap Windows enabled for this feature to work.
First, Enable Snap Windows
Although Snap Windows is enabled by default in all versions of Windows, I recommend that you check if this feature is enabled.
Snap window automatically resizes the window once you move it to the left or rightmost side or corner of the screen.
Here’s how you can check if this feature is enabled.
- Open Windows Settings by pressing the Windows + I key simultaneously.
- Go to System > Multitasking.
- Check whether Snap Windows is enabled. If it is not enabled, toggle the slider to on.
- Expand the option by clicking on the downward-facing arrow and enable all options in the list.


After this, also set the display scale to the recommended size to accurately split the screen. To do this,
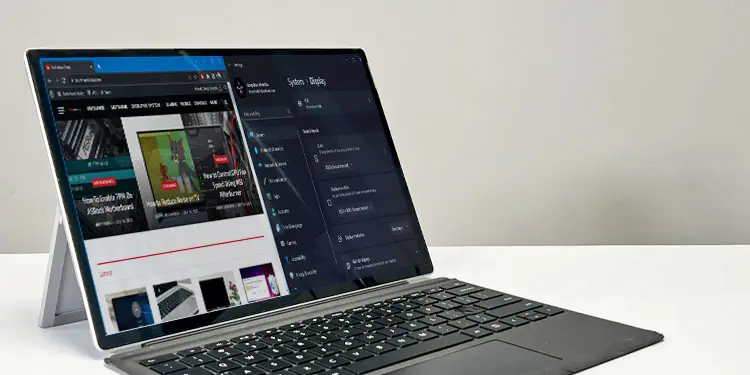
- Open Settings.
- Navigate to System > Display.
- Under Scale & Layout, set Scale to the recommended value.

Drag and Snap to Split the Screen
Once you enable the Snap window and set the correct display scaling, you can now split the screen. The steps to splitting the screen are similar whether you are using a touch screen or a touchpad.
- Click and hold the topmost side of the application that you want to split. If you are using a touchscreen or a stylus, tap and hold the title bar of the application as shown in the figure.
- Slide the application to the left or right side of the screen.
- Let go of the touchpad or screen to snap the window in place.
- If you are using Windows 11, the OS will display tabs of open applications that you want on the other half of the screen. Here, select an application/window.
- If you are on Windows 10, you need to open the second window and slide it to the other side like you did in Step 2.
- The two windows will now open side by side.
- You can also split the screen into four parts by moving a window to the corner of the screen.


When you move and snap the window, it divides the screen into half or into four parts if you move the window into a corner. Once all the windows are in place, you can manually adjust the size of the window using your mouse and all other windows will adjust accordingly.
Splitting the screen through keyboard shortcuts is also possible using arrow keys. For that, you need to follow these steps.
- Open the window/application that you want to split.
- Press Windows + left/right/up/down arrow keys to split the window in different layouts.
- Windows + Right arrow: Moves the active window to the right.
- Windows + Left arrow: Moves the active window to the left.
- Windows + Left + Up/Down arrow: Moves the active window to the top/down-left.
- Windows + Right + Up/Down arrow: Moves the active window to the top/down-right.
Using Snap Layouts
In Windows 11, you can even select a layout that you can use to split your screen. By default, Windows 11 lets you choose from 6 different screen layouts. Here’re the steps to split screen on your Surface laptop.
- Simply drag the active window to the top center of the screen.
- Select a layout to split your screen. Once you do this, repeat the same for other windows.
- Alternatively, hover over the screen resize icon and select any layout of your choice.
- Once you select a layout, choose another window/application to fill another space in the layout.


Via PowerToys
PowerToys is a freeware from Microsoft that comes with numerous utilities like Color Picker, Image Resizer, Keyboard Mapper, Host file editor, and many more. In our case, we will require FancyZones to split the screen into layouts and create custom layouts.
In order to split screen via PowerToys on Surface, you will either require a keyboard or need to enable an on-screen keyboard.
- Open Microsoft Store and download PowerToys.
- Open PowerToys and select FancyZones from the left side of the screen.
- Select Launch layout editor.
- Here, you can choose or create your own layout. Select a layout.
- Now, click and hold on the title bar of the window that you want to split.
- Press shift. The layout you selected will now appear.
- Keep holding the title bar and move the window to the area of your choosing.
- Release the mouse to snap the window in place.
- Repeat the same for other windows as well.

