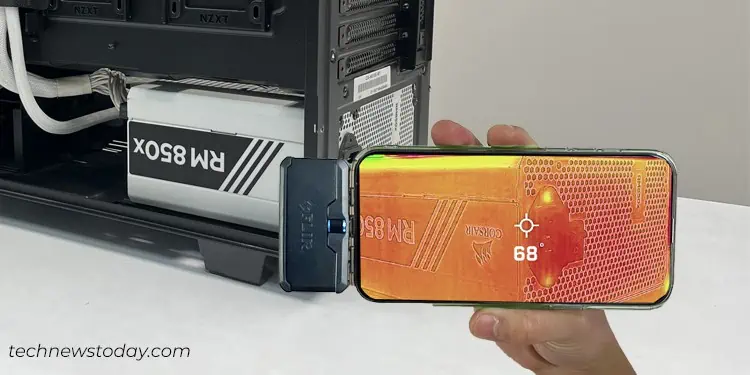
The Power Supply Unit of your computer is designed to operate within certain temperature limits. So if the temperature goes too high, it can make your system unstable, resulting in unwanted freezes and crashes.
It is, therefore, essential to deal with overheating to maintain the system’s performance and avoid damage to the PC components.
In this article, I’m going to talk about the ways to solve the PSU overheating problem. Starting from basic fixes like cleaning out dust and checking the airflow, I’ll move to advanced fixes like checking the power requirement and tweaking the overclocking settings.
Let’s dive straight into them.
Check the Power Supply Temperature
Before concluding that your power supply is overheating, it’s vital to determine if it is actually overheating. Let’s first start by checking the PSU temperature.
Since there are no software applications that let you do it, you have to use tools like an infrared thermometer or thermal imaging cameras.
Here’s what I found when I measured the temperature on my Corsair RM 850x with my infrared thermometer. 66.5°C!
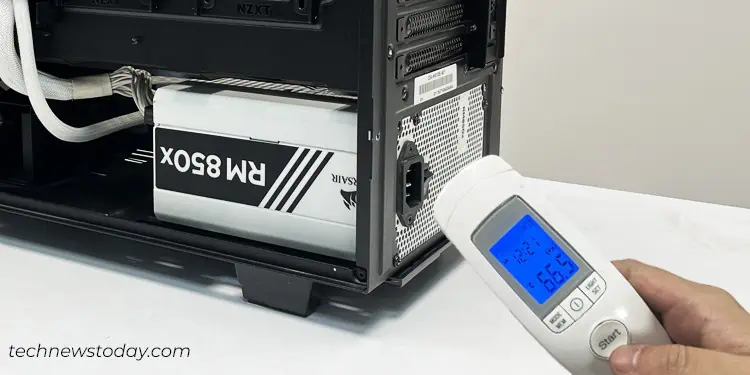
The PSU normally operates between the internal temperature of 40°C to 60°C. But there are also some high-spec PSUs that can operate up to a whopping 80°C-90°C, at the cost of reduced efficiency. Having said that, it is not normal for a PSU to go above 60°C. You can consider it as overheating.
Moving forward, you can also gently place your hand on the exterior or at the air exhaust vent of the PSU and feel it for a moment. If the surface is uncomfortably hot to touch for an extended period, this also indicates overheating.
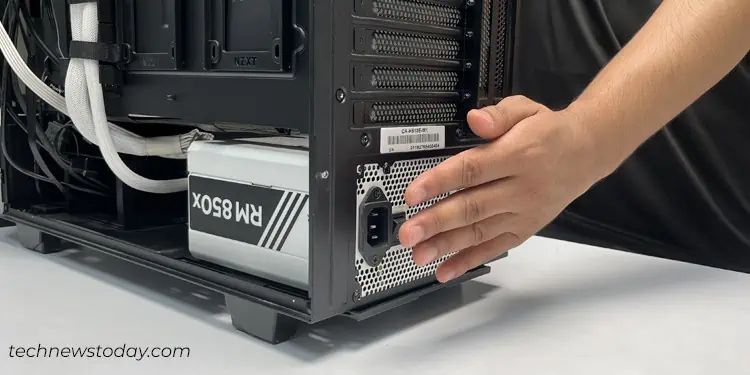
Do note that poor ventilation is one of the major causes for overheating. So, to begin with, verify that there are no obstructions around the PSU vents that are possibly blocking the airflow. If your room temperature is too high, you may need fans or air conditioners.
Inspect the PSU Fan
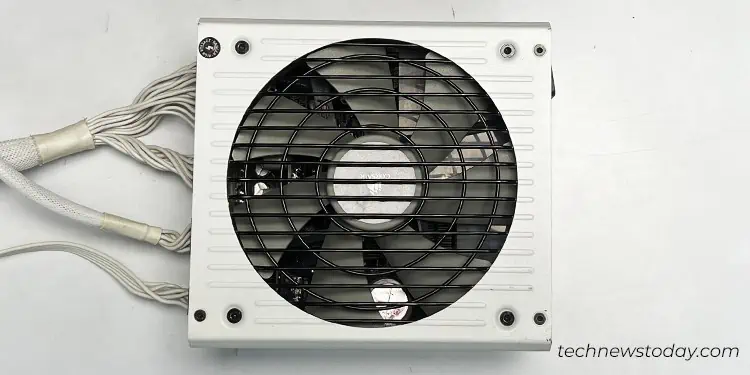
High-end PSUs these days include a hybrid fan mode, where the PSU fan remains off or spins at low speeds until a specific temperature or load threshold is reached.
However, when it starts rotating, you should make sure it is doing its job correctly. If it doesn’t spin at its full speed even when overheating, seek professional help to fix it.
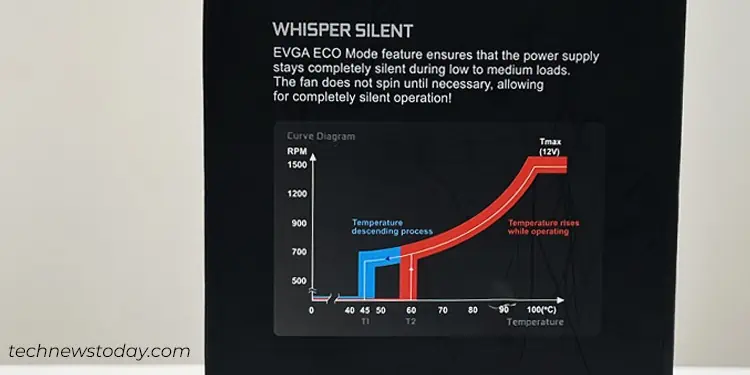
Below you can see the temperature-fanRPM curve for my EVGA Supernova 550 G3 PSU. You can see how the RPM (rotations per minute) tends to increase with increasing temperature.
Fix PSU Orientation and Improve Cooling
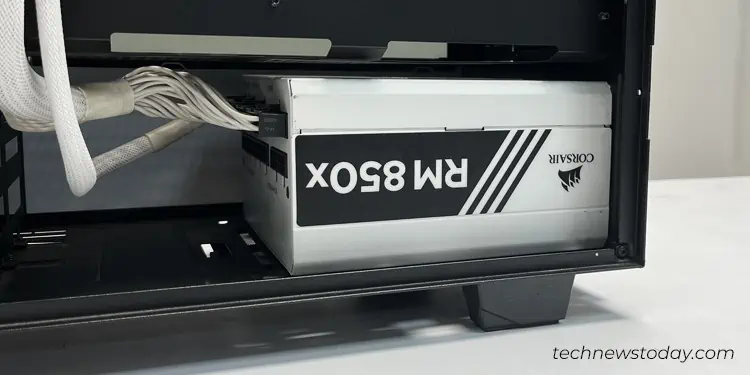
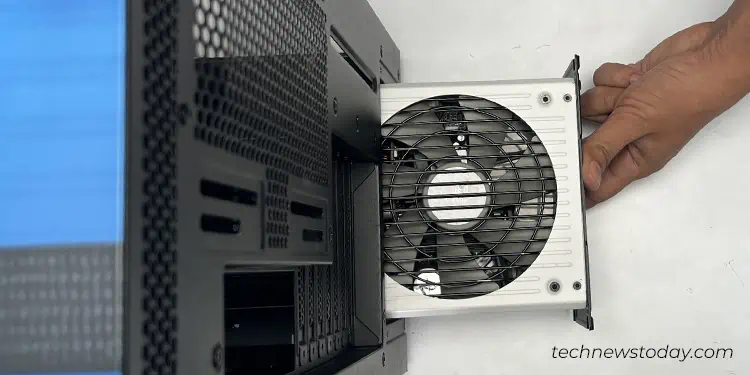
Coming to the PSU orientation, most of the PC cases today are designed to mount the PSU at the bottom facing the fan downside.
But if you have poor ventilation at the bottom, you can also turn the PSU such that the fan faces upwards.
Having said that, you should also make sure your system has a proper cooling mechanism. Otherwise, the PSU fan will intake hot air from the PC case itself, further increasing its temperature.
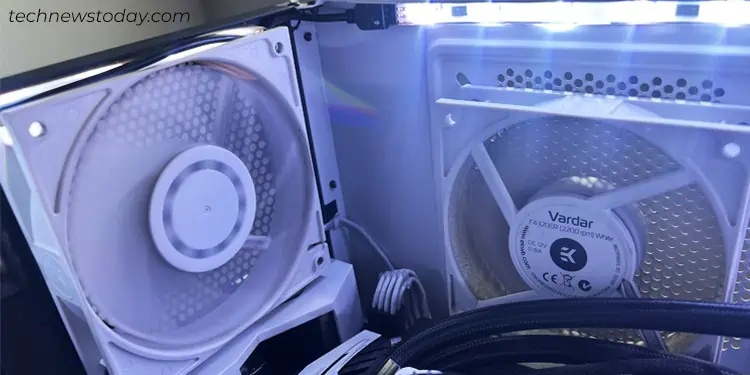
You can cool down your PSU by improving the overall cooling of the system. Depending on your PC case, you could either install more fans or replace the current ones with high-quality fans. You can also make your case fans spin faster from the BIOS or using manufacturer-specific software.
Clean the Power Supply Unit
If your PC has been left unattended for a long time or is being used in a dusty environment, there are chances that the PSU fans and vents have been clogged with dust and debris.
You may also experience buzzing or clicking noises from the PSU in such cases. It clearly indicates it’s time for you to get the dust off the PSU.
When it comes to cleaning the PSU, you must be very careful about the possible hazards of improper cleaning. It can make the dust, dirt, cobwebs, etc., stuck on the PSU fan and body to settle on the PCB, which will later push it towards thermal throttling.
Here’s a quick guide on how you can clean the power supply unit of your computer. If you think you have a quite dusty PC, I also suggest you clean your computer.
Manage Cable Clutters
Most of the time, if you are using a non-modular PSU, you will have unnecessary cables tangling inside the PC case. It can sometimes restrict the airflow in your system.
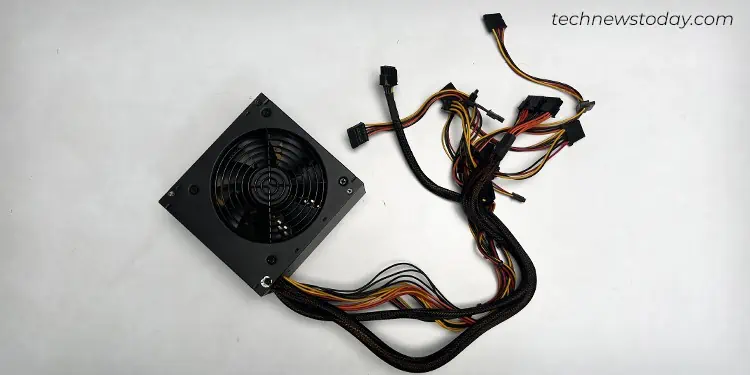
To counter the problem, you need to bind those unnecessary cables properly and improve the cable routing. Only then you can create a better room for airflow.
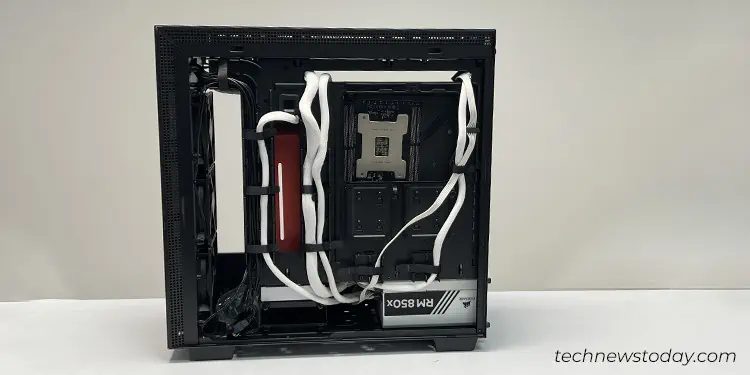
When it comes to cable management inside your PC case, the modular and semi-modular PSUs always win the race. So, I recommend you use any of these instead of the non-modular ones.
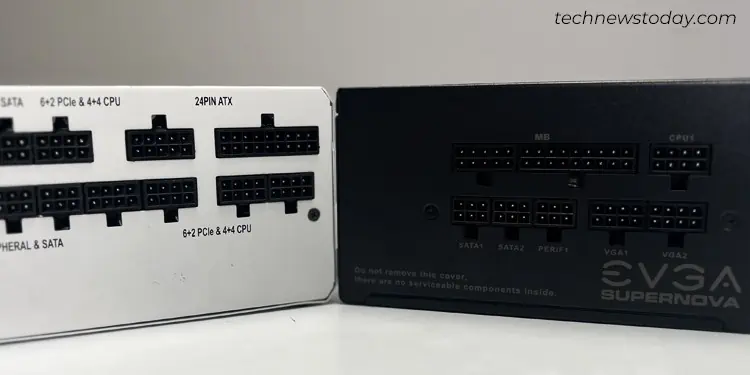
Furthermore, you should always use the genuine power supply cables that come bundled with the PSU. If you’re using substandard cables with your PSU, it can fail to deliver higher power for the PC upon its requirement, which can lead to overheating.
Check the Power Requirement
Next, you should always make sure that the rated output power of your PSU is higher than the power requirement of your system. At least 25%.
If the power draw is close to the PSU’s capacity, it struggles to meet the demands and starts overheating. Let me quickly share my experience regarding this.
Years back, I had a 650W PSU that was working quite well until the day I installed the RTX 3080 Ti GPU. Since then I started facing PSU overheating issues and frequent system restarts. I later realized that the 650W was not enough for my setup, and I had to upgrade to an 850W PSU.
You can also quickly calculate the power requirement of your system using any online power supply calculator and get one that best suits your needs.
Disable Overclocking
Whenever you overclock your device, be it a CPU, GPU, or RAM, it draws more power than in the usual conditions. As such, if the PSU fails to meet the power requirement, it starts overheating.
Not only does it overheat, it can sometimes cause Blue Screen of Death (BSOD) errors too. I once happened to overclock my CPU in a low-wattage PSU setup that triggered the CLOCK_WATCHDOG_TIMEOUT error and crashed my PC.
To counter this problem, you may either disable the overclock settings or upgrade your PSU, whichever suits your needs.
Repair or Replace the PSU
As the PSU ages, its internal components wear down, leading to reduced efficiency and increased heat generation. So, if nothing seems to work, maybe it’s time to repair or replace your PSU.
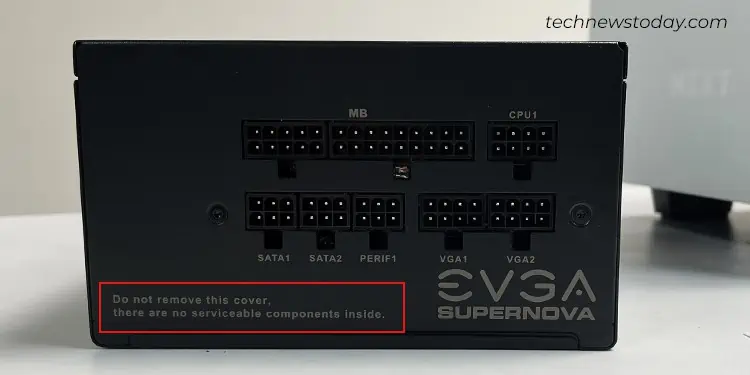
Kindly visit an authorized repair center to get your PSU repaired. Attempting to disassemble the PSU yourself can void any remaining warranty and also poses serious risk of shock hazards.
You can clearly see a message on your PSU mentioning not to remove the PSU cover. Here’s what the message looks like on my EVGA SuperNova 550 G3.
If the PSU is irreparable, consider getting a new one. While choosing a PSU, always settle for one that has a higher power supply efficiency. The more the efficiency is, the lesser heat it will dissipate.

