
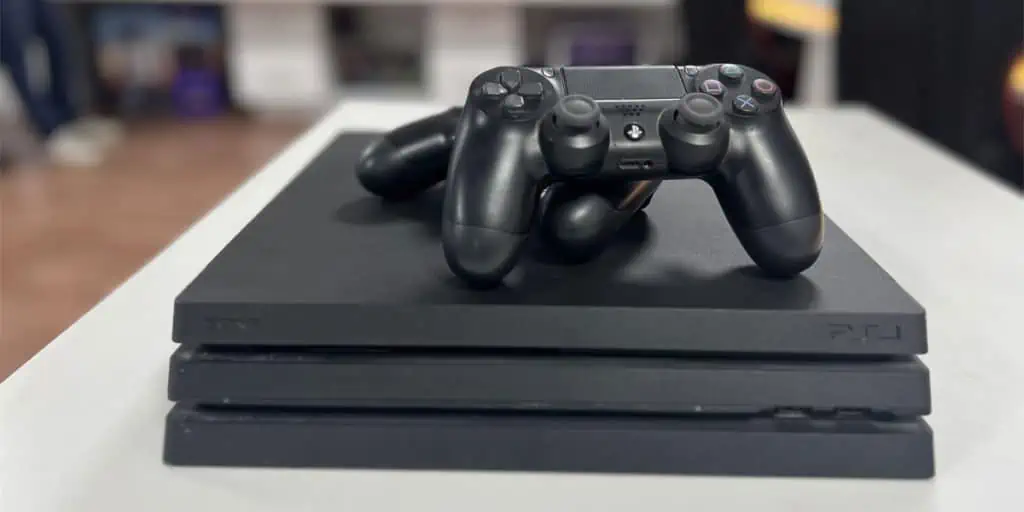
The CMOS (Complementary Metal Oxide Semiconductor) battery in a PlayStation4 console functions similarly to that of a PC. It is a small silvery coin-sized battery on the motherboard.
The battery feeds the CMOS chip, which retains time and date, along with other firmware settings.
Over time, the battery can fail and start causing severe problems. It will primarily lead to incorrect time and date on your PS4. The mismatched clock can lead to some games crashing with error code CE-30392-7.
Replacing it might seem like a challenging process but, with guidance and proper tools, you can do it in about 30 minutes.
Before you Begin
You will be handling internal PS4 circuits for replacing the battery. Like a PC, you should follow proper grounding procedure, to avoid electrostatic discharge and damage to the motherboard.
Additionally, if your console is still covered, disassembly can void the Warranty.
The PS4 unit has a lot of screws holding it in place. You can record your progress using your mobile phone during the disassembly process. This will help you avoid losing track of all the screws and the internal parts during re-assembly.
With that cleared, here are the tools you need to replace a CMOS battery in a PS4 console:
- #1 Phillips-head screwdriver
- T8 (Torx) screwdriver
- CR2032 3V Lithium Battery
- Plastic pry
- Tweezers
- Spudger
- Thermal paste
- Microfiber Cloth
- A magnetic tray to hold the screws
- Anti-static or soft bristle brush
- Compressed air duster

Take the Hard Drive Out
First, we need to take the PS4’s storage drive out. It will save you the trouble down the road.
- Turn off the PlayStation and unplug all of its cables.
- Locate the hard drive area and remove the plastic cover.

- PS4 Fat: The hard drive bay is under the shiny cover at the top. Apply a little pressure with your fingers and it should snap right off.
- PS4 Slim: The cover is on one of the sides. You can slide it with your finger to open it.
- PS4 Pro: The cover is right next to the Ethernet port at the back, as seen above. You can press it with your finger or use a pry tool to open it.
- Use the Phillips screwdriver to unscrew the hard-drive cage. There’s only one, regardless of the console.
- Slide the cage out and put it aside.


Remove the Bottom Cover
The next step is opening up the bottom cover. The process is different on each console but, it relies on finding the screws under the warranty stickers.
PS4 Fat
- Find the two Warranty stickers in the exhaust area on the back of the console. Remove them to reveal the hidden screws.
- Use the T8 screwdriver to take the screws out.
- Pull each side of the bottom panel to remove the cover. Be gentle, though, as you may break it.
PS4 Slim
- Find a Warranty sticker beside the Ethernet port on the back.
- Use the screwdriver to remove the Torx screw.
- Gently snap off the bottom cover by pulling back on the edges with your fingers.
PS4 Pro
- Flip the console upside-down and locate 3 Torx screws beside the Hard-Drive bay. Two of these are hidden under the Warranty Stickers.
- Use a T8 screwdriver and unscrew them.
- Apply pressure on the edges and pull the bottom cover until it pops off. Slide it backward and remove it.

Remove the Power Supply Module
Before going any further, it’s important to remove the power supply. Otherwise, you may damage the console. The process is different on each model, though:
PS4 Fat
- First, use a pair of tweezers to disconnect the power cable from the motherboard.
- Then, unscrew the 3 Torx and 2 Phillips screws holding the power supply, with the screwdrivers.
- Use a plastic pry to lift the power supply from both sides. Remove the module from the PS4.
PS4 Slim
- Under the bottom cover, remove the Phillips screw that holds the power supply.
- Flip the console to remove the top cover. Hold the cover by the edges (with Sony and PS4 logos) and gently pull it back.
- On the top side, use your screwdriver to remove the three Torx screws holding the metal sheet.
- Then, remove the remaining two Phillips screws.
- Remove the metal sheet and lift the power supply from the edges using a spudger, to remove it.
- Lastly, flip the module and disconnect its supply wire.
PS4 Pro
- After removing the bottom cover, remove the two Torx screws holding the power supply.
- Now flip the PS4 and remove the top cover. You need to apply a mix of pressure on the edges (like the slim unit) and pull it backward.
- Use the T8 screwdriver to remove the five screws holding the power supply.
- Now, lift the metal cover and remove it.
- Use a spudger from both sides to gently pry out the power supply module. Be careful not to rip its connecting cable underneath.
- Flip the module and unplug the connector gently from the power supply.
Unplug the Cables From the Motherboard
The follow-up step is unplugging various cables from the motherboard. The wires you need to unplug are different on each PlayStation version.
PS4 Fat
- Disconnect the blue-ray drive cable. Use a spudger to press on the tab and pull the cable out.
- Lift and disconnect the antenna and optical drive power cables gently, using a pair of tweezers.
PS4 Slim
- Once the power supply is removed, flip the PS4 back to the bottom side.
- Disconnect all the ribbon and antenna cables, from the motherboard.
- Use a spudger to pick on the thin locks of the ribbon cables. Then hold on to the blue plastic tabs and gently pull the ribbon cables back.
PS4 Pro
- Disconnect the Ribbon and the Antenna cables at the top from the motherboard.
- Locate 2 more cables at the bottom and disconnect them too.
Remove the Metal Plates
After disconnecting the cables, the next step is removing the top cover. Then remove the metal plates underneath that protect the motherboard.
The metal plates have Thermal Pads for the VRAM chips on the motherboard. Make sure you do not lose them while removing the plates from the console.
PS4 Fat
- If you own a Fat model, you will have already removed the shiny half of the top cover and the hard drive cage.
- Once done, remove two additional screws holding the larger half of the top cover.
- Grab the cover near the edge, by the power button and gently lift it off. Remove it to reveal the metal plate.
- Now remove the 12 Torx screws from around the 4 sides of the console.
- Next, unscrew the two Phillips screws holding the pressure plate and remove it.
- Use a pair of tweezers to disconnect the fan cable from the motherboard.
- Lift and remove the metal cover.
PS4 Slim
- There is a mix of Phillips and Torx screws holding the metal plate in place.
- Use the appropriate screwdrivers to remove them all.
- Once all the screws have been removed, lift the metal cover gently. Make sure not to snap off any of the ribbon or antenna cables.
- Next, unscrew the Phillips screws to remove the metal bracket.
- There are two connectors still connected to the motherboard. Locate them and gently disconnect them.
PS4 Pro
- Use your T8 screwdriver to remove the silver screws. Then, use a Phillips #1 screwdriver to remove the black screws.
- Now, lift the silver metal plate protecting the motherboard and remove it. Do not damage the antenna cables going around the plate.
- Beneath the metal plate, you’ll find the pressure plate. Use the Phillips #1 screwdriver to remove the screws and a pry tool to remove the plate.
- Finally, use the Phillips #1 screwdriver to remove four additional screws on the X-shaped metal plate assembly. Then, lift the bracket to reveal the entire motherboard.
Replace the CMOS Battery
Now you have to remove the motherboard and change the CMOS battery. The steps are the same for either console:
- Hold the motherboard by the edges and gently remove it from the casing. You may need to use a spudger or a plastic pry to remove the board on the PS4 Fat.
- Flip the motherboard and locate the coin-sized CMOS battery around one of the edges.
- Press the metallic clip with the spudger or pry tool and remove the battery.
- Before putting in the new battery, wait for 5 minutes.
- Plug the new battery with the plus + sign facing up and push it gently to secure it in the socket.
Reassemble the PS4
Before reassembling the PS4 back, it is better to clean dust off the unit. Then reapply the thermal paste on the CPU.
- Use short bursts or air from a Compressed air can or Compressed Air Duster on the plastic casing, metal plates and the cooling fan. Make sure not to spin the fan too fast or in the opposite direction.
- Use the brush to remove the dust from the motherboard.
- Once the board is clean, wipe off the old thermal compound from the CPU and the heatsink. If it is dried up and gunky, use isopropyl alcohol on a microfiber cloth to wipe it off.
- Reapply fresh compound on the CPU and spread it evenly.
- You can accidentally damage or lose some of the Thermal pads during disassembly. Make sure you purchase the ones with the appropriate thickness.
- Install the motherboard back into the case. Make sure the cables you disconnected earlier are not bent or squashed underneath the board.
- Reconnect all the cables and components following the steps mentioned above in reverse, to reassemble the PS4 back.
- Turn your console back on and check if everything is running fine.