
The Nintendo Switch is an extremely portable and flexible handheld gaming system. However, the 32GB storage capacity within it may limit the gamer’s need. If you are one of them thinking about expanding your Switch storage, you have landed at the right place!
Most of the games made for Nintendo Switch comparatively occupy a larger memory space. Obviously, the in-built memory won’t be sufficient.
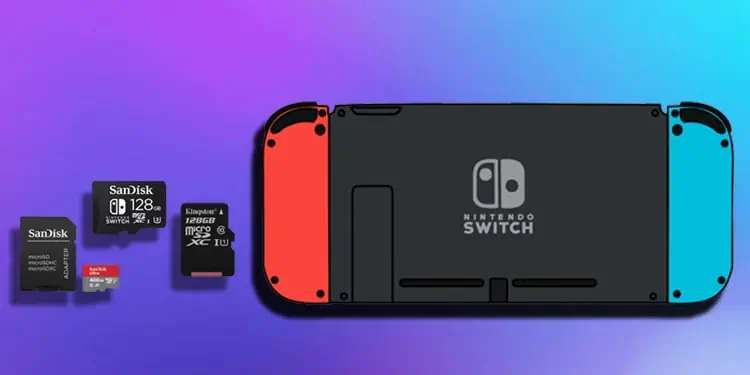
So, you may want to insert an SD card or remove it to swap with a higher-capacity card. Or, you may want to transfer contents from your old SD card to a new one.
In this article, We will guide you through the steps to install or remove a micro SD card in Switch.
How to Install a Micro SD Card in Switch?
Once you purchase a micro SD card to expand the storage capacity of your Switch, you need to install it properly. Installing the SD card into your Switch is not that tedious and time-consuming. You will get it done right if you follow these steps:
- First, If you have set up your Switch on a Dock, remove it from Dock. You also need to remove the controllers. To remove the controllers, push the button provided at the back of the controllers.
- Then, you need to power off your Switch. For this, press and hold the power key for 5 seconds.
- After that, you will be prompted to power off your device on the screen. Select Power options.
- Select the Turn off option.

- Now, you need to turn your Switch over to access its back side. Depending upon the models of Switch, the method to insert a SD card varies.
- On Nintendo Switch: Lift up the kickstand on the back to see a port that reads as micro SD.
- On Nintendo Switch Lite: Open the cover in the back panel that encloses the micro SD card.
- On Nintendo Switch – OLED Model: Unfold the adjustable stand to see a micro SD card slot.
- Slide your card in the back of the Switch so that the thicker part of the SD card faces towards you, and the card label faces upwards.
- Push the SD card inside until you hear a click sound.
- You will get a prompt on the screen to restart your device in order to use the micro SD card.
- Restart your device, and now you should be able to use the SD card.

How to Remove a Micro SD Card From Switch?
With time, the SD card will get full, and you may consider getting a new one with higher capacity. Or, you may want to transfer the contents to another one. In such a case, you need to remove the SD card. Here’s how to do it:
- Remove Switch from its Dock, remove the controllers, and power off your device. If you don’t know how to, refer to the How to install SD card section above.
- Process to remove the SD card also depends upon the Switch models.
- From Nintendo Switch: Flip your device to its back and lift up the kickstand. You will see a micro SD card inserted in the slot.
- From Nintendo Switch Lite: Slide the micro SD card slot cover in the back panel towards you.
- From Nintendo Switch – OLED Model: Swing the adjustable stand and you will see the SD card inserted there.
- Gently push the SD card until you hear a click sound, and then release it. It will now be ejected from the slot. Hold the SD card by its end and pull it out of the slot.
How to Manage Space on Your Switch SD Card?
You might be curious if you can install more games on your Switch. But if you are running out of storage or have less space remaining, you can’t install the games, or your gaming performance will degrade. You may experience some lags in the games when your SD card is getting full.
You can easily check the remaining storage on your Switch and act accordingly. You can either delete the games you don’t play anymore or format the entire SD card to fresh install new games. Or, if you have a new SD card with higher storage capacity, you can transfer all of its contents from the old SD card to the new one.
Check the Remaining Storage on Your Switch
- Navigate to Settings icon on the home screen and press the A button to open it.
- While on Settings, scroll down to the Data Management tab. Your remaining storage will be shown in the right section.
- Press the B button to exit from the Settings.

Delete the Games That You Don’t Play
- From the homepage, select the game that you want to delete. You will see a blue boundary highlighting the game when it is selected.
- Press the plus(+) button at the top right or the minus(–) button at the top left corner of the console.
- Under the Manage Software tab, select the Delete Software option from the right section.
- In the next prompt that appears, confirm the deletion by pressing the A button.

When you delete a game, it won’t delete the saved data. You can again install it and continue playing. If you want to delete the game completely, follow these steps:
- Under the Data Management tab, please scroll down to find the Delete Save data option and open it.
- Select whose game’s saved data you want to delete and press the A button.
- If you want to delete saved data for just one account, select Delete Save Data for “Your account name” option.
- If you want to delete saved data for all accounts, select Delete All Save Data For This Software.
- Confirm the deletion, and you are done.

Format the Micro SD Card
Here’re the steps to format your micro SD card:
- Open Settings from the homepage of your Switch.
- Scroll down to the System tab that says System.
- Again Scroll down in the right section and select the Formatting Options.
- On the next page, select the Format microSD Card option.
- Select Continue > Format, and you are done. Your device will restart after the formatting is complete.


Transfer Contents From Old SD Card to the New One
- Remove the old SD card from your Switch.
- Insert the SD card into the card reader on your PC.
- Open up the SD card. You will see a folder named Nintendo in it. Copy and paste the entire folder to your PC.
- Now remove the old SD card from the card reader and insert a new one.
- Copy the folder you previously saved on your PC into the new SD card.
- Once the transfer is complete, eject the SD card from your PC and insert it back into the Switch. It should work fine now with more space available than the previous one.