If your right click is not working, the first thing I would recommend is—take your mouse to another PC and see if it works there.
- Right-click works normally—you have issues with button remapping.
- It does not work there either—the right-click cable/switch is probably detached from the main board of your mouse.
Yet, don’t give up hope if you can’t manage another PC for testing. Go through this step-by-step guide to learn both software and hardware fixes for right-click not working on your mouse.
Try General Fixes
I believe you must have already tried re-plugging your mouse and restarting the PC. In case that didn’t work, here are some general fixes to try.
- Try hitting/spamming right-click a few times until the context menu pops up.

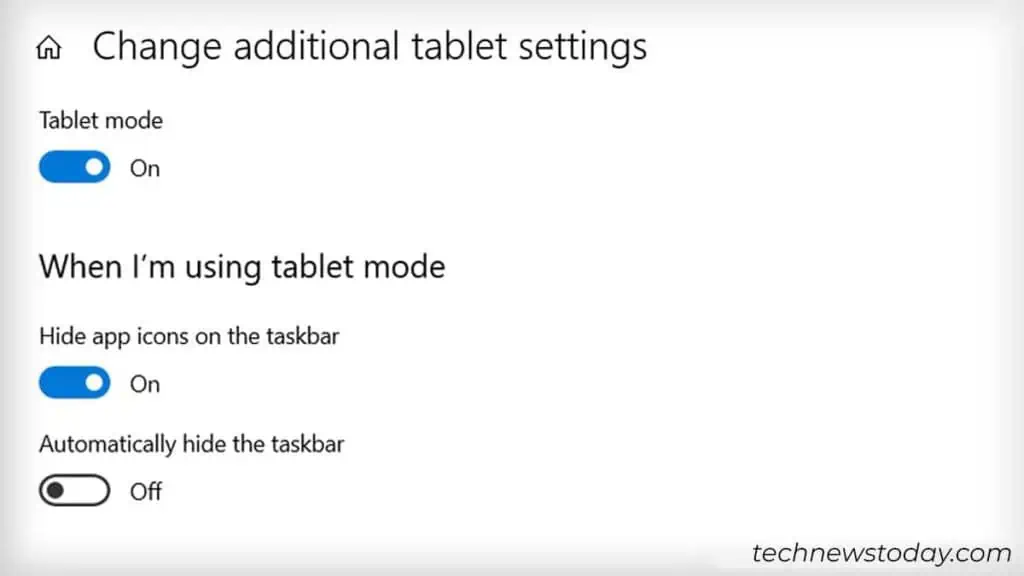
- If you are on Windows 10, make sure you turn off the tablet mode from Windows settings.

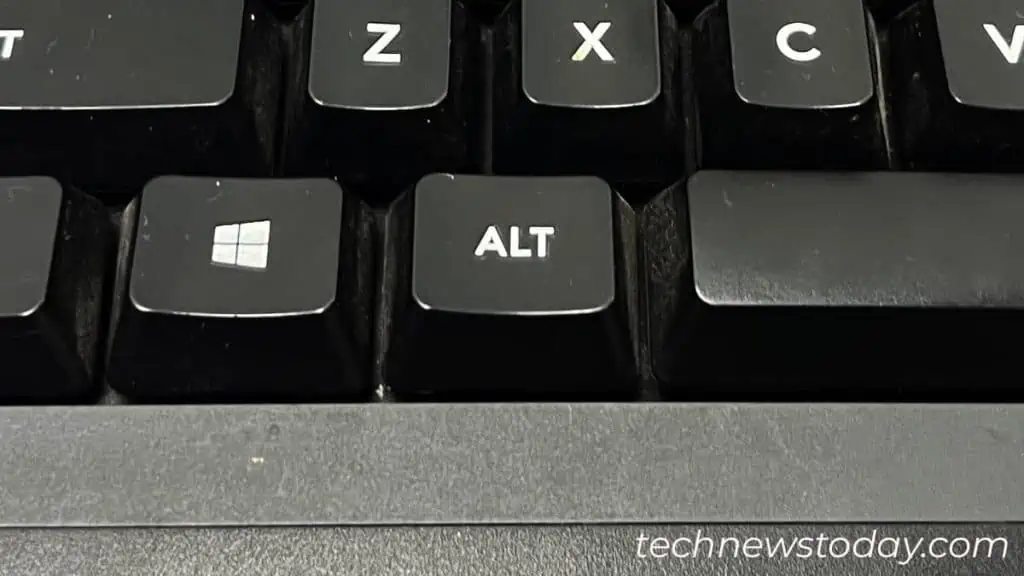
- Make sure the Alt keys are not stuck. Use the on-screen keyboard to verify it. Should it be stuck, here’s how to fix a stuck key on the keyboard.

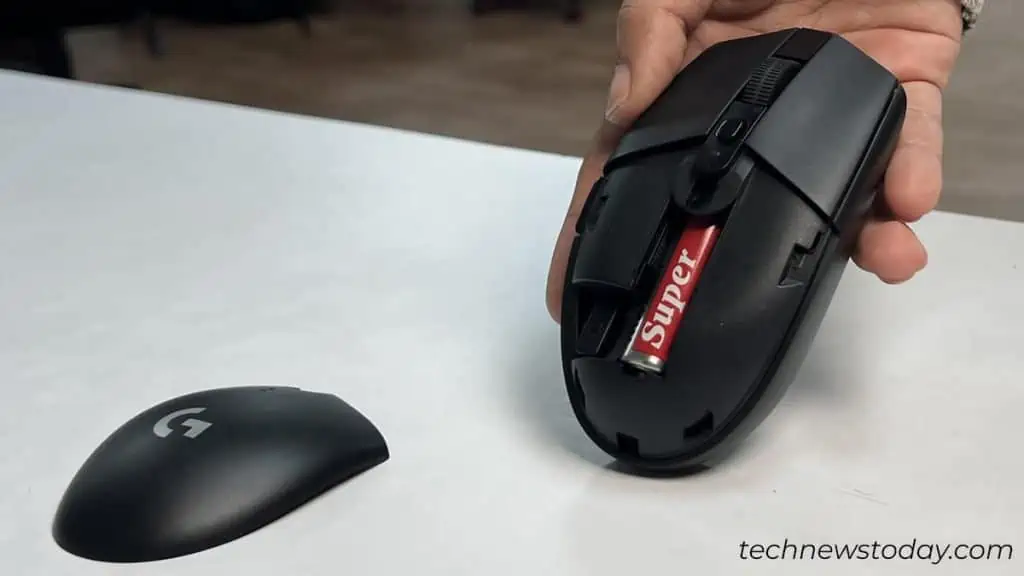
- Sometimes, wireless mice run into problems and send erratic signals due to low battery levels. Consider replacing old batteries with new ones.

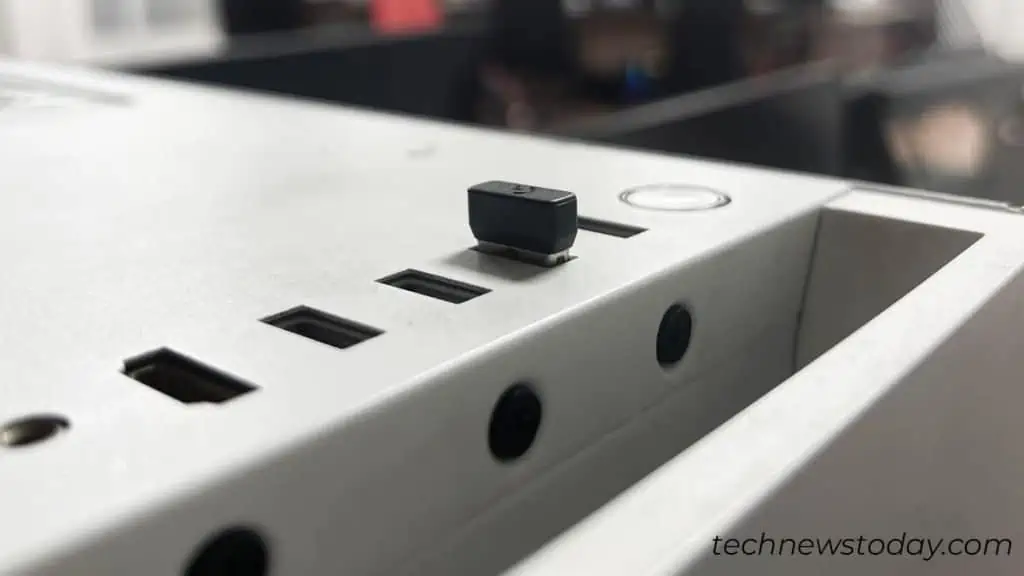
Also, re-plug the wireless receiver and check.
Soft Reset Your Mouse
This is what I often do whenever my mouse freezes or stops registering the clicks. It might also help fix your right-click not working issue.
- Unplug the mouse from your PC.
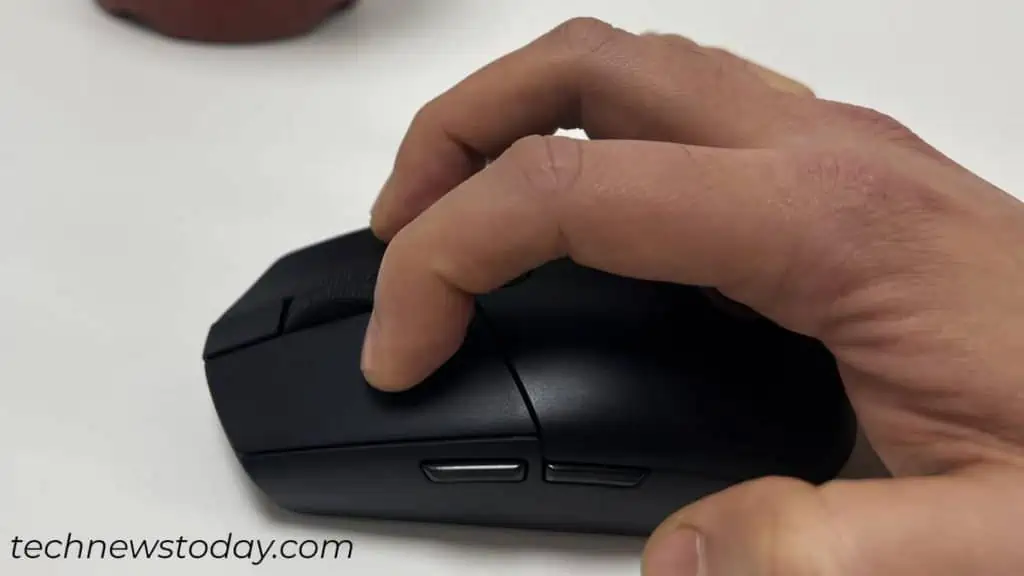
- Hold the left and right-click buttons on your mouse at the same time.

- While still holding them, insert the cable connector into the USB port on your computer.
- Further, hold it for 5-10 seconds. Then release it. Check if that helps.
Enable Context Menu From Local Group Policy Editor
Context menu basically refers to the small popup window you see after a right-click. Interestingly, there is a feature in Windows to disable this popup. If disabled by any means, your right-click won’t work. To enable it,
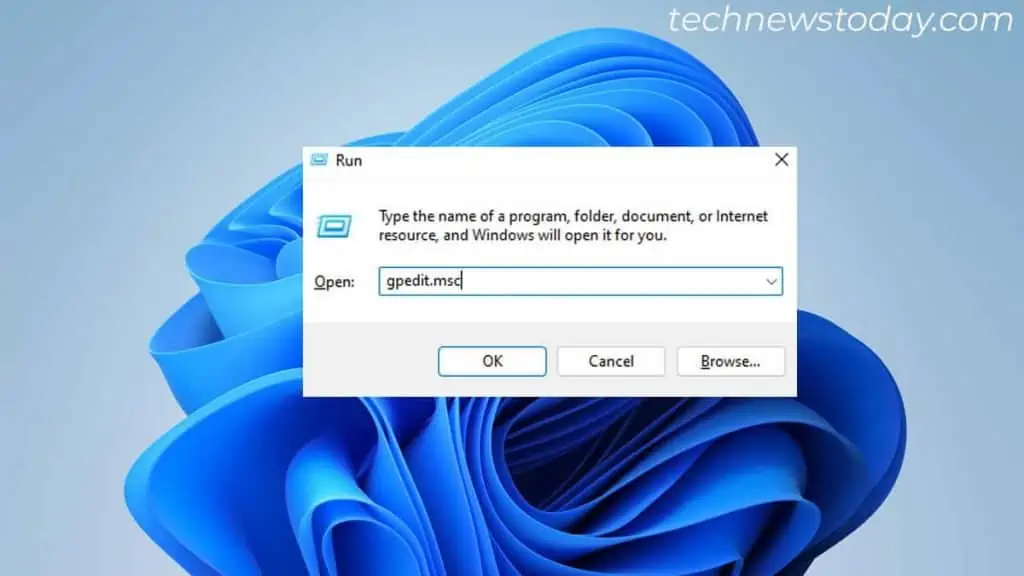
- Open Run > type
gpedit.mscthere and hit Enter.
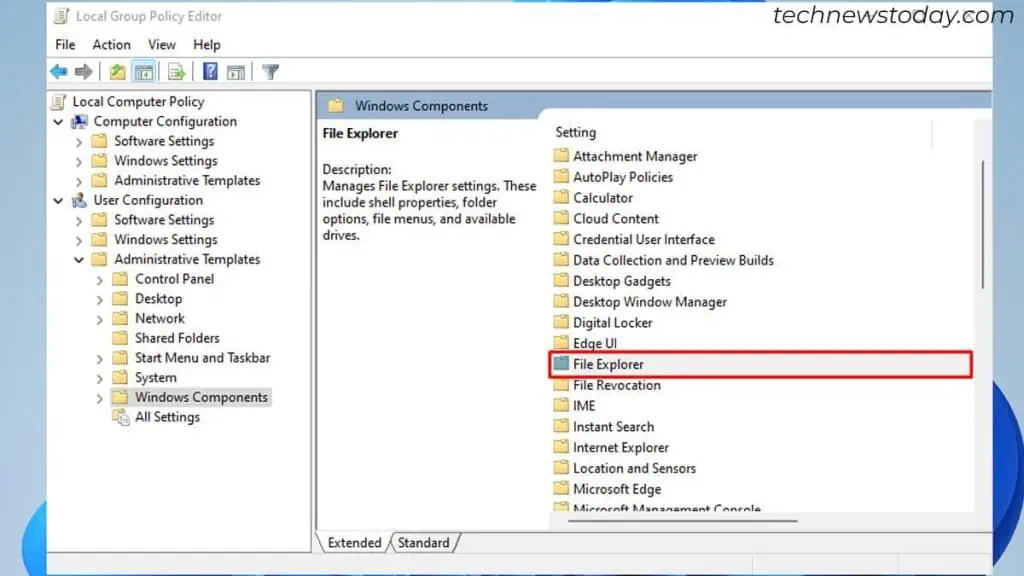
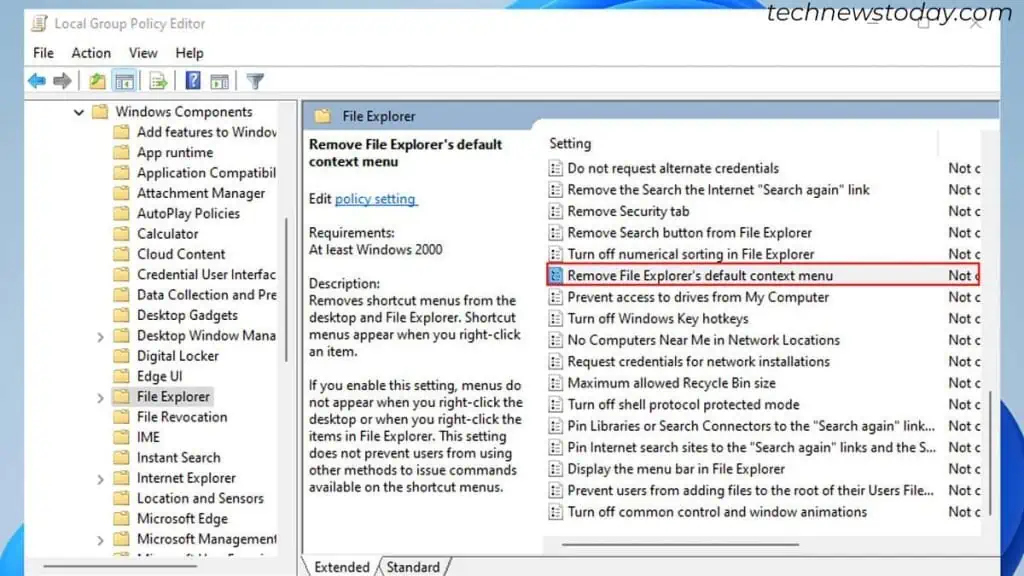
- Once the Local Group Policy Editor window opens, navigate to User Configuration > Administrative Templates > Windows Components > File Explorer.

- Locate and double-click this option.

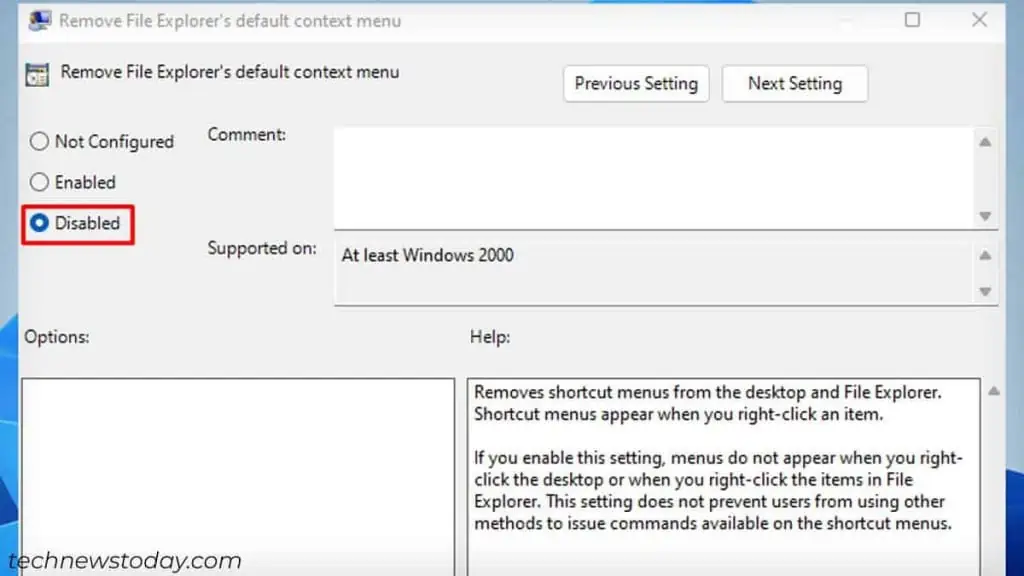
- Choose Disabled > OK. Restart the PC and see if the problem still persists.

Check if the Right Click Button is Remapped Incorrectly
If you are facing issues only while using specific applications, you most probably have an incorrect mouse button remapping. If so, consider checking the in-app key binding settings and fix it.
I once happened to remap my right-click button to “Skip function” while playing Baldur’s Gate 3. It was literally driving me crazy, but I sorted it out instantly after rebinding it again.
Nevertheless, if you are having issues outside of the app, check for any third-party mouse button remapping apps.
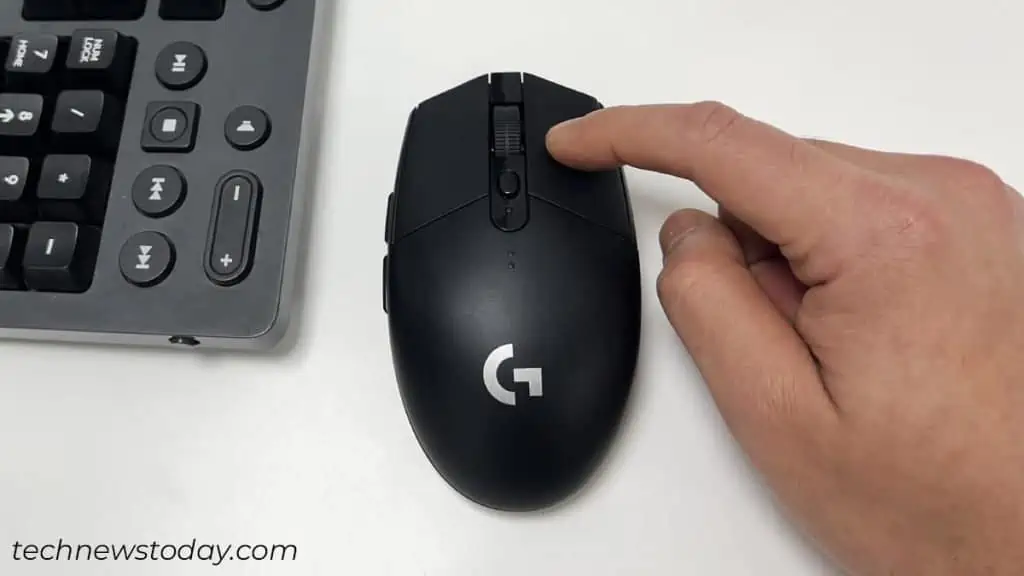
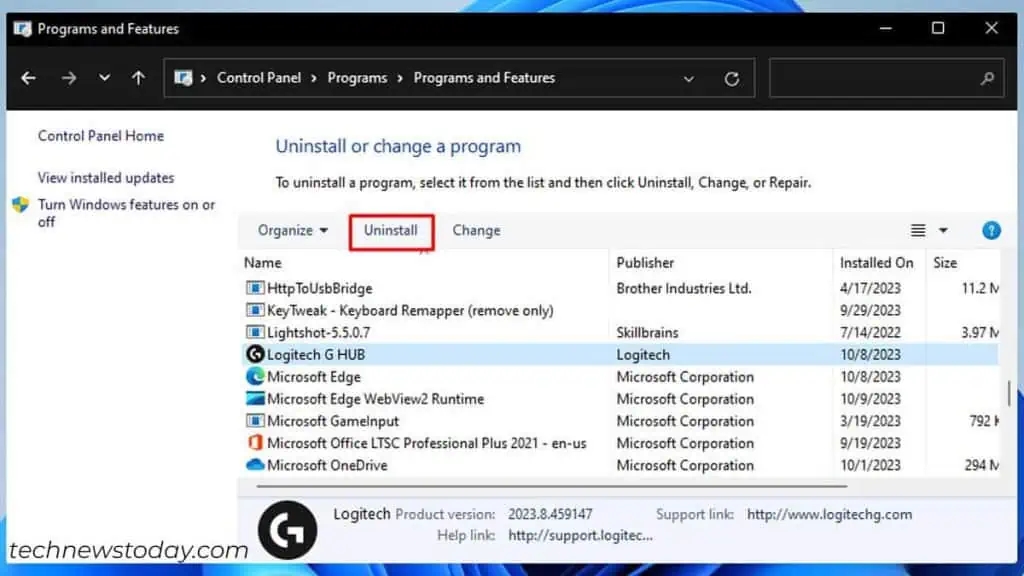
For instance, I have installed the G HUB app to customize and configure button assignments for my Logitech G305 mouse. The right-click won’t work if I disable it or assign another function to it.
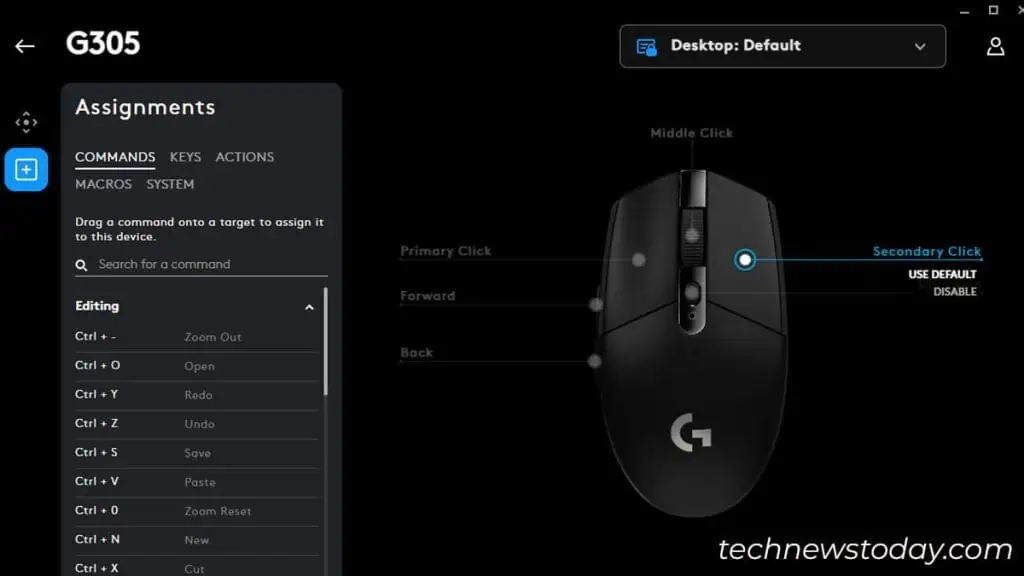
Check if you have any such apps for your mouse. If yes, check the button assignments and restore it to default.
If you have problems changing the assignments, uninstall the app. You can reinstall it later, if necessary.
Fix Hardware Connection Issues
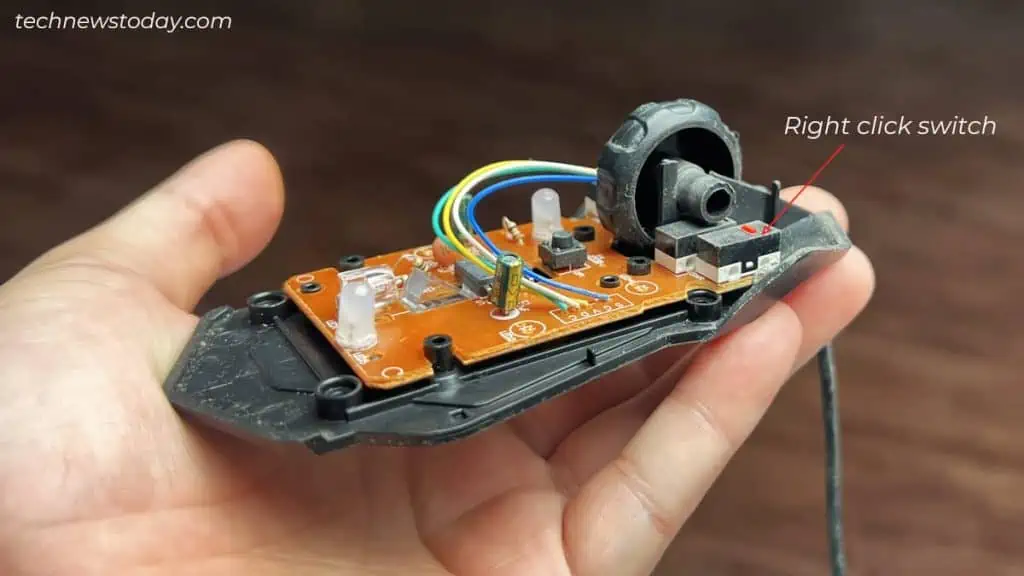
If anything doesn’t seem to work, I can assure you there’s a hardware problem. Most probably, the cable connecting the right-click switch to the main board of your mouse is loose. Or, the right-click switch has come off the main board.
If you have experience working with hardware, consider disassembling your mouse. Then re-plug the cable or re-solder the switch. Here’s our comprehensive guide on fixing a broken mouse.
However, if you don’t want to bother dismantling it, go for a replacement. You may even get a new one at no cost if you are still under the warranty period.
Yet, there’s nothing to worry about if you neither want to repair or replace it. Although not feasible for every situation, there are plenty of methods to help you right-click without a mouse.

