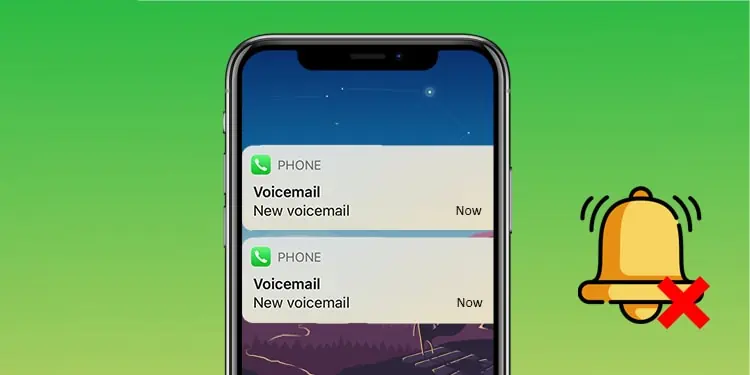
Sometimes you may fail to accept the call on time or be unaware of the incoming call. In such a situation, you will be informed with a voicemail notification on your device. But, once you receive and listen to that voicemail, the notification should go immediately. However, it just stays on your status bar and simply won’t go away.
This problem occurs when your device is running on a buggy software version. Or the phone app itself has a problem. Furthermore, you want to get rid of this problem since it can also affect your battery life as it’s running in the background.
In this article, here we have compiled the tried and tested methods that can fix your voicemail notification go straight away.
Voicemail Notification Keeps Coming Back
The most common reason for such an issue is running on buggy software. However, other reasons could also lead to such an issue which are mentioned below:
- Your Phone application has some glitches.
- The network connection interference can also cause such kinds of problems.
- You received the voicemail from a spam number.
How to Fix Voicemail Notification Won’t Go Away
Here we have covered various methods. You can go through each method, and we believe one of the methods will definitely help you to fix it.
Re-enable the Notification
You should first try disabling and then re-enabling the voicemail notifications from the settings. When you disable it, all the incoming or existing notifications can fade away from the control center or notification panel, depending on your device. Once you re-enable it, it might work normally.
Therefore, by following the given steps, you can reach notification settings. Unfortunately, you can’t disable the phone app notification setting on android.
On iPhone
- Open settings.
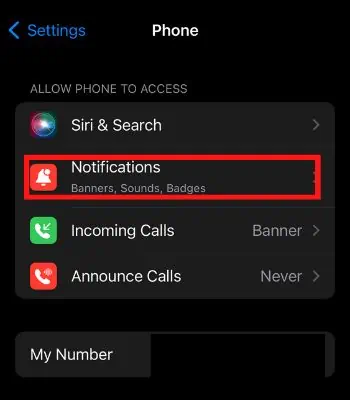
- Scroll down and Tap on Phone app.
- Tap on Notifications.

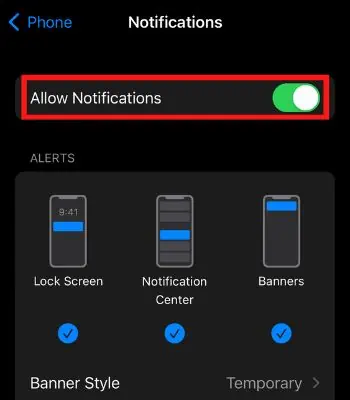
- Toggle off and on Notifications.

- Then, Restart your iPhone.
Force Reboot Your Device
This good old friend method works most of the time to fix minor problems like this. If your device has software glitches, rebooting will easily fix it without effort. Rebooting will clear all the temporary data from memory, forcing it to start fresh once it restarts. Therefore, you must try it as it works for most devices.
On Android
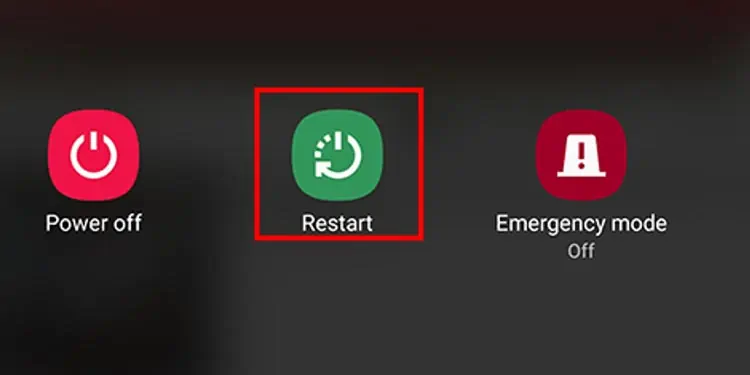
- Press and hold the Power button for a couple of seconds until you see the power menu.
- Tap on Restart.

- Hit again on Restart to confirm.
On iPhone
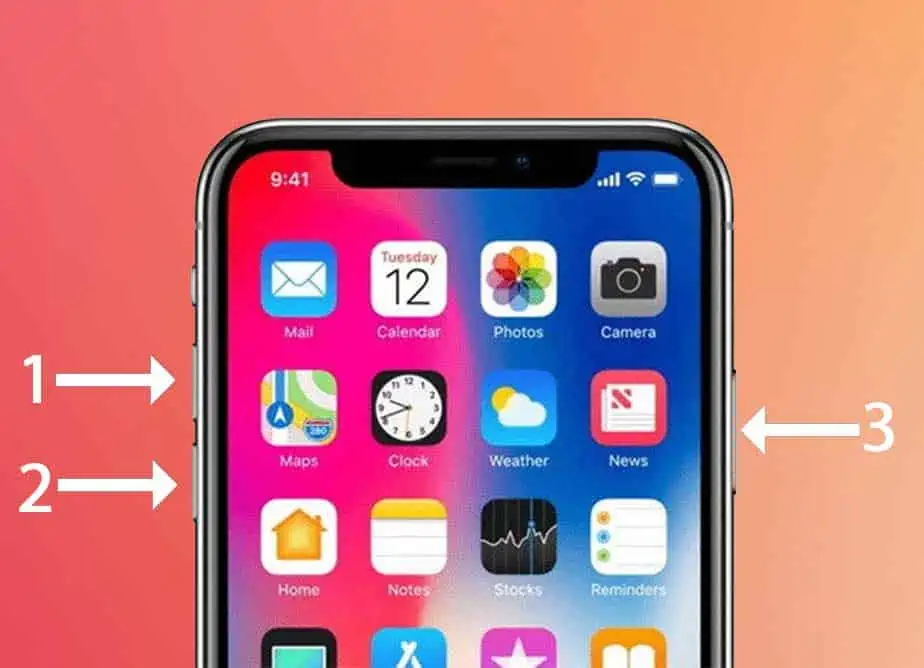
- Press and release the Volume Up, then Volume Down. Then, keep on pressing the Side button until the screen goes off. It may take a while.

- Once the screen goes off, you need to keep on pressing the side button until the Apple logo appears on the screen.
Force Quit the App
Basically, most of the minor problems get solved in the rebooting part. If you have run numerous power-consuming apps in the background, clearing it from the recent apps can force close the app, which is troubling the device from functioning properly.
On Android
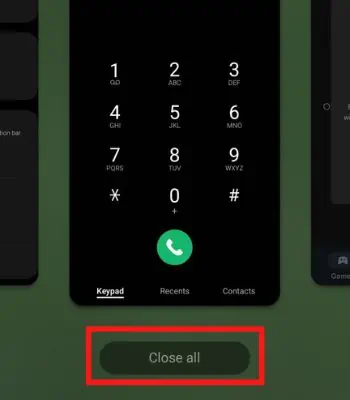
- Slide up from the bottom of the screen and release your finger once you see the background apps.
- Slide Up one by one or hit close all to force close the apps from running in the background.

On iPhone
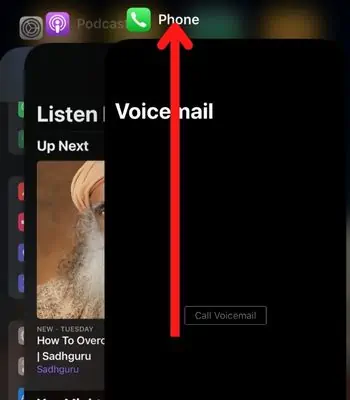
- Slide up from the bottom of the screen and release your finger once you see the background apps.
- Slide Up one by one to force close all the apps from running in the background.

Delete Received Voicemail
If you recently received a voicemail but didn’t go right away after you listened to it, you should try and delete such Voicemail from the app itself. Doing so can fix it if it is stuck in your notification panel. Here’s how you can delete Voicemail.
On Android
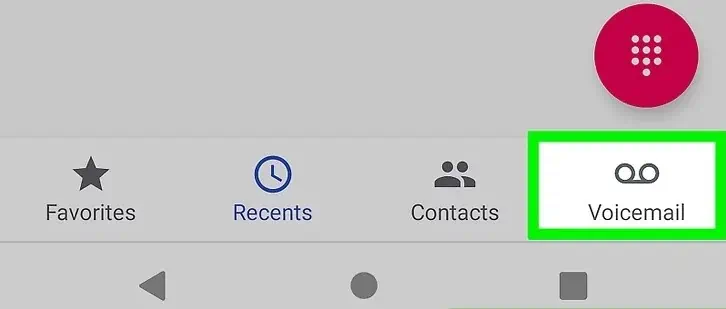
- Open Phone App.
- Navigate to the Voicemail menu.

- Tap on the recording.
- Now tap on the trash icon to delete it.

- Confirm it by hitting on Delete Button.
On iPhone
- Open Phone App.
- Navigate to the Voicemail menu.

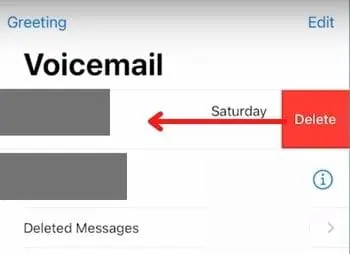
- Point and Slide the recording to the left to see a Delete option.
- Hit on the Delete.

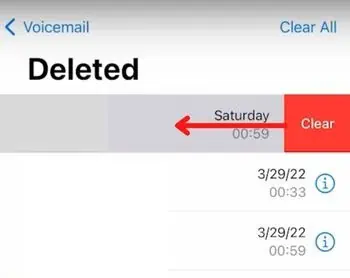
- Now go to Deleted Messages.
- Point to the recently deleted Message and Slide the recording to the left to see a Clear option.
- Hit on the Clear to delete it.

Clear the Phone Data
This is another possible solution you can do to fix your voicemail notification that won’t go away. You receive a voicemail through a phone app. Therefore, clearing the data of a phone app can fix such an issue.
When you clear the data, it will delete customized settings like Voicemail to factory default and remove the recent call history, while your already saved contacts won’t be deleted. Unfortunately, there’s no such option for the iPhone. So, save the unsaved number from recent call history and clear the data.
On Android
- Open Settings.
- Go to Apps.
- Find the Phone app and click on it.
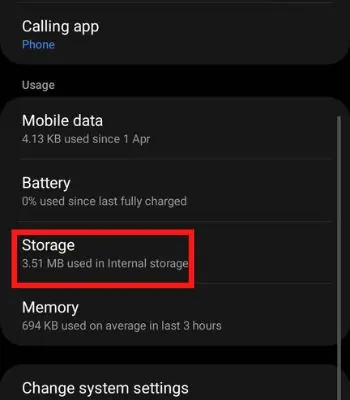
- Tap on Storage.

- Tap on clear data. (FP)
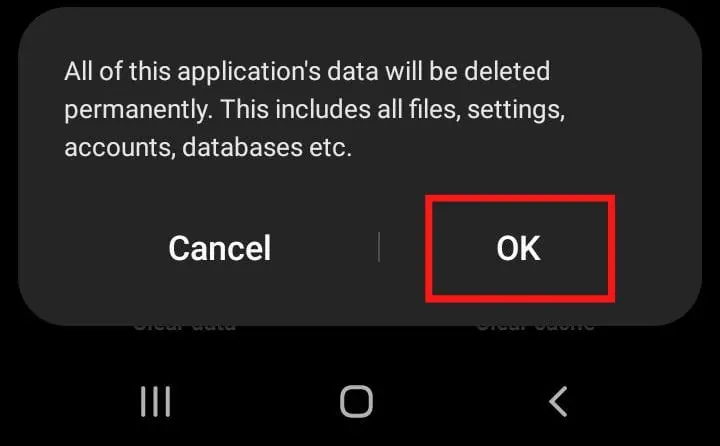
- Confirm it by tapping on OK.
|
Reset Network Settings
This method might not work for every device. However, at least you should try it. Who knows if it can work for you. Resetting Network settings will only clear the previously and currently connected connection, VPN, and other network settings. Once you reset it, the notification might go away if the Network related glitch causes it.
On Android
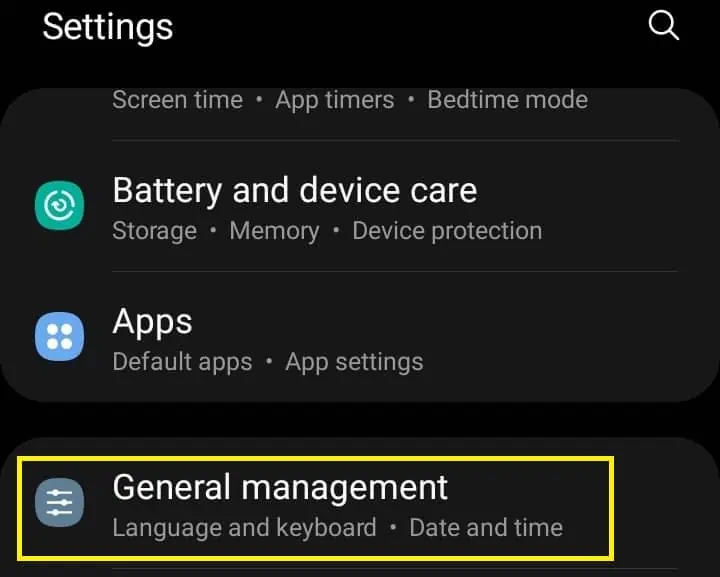
- Open Settings.
- Go to General Management.

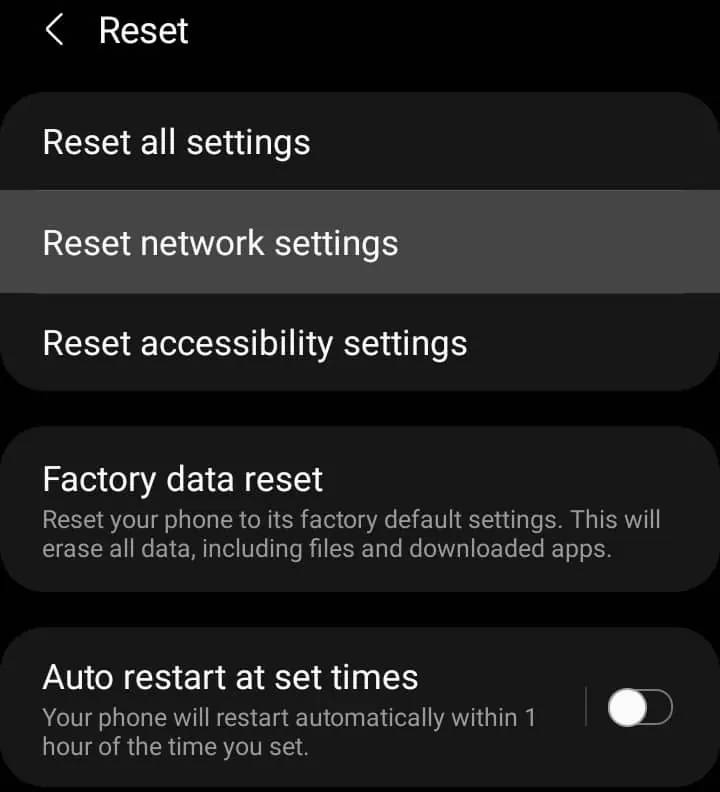
- Click on Reset.
- Tap on Reset Network Settings.

- Click on Reset Settings.
On iPhone
- Open Settings.
- Go to General.
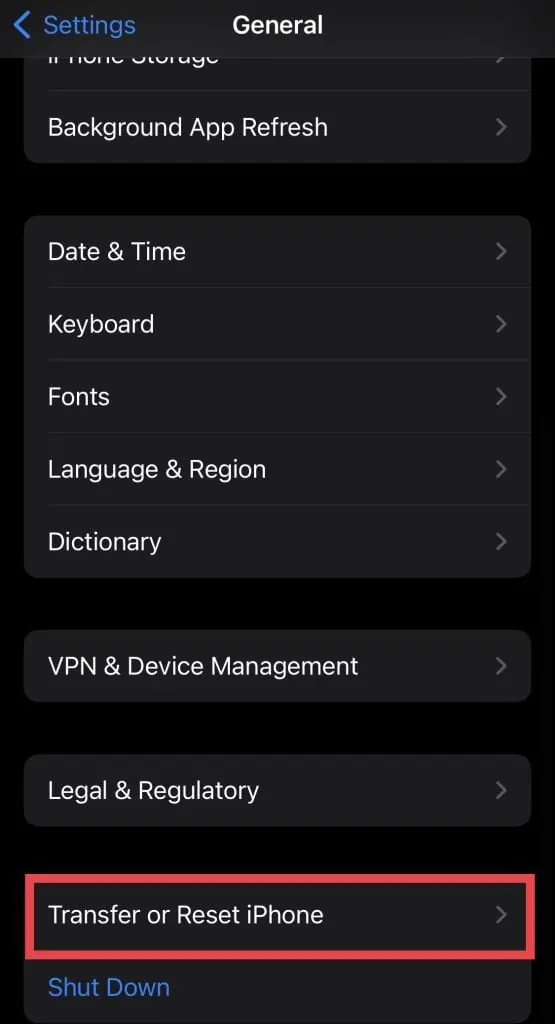
- Scroll down and Tap on Transfer or Reset iPhone.

- Hit Reset.
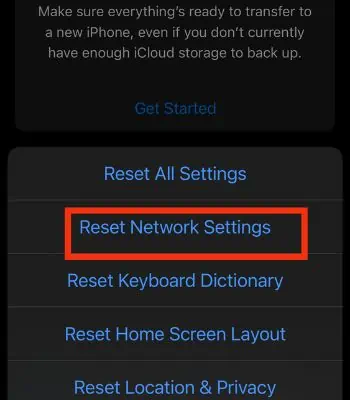
- Tap on Reset Network Settings.

- Tap again on Reset Network Settings to confirm.
Reset Your Device
This is the last option you can consider if you can still not remove the voicemail notification. Resetting will fix this issue as it will permanently reset all the data from your device. Therefore, before you reset, ensure all your important data is backed up in the cloud or other external storage.
On Android
- Open Settings.
- Go to General Management.

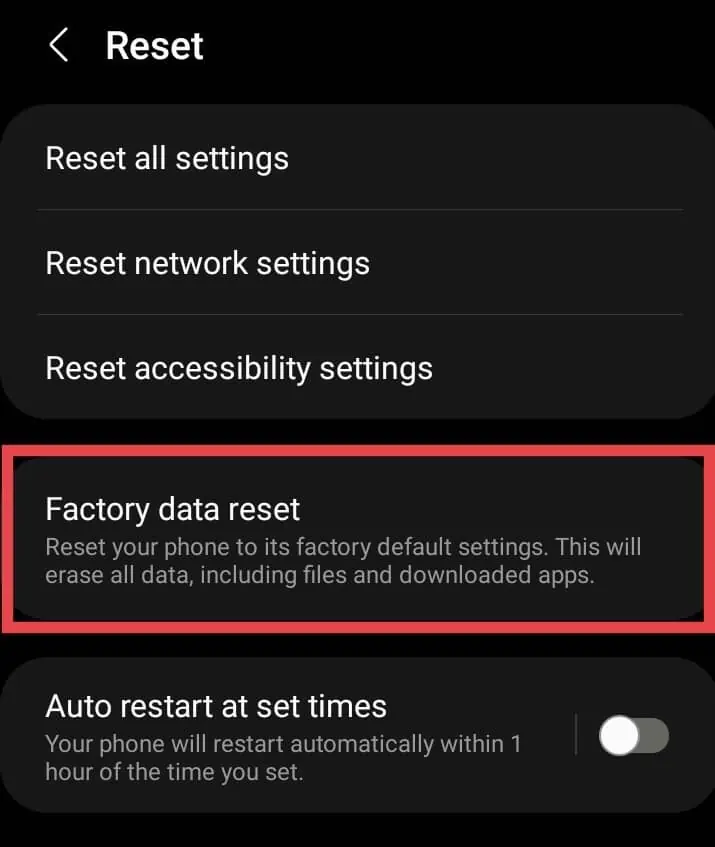
- Click on Reset.
- Tap on Factory Data Reset.

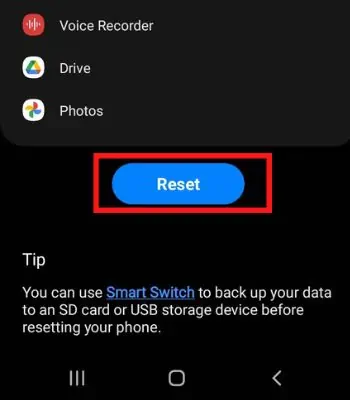
- Tap Reset.

- Draw your pattern or use your fingerprint if prompted.
- Now Hit Delete All.
- Enter the password if prompted.
- Hit Ok. It may take a while to reset your device. Once it is reset, your device will launch as new.
On iPhone
- Open Settings.
- Go to General.
- Scroll down and Tap on Transfer or Reset iPhone.
- Hit Erase All Content and Settings.

- Tap Continue.
- Enter the iPhone’s Passcode.
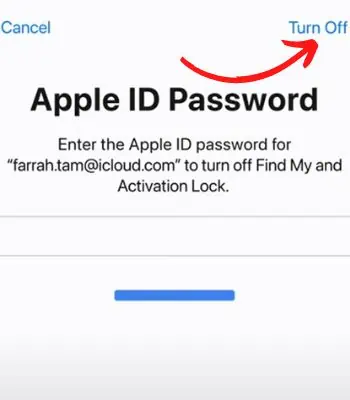
- Enter the Apple ID Password.
- Once you enter the password. Now, Tap Turn off.

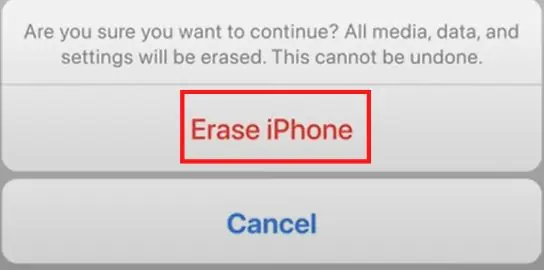
- Click on Erase iPhone.

- Now, wait for your iPhone to erase. Once it is reset, your device will launch as new.

