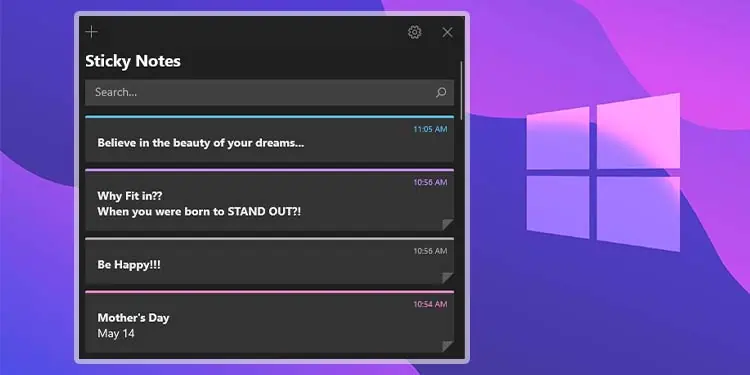
The Sticky Notes application is the go-to tool for quickly jotting down information for many Windows users. And, if you’ve been using it for a long time, you might have amassed several notes.
The Sticky Notes app usually stores all of your notes locally on your computer. So, you might lose all of the important data on your Sticky Notes if your computer malfunctions or you need to reset it.
Therefore, you should back up your sticky notes to a separate drive, storage media, or even to the cloud to keep your data safe. After backing up your sticky notes, restoring them to the same computer or another computer is a pretty easy process.
Using Microsoft Account
The easiest way to backup and restore your sticky notes is by logging in with a Microsoft account. After logging in with a Microsoft account, you get the option to sync your sticky notes across all the devices that share that Microsoft account.
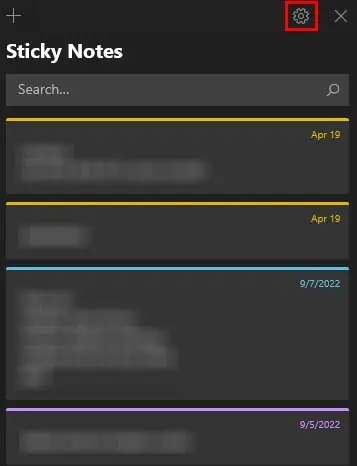
- Open the Sticky Notes application.
- Click on the gear icon at the top.

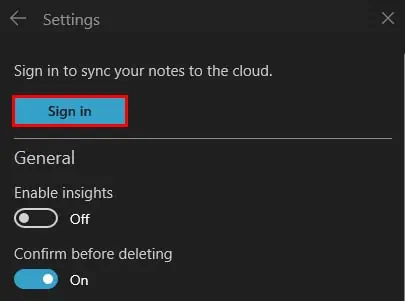
- Select Sign in.

- If you don’t have a Microsoft account already logged into your computer, skip to Step 8.
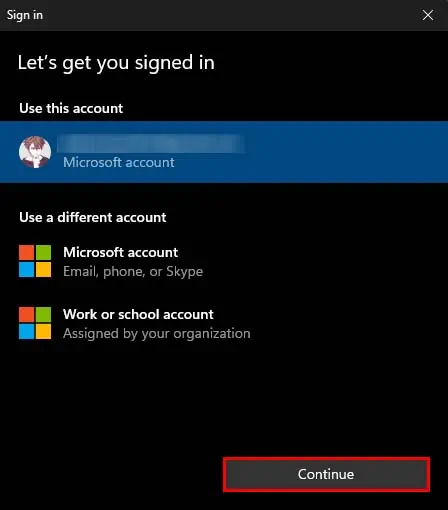
- If you already have a Microsoft account signed in to your computer, you might get the option to choose whether to Use the existing account or Use a different Microsoft account.
- If you choose the existing account and select Continue, Windows will automatically log you in with that account. (Skip to step 11.)

- If you want to sync your Sticky notes to a different Microsoft account instead of the existing Microsoft account, choose the Microsoft account option under Use a different account and select Continue.

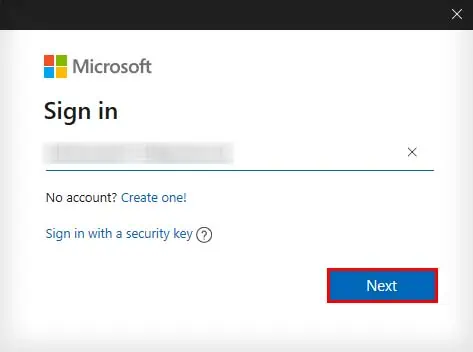
- Enter your Microsoft account’s email address, and click Next.

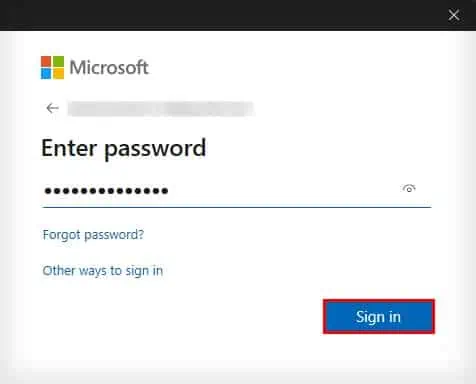
- Enter your Microsoft account’s password, and click on Sign in.

- Click on Next again. (You have successfully logged in with your Microsoft account.)
- Click on the gear icon again in the Sticky Notes application.

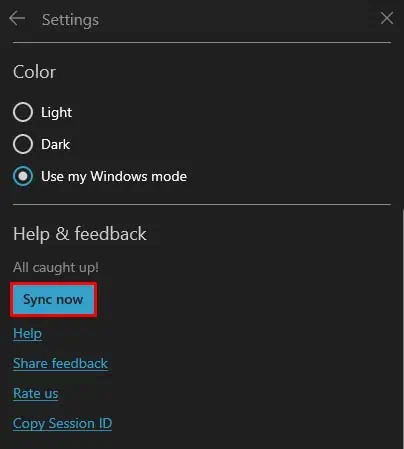
- Under Help & feedback, click on Sync now. (If you’ve got a lot of sticky notes, it will take some time to sync up.)

After syncing your sticky notes, you can use the same Microsoft account to log into the Sticky Notes app on any computer to automatically restore all the previous sticky notes.
Manually Copying the Sticky Notes File
Another way you can backup and restore your sticky notes is by manually copying your Sticky Notes application data file. However, depending on the version of Windows you use, the sticky notes data file will be named differently and will be in a different location.
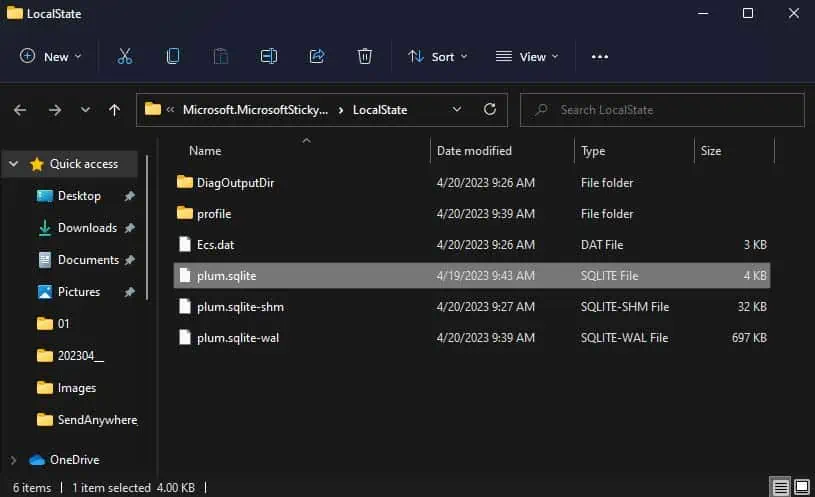
If you use Windows 10 Anniversary Update Version 1607 or later(Windows 11), your sticky note data gets stored in a plum.sqlite file. It is located at
C:\Users\Username\AppData\Local\Packages\Microsoft.MicrosoftStickyNotes_8wekyb3d8bbwe\LocalState
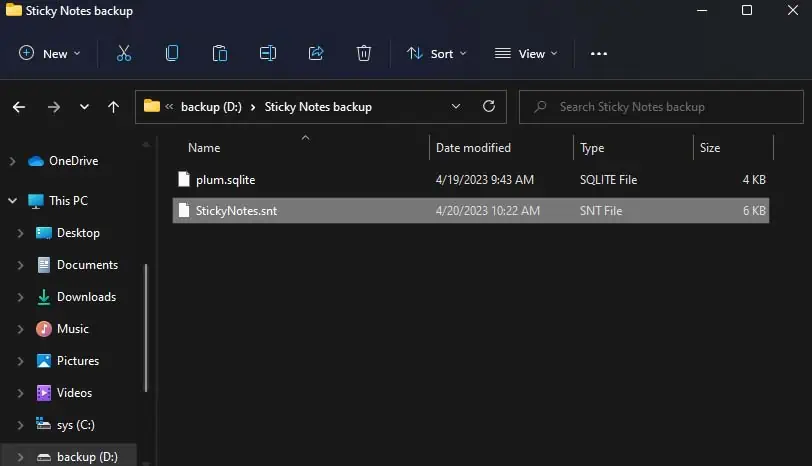
If you use earlier Windows versions (8, 7, and so on) or the version before Windows 10 Anniversary Update Version 1607, your sticky note data gets stored in a StickyNotes.snt file. It is located at
C:\Users\Username\AppData\Roaming\Microsoft\Sticky Notes
Now, if you want to go to these locations to make a backup copy of your sticky notes data file, you will need to have enabled show hidden folders, as some of the folders in those locations are hidden folders. However, here’s a more simple way to do so:
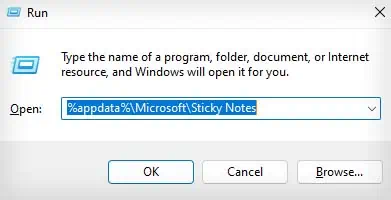
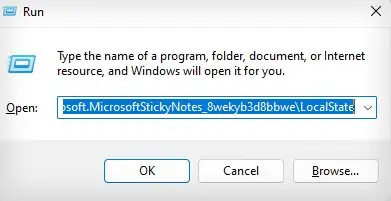
- Press Windows + R to open the Run box.
- Paste the relevant address according to your Windows version and press Enter:
- On Windows version earlier than Windows 10 Anniversary Update Version 1607.
%appdata%\Microsoft\Sticky Notes
- On Windows 10 Anniversary Update Version 1607 or later.
%localappdata%\Packages\Microsoft.MicrosoftStickyNotes_8wekyb3d8bbwe\LocalState
- On Windows version earlier than Windows 10 Anniversary Update Version 1607.
- Select your sticky notes data file, and press Ctrl + C to copy it.

- Navigate to a secure location in your drive or any other storage media, and press Ctrl + V to paste it there. (You can even use cloud services to store your backup copy of sticky notes.)

Additionally, you can also use third-party backup software to create an automatic scheduled backup for the sticky notes backup file.
After making a backup copy of your sticky notes data file, restoring them is just as easy. To do so, you will need to copy the backup sticky notes file and paste it into the original sticky notes file location.
- Select the backup copy of the sticky notes data file, and press Ctrl + C to copy it.

- Navigate to the original file location of the sticky notes data file using the Run method above.
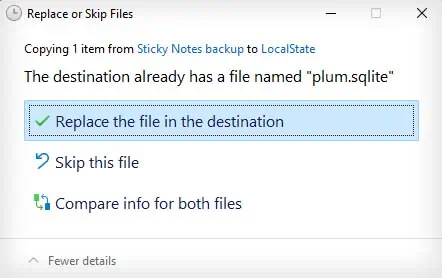
- Press Ctrl + V to paste the backup copy.
- Click on Replace the file in the destination to overwrite the previous sticky notes data file.

Restoring Old Sticky Notes Data File after Upgrading from Windows 10 1607
If you have an old sticky notes data file (StickyNotes.snt), and you want to restore it to a newer Windows version (plum.sqlite), you can also do so using the following method.
- Make sure the sticky notes data file of your previous Windows version is present on your computer.
- Navigate to that file on File Explorer.
- Select it, and press Ctrl + C to copy.

- Press Windows + R to open Run Utility.
- Type the following path and press Enter.
%localappdata%\Packages\Microsoft.MicrosoftStickyNotes_8wekyb3d8bbwe\LocalState
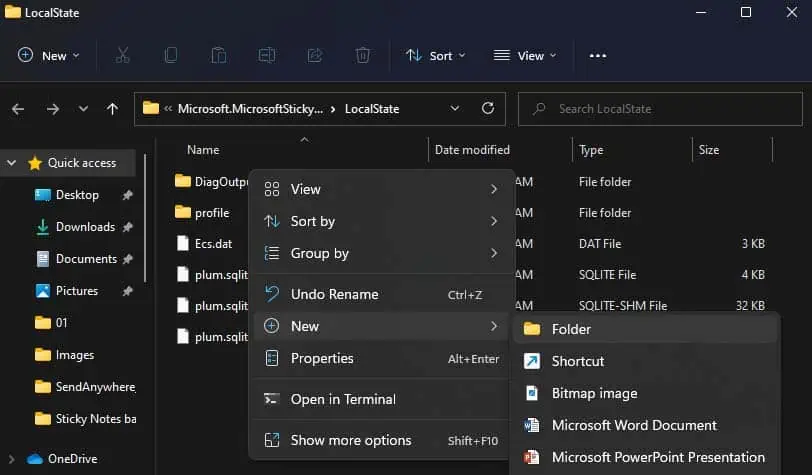
- Right-click in the empty area in the folder, and select New > Folder.

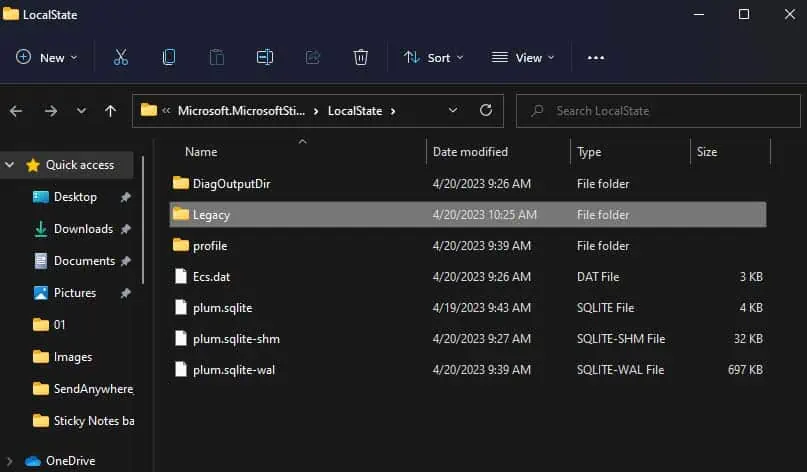
- Name the new folder as
Legacy.
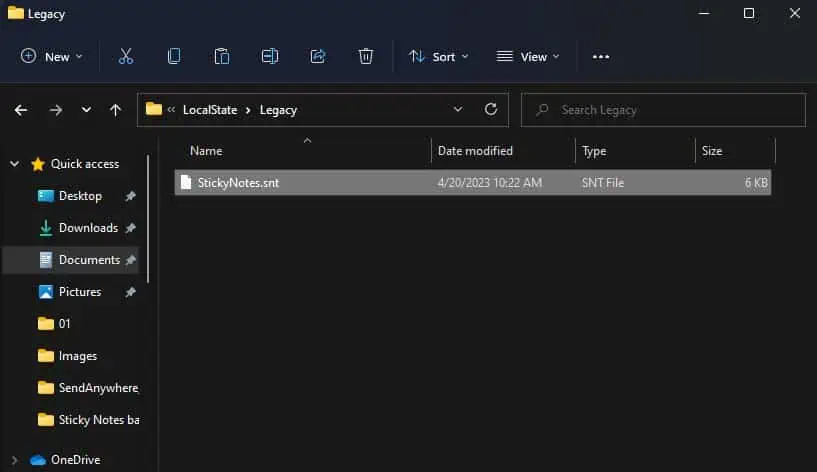
- Open the Legacy folder, and press Ctrl + P to paste the copied file there.

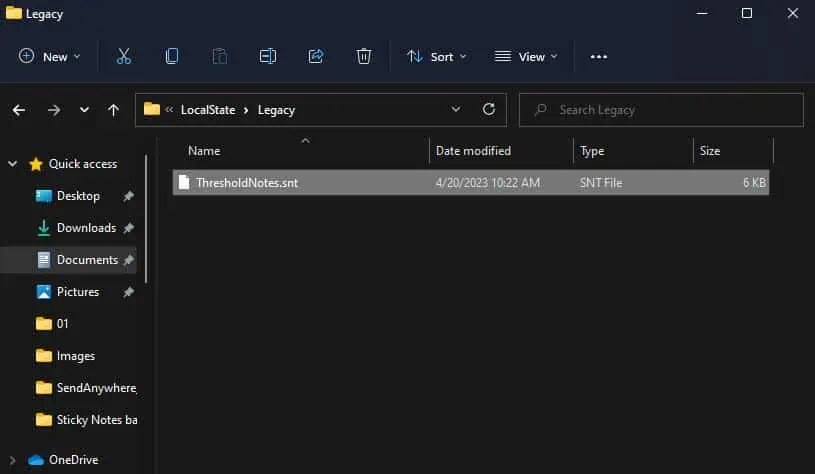
- Select this file, press F2 to rename it, and set the name to
ThresholdNotes.

