
The Driver Verifier runs in the background during startup and scans the system for corruption to detect illegal function calls.
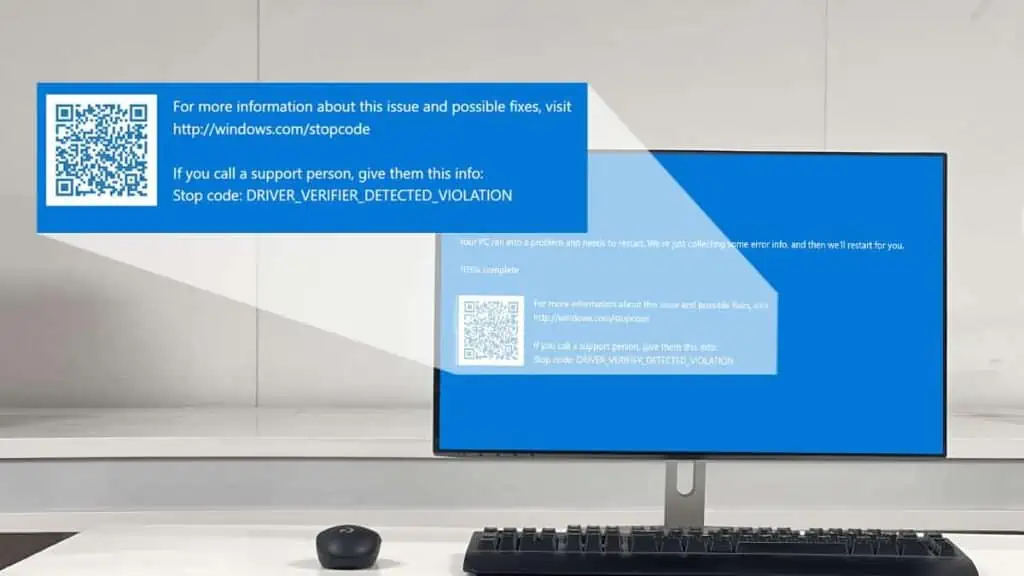
Running the verifier on all drivers makes it unstable and usually returns a bug check error named DRIVER_VERIFIER_DETECTED_VIOLATION.
The solution is simple – disable driver verifier settings. But if you cannot access Windows due to the BSOD boot loop, disable it via the Advanced Startup menu.
Since this error occurs mainly due to driver violations, updating device drivers can sometimes help.
Well, most users even reported getting the same BSOD error after connecting a USB device. If you are also in a similar situation, connecting to a different port should fix it.
Disable Driver Verifier
You do not need a Driver Verifier unless you are a device driver programmer. Even they use this tool only to stress test a single driver. General users are advised to keep it disabled.
I’ve seen many websites recommending to enable this for driver issues or to detect BSOD. The truth is that running Driver Verifier on all drivers will make the system unstable and might give you a series of driver verifier BSOD.
Tip: Before disabling, it is a good idea to run the SFC command. Since the error is due to complications with the drivers, running SFC will attempt to find and fix driver problems.
If you can boot into Windows,
- Press Windows + R, type
verifier, and press Enter. - Select Delete existing settings, then click Finish.

- Hit Yes and the system should restart.

If you are stuck in a boot loop, try the aforementioned steps after entering safe mode. Also, this is directly possible from the Windows RE. Here’s how:
- In the “Startup repair could not repair your PC” error screen, click on Advanced Startup.
- Navigate to Troubleshoot > Advanced Option > Command Prompt.
- Type
verifierand press Enter. - Check Delete existing settings and press on Finish.


Another rare scenario could also occur where you cannot even boot into the Advanced Startup Menu. In that case, you need to access this menu using bootable media:
- Create a Windows 10 or 11 bootable USB media depending on your version of Windows.
- Insert the USB drive into the USB port in the I/O panel.
- Boot into the BIOS.
- Here, change the boot drive such that the system boots via the USB drive. Save and restart the system.
- Once the system boots, it will boot with a language select screen. Select your language and click on Next.
- Now, click on Repair your computer. The PC will now boot to the Advanced startup screen.
- Head over to Command Prompt and run the
verifiercommand. Then, delete existing settings as discussed earlier.


Update Drivers
Deleting existing driver verifier settings should work unless one of your drivers is corrupted. In that case, the smart option is to update them.
Since any driver can lead to this error, I highly recommend updating/reinstalling each of them.
While this may not always fix the issue, the latest drivers usually come with more features and are more reliable.

Head over to the device manufacturer’s official website to search and download the latest files. After installation, this should fix the DRIVER_VERIFIER_DETECTED_VIOLATION error.
Disconnect Peripheral Devices

It seems for most users, this blue screen error only pops up when using the USB device in a certain port.
To check if it’s the same case for you, disconnect all peripherals and try booting the system. If your PC starts normally, reconnect one device at a time to find the faulty one.
Simply updating the firmware and troublesome driver should now fix the problem permanently.