Whether it be due to connection problems, faulty headers, or BIOS conflicts, sometimes your liquid CPU cooler’s radiator fan may stop spinning.
In such cases, your CPU can’t cool down efficiently and will start overheating.
To fix your radiator fans, inspect the hardware components and connections carefully, then go through the fan settings on the BIOS.
You may even have to reset or update the BIOS if it is a new radiator.
Let’s discuss all these solutions in detail.
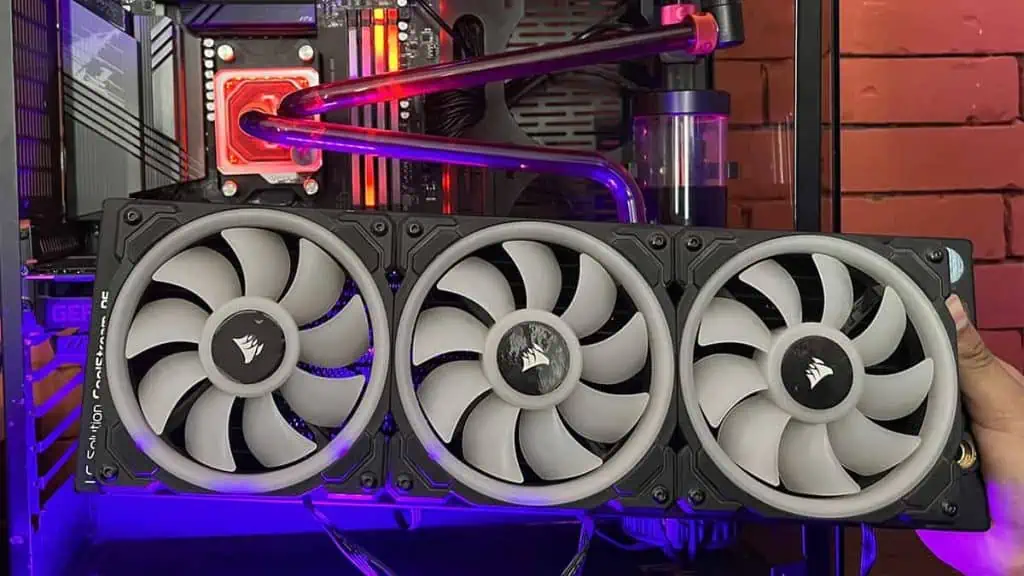
Check Fans, Cables, and Connectors

This issue usually happens due to hardware faults like broken cables and connectors.
If you hadn’t transported your PC safely or made unnecessary changes to the rig, there is a chance some components may have got damaged.
In case the fan header pins are bent or broken, you may experience power issues even when the connection seems secure. Other than that, faulty cables could also be a major problem.
So the first thing you should do is to open your PC case and check the devices.
- Check if the radiator fans are properly connected to the fan headers on the motherboard or fan controller. You can also reconnect them to check for loose connection.
- Make sure that any wire or other components are not physically obstructing the fan blades from moving.
- Inspect the cables and connectors while reconnecting them and look for breaks or other faults.
- You can also try connecting the fan cables to other fan headers. Or connect the cables of the CPU fan or other working case fans to the fan headers you were using for the radiator fans.
- If the other fan works on the original header, your radiator fan or its cable is damaged. Take it to the service center or hardware technician for repair or replacement.
- If the original header doesn’t work, use other available headers or get fan controllers to attach the radiator fans. I also recommend taking your motherboard to its official service center as soon as possible to troubleshoot any hardware issues.
- Accumulation of dust or debris can also obstruct the fans. So, clean the radiator fans off any dust using compressed air.
Check Fans in BIOS

After checking for connection issues, enter your motherboard BIOS/UEFI and check your fan setting. Note and configure the following things while doing so:
- Check whether your PC is detecting the radiator fans. If not, there might be something wrong with the fan itself.
- You should also check the fan speed. All fan motors have a minimum threshold for their starting voltage. If you specify a lower speed, the motor doesn’t get enough power and can’t rotate the fans. So, try increasing the speed and see if it works. It’s also better to set the fan mode to PWM as it supports lower speed.
- You will find the necessary options under Hardware Monitor or a similar tab. You can also reset the BIOS to bring all the fan settings to the factory default before manually adjusting them.
Make sure to save and exit the BIOS, otherwise, your PC won’t apply the changed settings.
Note: If you are using a fan controller, use its OEM control application for it to check and control the fan speed.
Fan controllers that don’t have USB headers do not allow individually controlling the connected fans. All the fans will follow the same speed depending on the fan header where you connect the controller.
Reset or Update the BIOS

If the radiator fans do not spin from the first time you mount the radiator to the computer, it might be because of some improper BIOS settings.
First, reset the BIOS to the default state by selecting the relevant option in the UEFI’s Exit tab. You can also remove and reconnect the CMOS battery or short the motherboard jumpers to reset the firmware.
If resetting does not work, and there are no problems with the fan connections or settings, you may need to update your BIOS. Before that, check if you have an outdated version of the BIOS.
Improperly updating the BIOS firmware runs the risk of bricking your motherboard. Make sure to check the proper details and instructions for the BIOS update history on your motherboard’s official support page beforehand.