Tech News Today
  • Hardware
    • Motherboards
    • CPUs
    • Graphic Cards
    • RAM
    • SSDs
    • Computer Cases
    • Monitors
    • Peripherals
    • Power Supply Unit
    • PC Builds
    • Computer Tips
  • Software
  • Operating System
    • Windows
    • Mac
    • Linux
  • Gaming
  • Mobile
  • Console
  • More
    • Internet
    • Networking
    • Security
    • Buyer’s Guide
    • Gadgets
    • Laptops
    • Reviews
    • How To
    • News
Facebook Twitter Instagram
Tech News Today
  • Hardware
    • Motherboards
    • CPUs
    • Graphic Cards
    • RAM
    • SSDs
    • Computer Cases
    • Monitors
    • Peripherals
    • Power Supply Unit
    • PC Builds
    • Computer Tips
  • Software
  • Operating System
    • Windows
    • Mac
    • Linux
  • Gaming
  • Mobile
  • Console
  • More
    • Internet
    • Networking
    • Security
    • Buyer’s Guide
    • Gadgets
    • Laptops
    • Reviews
    • How To
    • News
Tech News Today
Home»Laptops»How to Boot ASUS Laptop From USB

How to Boot ASUS Laptop From USB

Grishm DevkotaBy Grishm DevkotaJanuary 27, 2023
how-to-boot-asus-laptop-from-usb

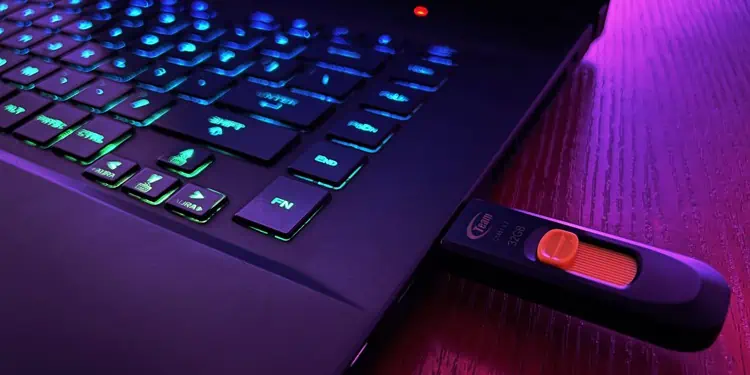
You may need to boot your ASUS laptop from a USB if you are planning to upgrade or install an operating system through USB. It can also come in handy while updating the BIOS or when the laptop has no optical disk drive.

In this article, we’ll show you how to make a bootable USB first and then boot your ASUS laptop from it. You will need the following things to get started:

  • A working computer with an internet connection
  • USB drive with a capacity of at least 16 GB

Step 1: Prepare the USB Drive

Note: This process will remove all files stored in the USB drive. Make sure to backup any important files before proceeding.

First, ensure you have a working computer and sufficient USB storage to download the files.

Then, format the USB drive to the FAT32 file system on your PC. This not a requirement,however, if you are using a Media creation tool to make a bootable USB. But, if you are trying to flash/update the BIOS, this step may be necessary. 

Normally, downloading the necessary files and storing them on the USB won’t make the drive automatically bootable.

For instance, if you’re trying to install Windows into your ASUS laptop, you will need to download and run the Windows Media creation tool to make that happen. You can also use specific tools like Rufus. You can read more about this in our comprehensive guide to install Windows from USB.

Step 2: Select the Boot Device

After making the USB boot compatible, change the boot media from the Boot menu. This is a separate menu in ASUS devices that allow you to select the boot media directly without the need to access the BIOS.

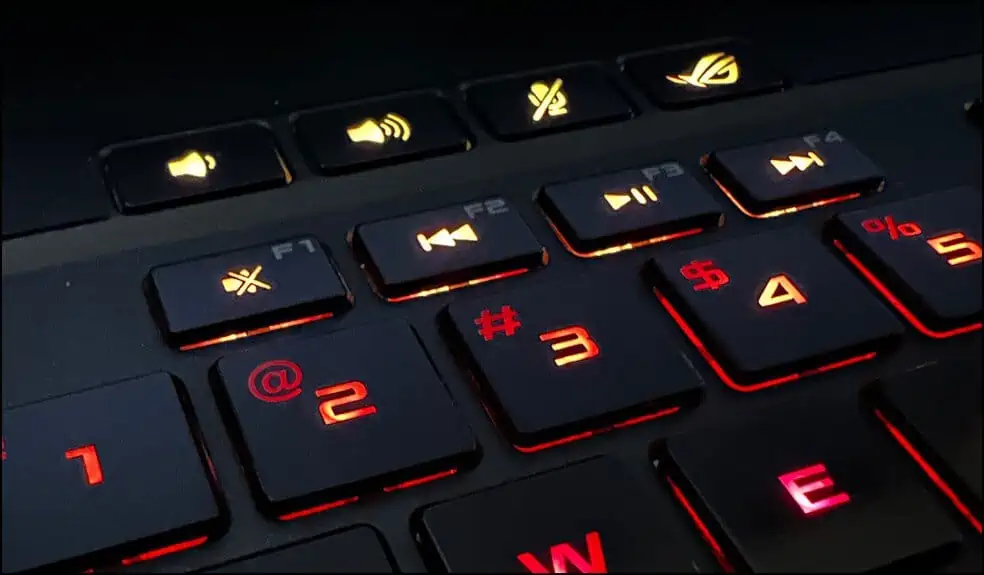
  1. On startup, press the Boot menu key repeatedly before the logo screen appears.
    boot menu key
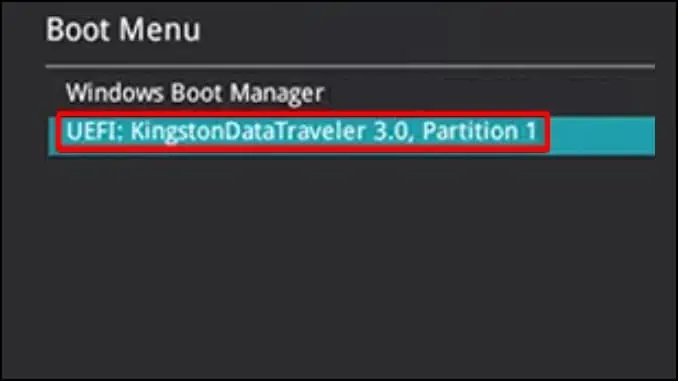
  2. From the list, select the USB device as the boot drive and press Enter.
    boot menu asus
  3. Your laptop will now boot from the USB drive.

The Boot menu key and the BIOS key prompt will differ according to models. Here we have listed the key prompts for some popular ASUS laptops:

Laptop ModelBIOS keyBoot menu key
Vivobook SeriesDelete key, F2 keyEsc key, F8 key
ROG SeriesF2 keyEsc key
TUF SeriesF2 keyEsc key
Zenbook SeriesF2 keyEsc Key
X-SeriesDelete keyF8 Key
F-SeriesF2 keyEsc Key
ProArt Studio Book SeriesF2 keyEsc key

Problems While Booting from USB

While performing Step 2, your device may still not boot from the USB. It is possible that the USB drive might not get detected in the boot menu at all.

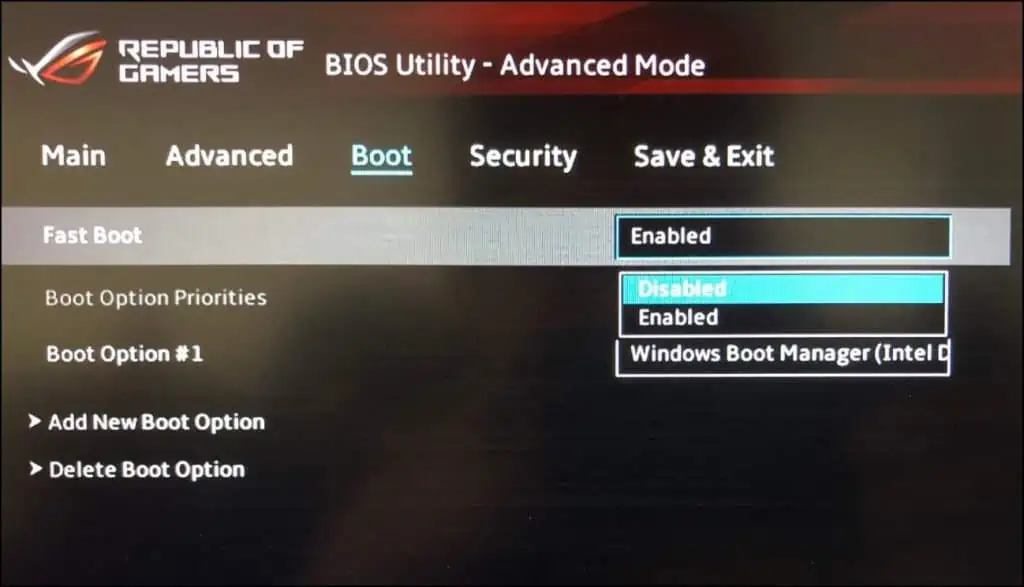
To fix this, you will need to disable some security features like Secure Boot and Fast boot. You may also need to enable CSM (Compatibility Support Module) to boot the laptop if it does not support UEFI.

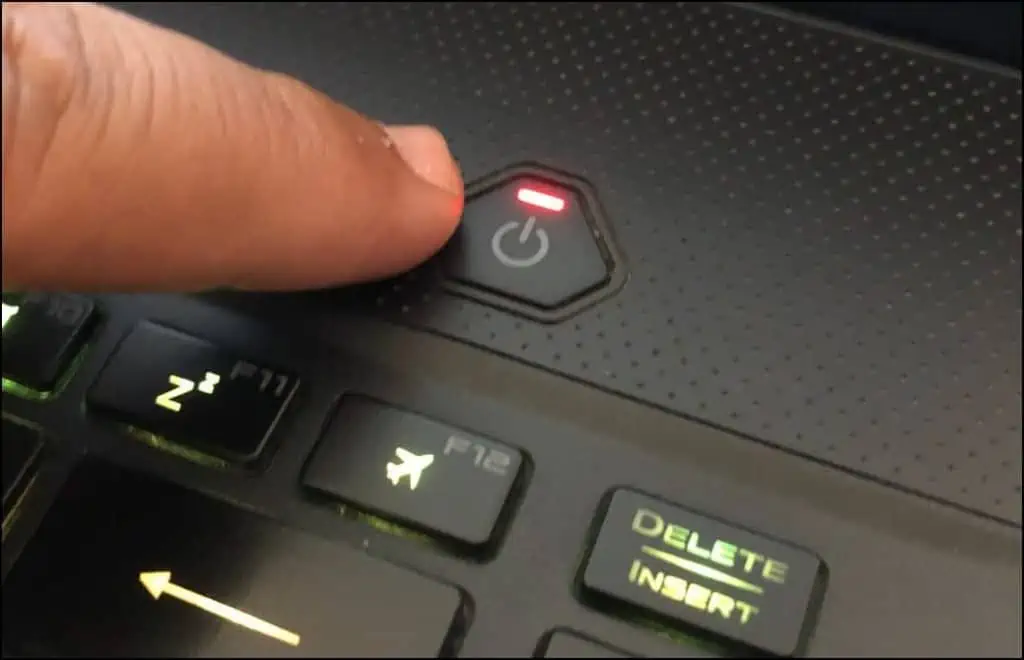
  1. Insert the bootable USB into your ASUS laptop and turn on your device
    power button asus laptop
  2. Press the BIOS key repeatedly before the logo screen appears to enter the BIOS
  3. Press the F7 key to access Advanced Mode menu
    bios advance mode
  4. Navigate to the Security tab and select Secure Boot Control
    secure boot asus
  5. Click on the drop down menu and select Disable
  6. Next, on the Boot tab, change Fast boot to Disabled
    disable fast boot
  7. Again, on the Boot tab, change the CSM support to Enabled(if available)
  8. Press the F10 key to save the changes and exit.
  9. Press the F8 key while the system is turning on and select the USB drive as the default boot media.
  10. The device should now boot from the USB drive.
how-to
Grishm Devkota
  • LinkedIn

Grishm holds a computer science degree and is currently employed as a Tech writer at TechNewsToday. He specializes in topics related to Windows OS, iOS and PC hardware. You can contact him at grishm@technewstoday.com

Related Posts

how often to replace laptop

How Often Should You Replace a Laptop

March 29, 2023
Fix microphone on dell laptop

How to Fix Microphone Not Working on Dell Laptop

March 27, 2023
fix camera on dell laptop

11 Ways to Fix Camera on Dell Laptop

March 20, 2023
find serial number on lenovo laptop

How to Find Serial Number on Lenovo Laptop

March 15, 2023
how to clean laptop

How to Clean a Laptop: Comprehensive Guide

March 14, 2023
how to find serial number on hp laptop

How to Find Serial Number on HP Laptop? 6 Simple Ways

March 14, 2023
Add A Comment

Leave A Reply Cancel Reply

Latest Posts
what-does-collate-mean-on-a-printer

What Does Collate Mean on a Printer?

March 31, 2023
usb-vs-pcie-wifi

USB Vs PCIe Wi-Fi—Which One is Better?

March 31, 2023
how often to replace laptop

How Often Should You Replace a Laptop

March 29, 2023
You may also like
computer suddenly slow

Why is My Computer Suddenly Slow? 11 Ways to Fix It

March 31, 2023
HTTP-Error-431

How to Fix HTTP Error 431

March 31, 2023
scheduled task reboot

How to Create a Reboot Scheduled Task in Windows

March 31, 2023
Recommended
Cookie Clicker Garden Guide

Cookie Clicker Garden Guide to Unlocking Every Seed

September 26, 2021
monitor no signal

Computer Turns On But Monitor Says No Signal (9 Ways To Fix)

November 10, 2022
Facebook Twitter Pinterest
  • Home
  • About Us
  • Our Team
  • Editorial Guidelines
  • Privacy Policy
  • Affiliate Disclosure
© 2023 TechNewsToday, editor@technewstoday.com | Tech Central Pvt. Ltd.

Type above and press Enter to search. Press Esc to cancel.