
Before starting, you should know that you cannot increase your PC’s dedicated video memory unless you upgrade your GPU. The dedicated video memory is built into the GPU itself and cannot use more than the specified amount. However, once the system runs out of dedicated memory, it uses the system memory, called the shared video memory.
When a PC uses shared video memory, it uses the allocated amount of memory from RAM or the Virtual Memory to complete its task. However, the physical memory cannot perform the job as efficiently as the VRAM. Thus, the graphical processing task will take a considerable amount of time.
How to Increase VRAM?
If you want to increase your total video memory, you need to increase the shared video memory. Follow the following methods mentioned below to increase your total VRAM.
Change BIOS Setting
Using the BIOS, you can enable/disable any piece of hardware connected to a computer. Not only this, you can adjust the amount of RAM that the PC can use as video memory. However, this will increase the shared video memory only and not the dedicated video memory.
Follow the steps mentioned below to increase the shared system memory.
- Press any of the function keys or the Delete key repeatedly during startup to enter the BIOS.
- Go to the Advanced tab.
- Search for settings named DVMT Pre-Allocated, Pre-Allocated Memory Size, UMA Frame Buffer Size, or Video Memory Size.
 1")
- Select the size of the shared video memory.
- Save and Exit the BIOS.
 1")
Change Registry Value
Before starting, changing the registry value will only change the number that the OS displays as the dedicated memory or the VRAM. This will not change the actual VRAM of the PC.
You may be thinking if it does not increase the VRAM, why is this method necessary? Well, changing the registry value tricks the OS into thinking that the PC has a GPU with the set amount of VRAM. This can be especially useful when your computer does not run games due to low video memory.
Note that the computer’s VRAM is not the VRAM you set by changing the registry value.
Any wrong changes to the registry can cause the entire system to malfunction. Therefore, before making any changes to the registry, make sure you backup the registry.
Here are the steps to change VRAM from the registry.
- Press the Windows + R key to open Run.
- Type
regeditand press Enter to open the Registry Editor. - Navigate to
Computer\HKEY_LOCAL_MACHINE\SOFTWARE\Intel - On the left panel, right-click on Intel.
- Select New, and then Key.
- Name it GMM.
- Double-click on GMM.
- Now right-click on the right panel.
- Select New and then DWORD (32-bit) Value.
- Name this value as
DedicatedSegmentSize. - Double-click on DedicatedSegmentSize.
- Set Value data to 512 and Base to Decimal.
- Restart the PC to save the changes.
 2")
 3")
Note: changing the registry value to change the dedicated video memory may or may not work on all PCs.
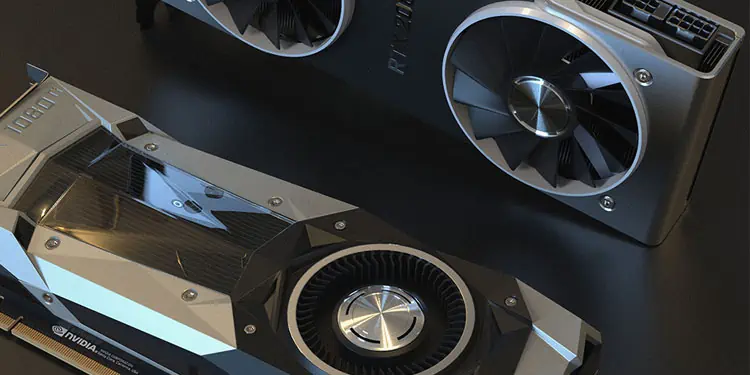
Switch to a Dedicated Graphics Card
 4")
Finally, if you want to increase the VRAM or the dedicated RAM permanently, we recommend that you upgrade your graphics card. A computer with an integrated graphics card will not perform as efficiently as one with a dedicated graphics card.
Also, if you get a high-end graphics card, it will also have high VRAM memory. However, once you connect the graphics card to the motherboard, make sure you connect the display to this card and not the motherboard.
How to check My PC’s VRAM?
Follow the steps mentioned below to check your PC’s VRAM.
- Press the Windows + I key to open Settings.
- Go to System > Display.
- Scroll down and select Advanced display settings
- Under Display information, select Display adapter properties for Display 1. If you are using a laptop with a dedicated graphics card, there may be two graphics cards, integrated and dedicated.
- A new window showing total, dedicated (VRAM), and shared system memory should open.
 5")
 6")
 7")
Alternatively, you can also use the DxDiag tool to get details about the VRAM.
- Press the Windows + R key to open Run.
- Type
dxdiag, and press Enter to open the DirectX Diagnostic dialog box. - Go to the Display tab.
- Under Device, you can see the total, display (VRAM), and shared memory.
 8")
How Much VRAM Do I Need?
The amount of VRAM your PC needs depends on its workload. If you use the PC for performing simple tasks and internet browsing, you do not need much VRAM.
However, if the PC performs heavy video rendering, higher VRAM will render said video and graphics much quicker, giving you a smooth experience.