By default, the Virtual Machine (VM) screen on the Oracle VirtualBox does not occupy the entire screen. So, operating the system can be quite uncomfortable, especially if you need to read some texts.
VirtualBox includes a full-screen option, which increases the windows size. Nevertheless, it does not change the VM display unless a certain option is enabled.
How to Select Full-Screen Option on VirtualBox?
The Maximize button on the Virtual Machine’s window extends the window to the whole screen. However, if you want to open the VM without its menu or the Taskbar, you need to select Full-screen Mode. To do so,
- Click on View on the menu.
- Select Full-screen Mode.


You can also use the Host Key + F shortcut to enable/disable this mode.
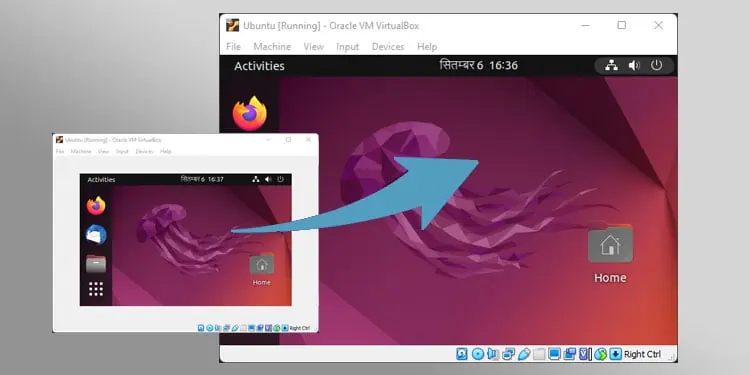
- The Host key is the Right Ctrl by default and you can see the current host key on the bottom-right of the VM window.
- If you want to change this key or the shortcut, you need to go to File > Preferences > Input > Virtual Machine.

How to Make VirtualBox Actually Full Screen
While the above option is called Full Screen Mode, it doesn’t actually change the size of the Virtual Machine display. The Window goes to full-screen mode but the display remains the same and occupies the central position.
If you want this display to fill up the entire screen, you need to execute additional tasks. Here’s a step-by-step explanation of these processes.
Install Guest Additions
The first thing you should do is install Guest Additions on the VM. You can only access the option you need to enable true full-screen if this package is present.
On Windows VM
Installing Guest Additions is very easy on a Windows Virtual Machine and you shouldn’t encounter any issues. Here’s how you can install it:
- Power up the Virtual Machine.
- From the menu, select Devices > Install Guest Additions.
- Open the File Explorer and go to the mounted CD drive.
- Run
VBoxWindowsAdditions.exeand follow the on-screen instructions.


On Linux VM
A similar method works on most Linux OS. However, you may get the E_FAIL (0x80004005) error in some cases. Here, you can mount the Guest Additions ISO file and use the Terminal to install guest additions.
- Open the Terminal.
- Enter the following commands to install build essentials on the system:
sudo apt-get updatesudo apt-install build-essentialssudo reboot
- After the reboot, go to Devices > Optical Disks > Choose a disk file.
- Navigate to
C:\Program Files\Oracle\VirtualBox - Click on
VBoxGuestAdditions.isoand select Open. - Open the Terminal and enter the commands below to install Linux Guest Additions:
sudo mkdir /mnt/cdromsudo mount /dev/cdrom /mnt/cdromcd /mnt/cdromsudo sh ./VBoxLinuxAdditions.run --nox11sudo restart


On Mac VM
Similar to Windows, first try selecting Devices > Install Guest Additions and following the instructions on a Mac VM. If it fails, follow the instructions below. However, keep in mind that some versions of Mac may need different commands.
- Open the Terminal and enter the following command to boot in recovery mode.
sudo nvram "recovery-boot-mode=unused"sudo reboot
- On the Recovery mode, run the Terminal and enter the commands below to disable System Integrity Protection (SIP):
csrutil disablespctl kext-consent add VB5E2TV963nvram -d recovery-boot-modereboot
- On the Normal boot mode, open the Terminal again and enter these commands to give permissions to modify some system files:
sudo mount -uw /sudo chown :admin /System/Library/Extensions/sudo chmod 775 /System/Library/Extensions/
- Now, go to Devices > Install Guest Additions and follow the given instructions.
- After installing Guest Additions, open the Terminal and enter the following to reset the permissions and boot into recovery mode:
sudo chown :wheel /System/Library/Extensions/sudo chmod 755 /System/Library/Extensions/sudo nvram "recovery-boot-mode=unused"sudo reboot
- On the Recovery mode, run the Terminal and enter the commands below to re-enable SIP:
csrutil enablenvram -d recovery-boot-modereboot


Check Virtual Machine Settings
Before enabling the option to expand your VM display over the entire screen, you need to change its display setting.
- Power off the Virtual Machine.
- On VirtualBox, select the VM and click on Settings.
- Go to Display > Screen.
- Set the Video Memory to a higher value (the best is 128 MB).
- You can also enable 2D and 3D acceleration to have better graphics.
- Click OK to save the VM Settings.

Enable Auto-resize Guest Display
Now you can finally adjust the VM screen size to fill up the whole screen. To do so,
- Boot into the Virtual Machine.
- Select View from the menu and click on Auto-resize Guest Display to enable it. Its icon shows a tick mark if it’s enabled.

Then, you can maximize the screen to have it expand over the whole screen. Or you can go to full-screen mode using the steps we have mentioned earlier.
If the full screen shows pixelated images, your current settings have low resolution. You need to change it to the maximum resolution supported by the video memory to get a smooth screen image.