
Normally, pressing the manufacturer-recommended key during POST takes you to the motherboard’s BIOS. But even if spamming the key doesn’t work and your operating system boots up instead, there’s certainly an underlying issue.
In such scenarios, you can load the UEFI Firmware Settings from Windows Recovery Environment. If this works, Fast Startup, BIOS Logo Display, or related configurations could be the culprit. Adjust these settings, and you should be able to access the interface normally from the next boot.
If the BIOS still doesn’t show up, clearing CMOS can help, which is exactly what I usually do. Also, keep in mind there could be possible hardware issues that may require further troubleshooting.
Catering to your needs, I have compiled a range of solutions, starting from basic to advanced, that should help you regain access to the BIOS settings.
Recheck the BIOS Key
Let’s start with the most generic fix. If you haven’t been to the BIOS interface before, you’re probably facing an issue with the correct timing on using the dedicated key, or you’re simply using an incorrect one.
Even though most motherboards and laptops use Del or F2, these are still not the standard ones. While they are the first ones you should try, your PC could instead utilize a different key– F1, F10, Esc, F12, or some other.

In general, the splash screen displays the appropriate one you need to press. To be precise, you should encounter a message like, “Please press Del or F2 to enter UEFI BIOS settings.” Otherwise, you may simply refer to your user manual.
Even if pressing the right key doesn’t work, reboot your computer. This time, keep holding it down from the startup, and this should show your UEFI/Legacy BIOS Utility.
Get to BIOS From Windows Recovery Environment
If your computer boots up without even displaying the manufacturer’s logo, there’s a chance Fast Boot is enabled or some configuration could be responsible. Your PC is skipping some steps during the POST, which is why the key press isn’t being registered.
In such cases, I suggest adopting some other techniques to enter the BIOS interface. One of my favorites is from the Windows Recovery Environment (only works for UEFI BIOS). You can press Restart (from the Start menu) while holding Shift. Then, follow the below instructions:
- Once you’re in the Choose an Option screen, select Troubleshoot.

- Next, choose Advanced options.
- In the last screen, pick UEFI Firmware Settings.
- Now, hit the Restart button and wait until the BIOS shows up.


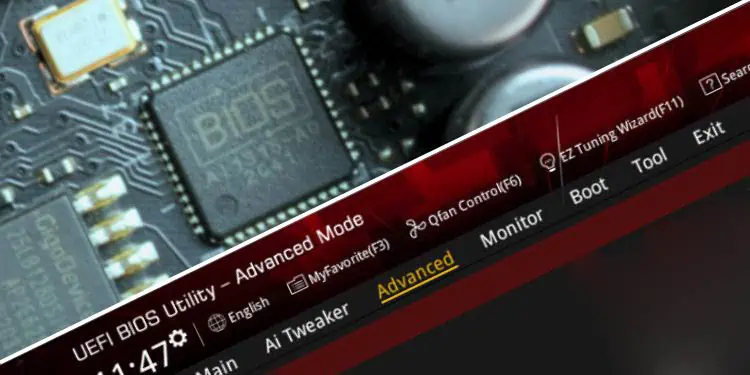
Tweak Related BIOS Settings
Once you’re able to enter the firmware interface (from the Windows RE or using other methods), it’s time to make changes to a few BIOS options that might be preventing you from accessing it.
Even though holding down the BIOS key usually helps, in some systems, you might be unable to enter UEFI Utility when Fast Boot is enabled. That’s exactly what happened in my case with the ASUS ROG STRIX B450-F GAMING motherboard.

Likewise, if you have disabled BIOS Logo Display, Splash Screen, or similar options, it does help increase the startup time. However, this directly boots up the OS, and you might get late pressing the dedicated key.
The location of these options varies based on the motherboard/laptop model. Usually, they are available under Boot Configuration, Windows OS, Boot, or similar sections.
Since the issue mainly persists due to Fast Boot, here are the locations on some popular motherboards:
| Motherboard | Available Fast Boot Options | UEFI BIOS Location |
| ASUS | Fast Boot | Boot > Boot Configuration |
| MSI | Fast Boot / MSI Fast Boot | Settings > Boot / Advanced > Windows OS |
| Gigabyte | Fast Boot / Ultra Fast Boot | BIOS > Fast Boot |
| ASRock | Fast Boot / Ultra Fast Boot | Boot > Fast Boot |
Try Switching Keyboard
In case you’re using a Bluetooth keyboard, the key presses may not be registered during the startup since the related drivers execute only after the OS boots up. That being said, you need to switch to a USB keyboard (even the wireless with a dongle should work).
There are still exceptions, though. For instance, if you have a Bluetooth adapter that supports HID Proxy mode, you should be able to use it. Likewise, Intel has also introduced support for Bluetooth keyboards during POST. Check the supported list on their official website.
Also, ensure the input device is not faulty. If the keyboard doesn’t work even after logging into Windows, know that this could have been preventing you from getting to BIOS.
Reset BIOS / Clear CMOS

In case you’re unable to get to the BIOS screen or facing issues even after disabling Fast Boot, I suspect some other configurations could be the culprit. So, resetting the motherboard’s firmware to its factory defaults would be the best way to resolve this.
If you’re able to access your BIOS Setup page from the Windows Recovery Environment (as mentioned above), manually load the optimized defaults. Otherwise, you need to clear RTC RAM by removing the CMOS battery, using the CLEAR CMOS button, or shorting the 2-pin/3-pin headers with a jumper cap.
Use the Primary Screen
For users with a multi-monitor setup (where one display is connected to the MB port and another to the discrete GPU), only the latter one will display the BIOS screen.
However, enabling integrated graphics and setting the primary video device to IGFX, IGPU, or a related option should let you access it from the other monitor. But note that only one screen can be used for BIOS.

Similar is the case on laptops connected to an external display. While some systems support mirroring the firmware interface, others only prioritize their laptop displays.
Few devices might support an external display after closing the lid or forcing it to display on the external screen (using dedicated buttons, like Fn + F4). this might not work for everybody.
In my case, I can use an external monitor with my ASUS NX580VD laptop for tweaking BIOS settings. But after attempting multiple times, I can confirm that my Samsung Notebook Pro 9 doesn’t support this.
If you’re in the same boat, the only possible way is to use the laptop’s display for configuring your firmware settings.
Update Motherboard/Graphics Card Firmware
Caution: Interruption during the firmware update can potentially brick your device. Remember to take precautions before proceeding, especially ensuring there won’t be a power-related issue in the middle of the upgrade.
A common issue I have encountered is the monitor not detecting DP during the POST (despite Windows booting up normally later). While most users are able to solve this problem by switching to an HDMI or DVI cable, you probably want a better solution if you wish to continue using DisplayPort.
The issue persists mainly because the outdated VBIOS doesn’t support DisplayPort 1.3/1.4 features. As it is more prevalent with NVIDIA graphics cards, a firmware update is already available online.

All you have to do is download NVIDIA Firmware Updater and let it check for a possible update automatically. If found, proceed to update the VBIOS.
In case you’re experiencing a similar issue with AMD GPUs, check for a similar firmware upgrade on their official support page.
Likewise, flashing your motherboard’s BIOS has also worked for a majority of users. Inspect the description well (ensuring it includes graphics card compatibility or something related to VBIOS).
Final Troubleshooting

The aforementioned solutions should be enough to make the BIOS show up. However, if your Windows isn’t booting or your PC isn’t POSTing, this becomes another discussion altogether.
The best solution for a PC not booting to BIOS would be to examine the Beep or LED codes. Then, look up your user manual or appropriate documentation to get the right solution. Note that this varies on every motherboard:
| Motherboard | POST Error Troubleshooting |
| Gigabyte | Beep Codes / Debug LED codes |
| ASUS | Beep Codes / Q-LED codes |
| ASRock | Beep Codes / Dr. Debug error codes |
| MSI | Beep Codes / EZ Debug LEDs |