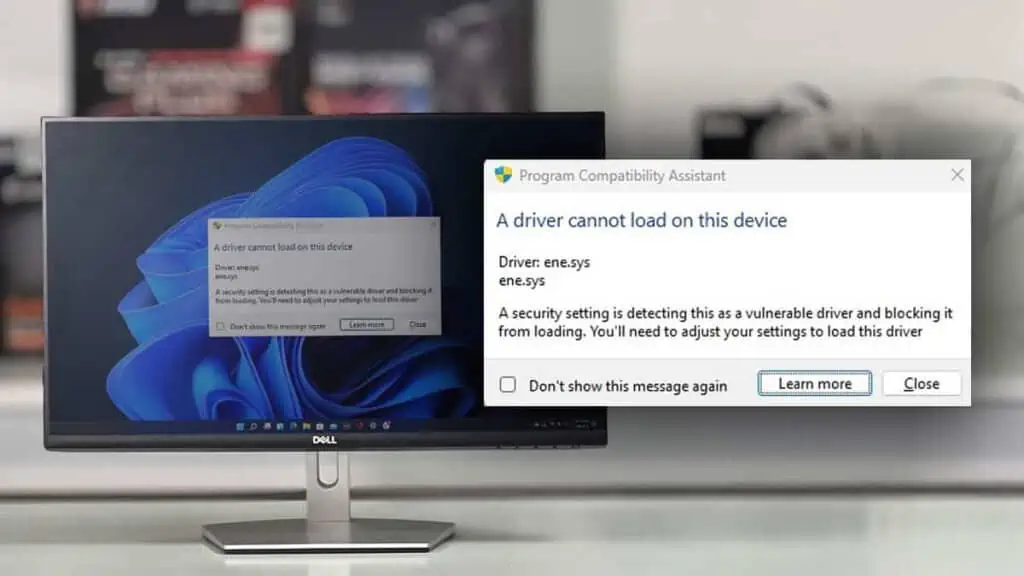
A driver fails to load during startup if Windows finds it suspicious. This could especially happen if the driver doesn’t have an official digital signature.
To fix the problem, you first need to find the problematic device/software. Once you have this information, go ahead and update its driver.
If an update is not available, rename the unsigned driver file. The OS will automatically create a new one (that’s digitally verified).
In case you got this error after a Windows update, I advise rolling it back.
The final option is to disable Memory Integrity to bypass the error. This is not recommended, though, as it turns off crucial defense against suspicious drivers.
So, let’s start off with a few general solutions first.
Search the Faulty Driver
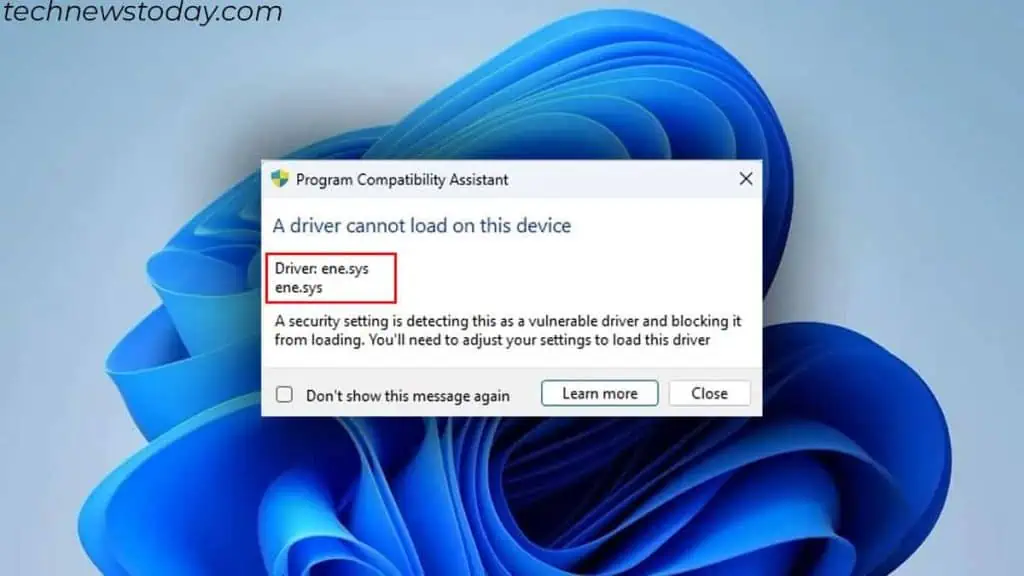
First, note down the driver displayed in the error message dialog box. Some of the common drivers you see in the error messages are:
amsdk.sys(Advanced Malware Protection)iqvw64e.sys(Intel Network Adapter)ene.sys(RGB Control Software)vmdrv.sys(Voice Mod Software)
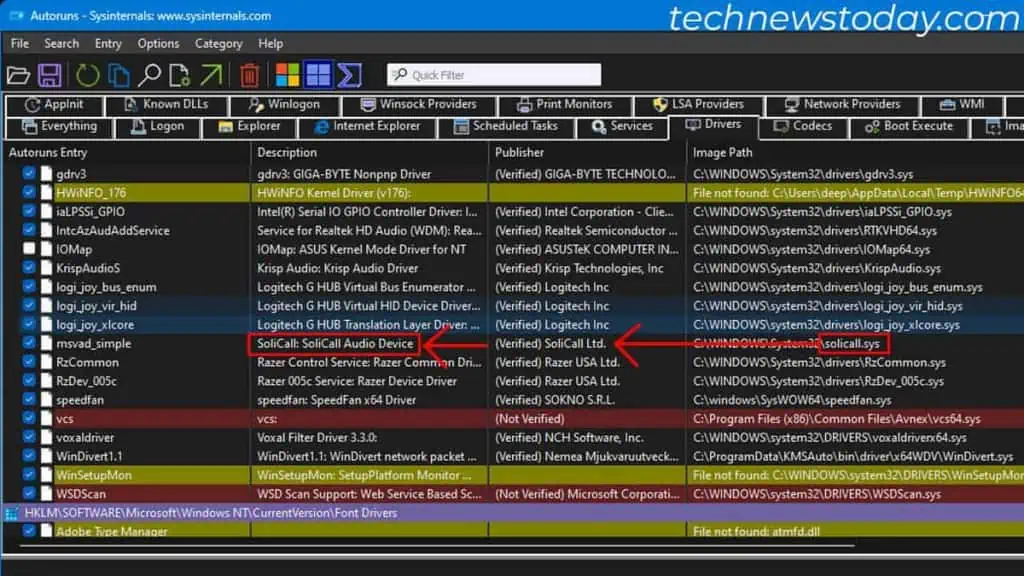
You need to know which device or app these drivers belong to. You can do this with a quick Google search or use Autorun from Microsoft.
- Download and install Autoruns.
- Open the application as an admin.
- Click on the Driver tab.
- Search for the driver’s name in Image Path as shown in the figure.

- The Publisher row corresponding to it is the driver/application publisher. And in the Description column, you can see the affected application.
Update Unsigned Driver
When you install an application or connect a new device for the first time, the OS automatically installs the necessary driver.
If the driver is not digitally signed, the error message appears. So, updating it should fix the error.
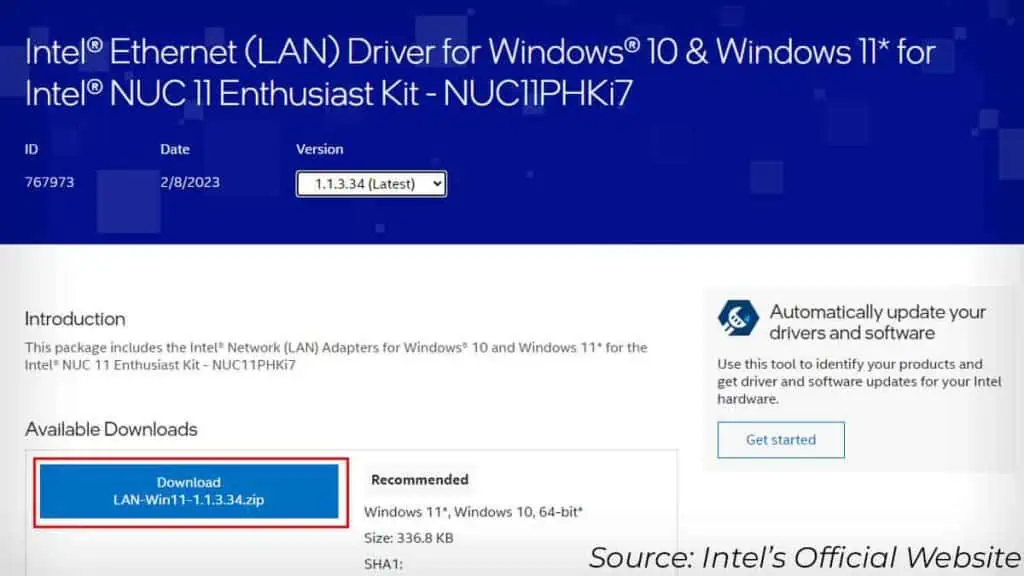
If it is a device driver, you can use Device Manager to uninstall old drivers. Then install a new version via the manufacturer’s website.
If the driver is from an application, I recommend removing the previous application and installing a new version.
Rename the Driver File
The OS will automatically install/create a new system file if one goes missing. This also happened to me when using MSI Mystic Light, an RGB control software.
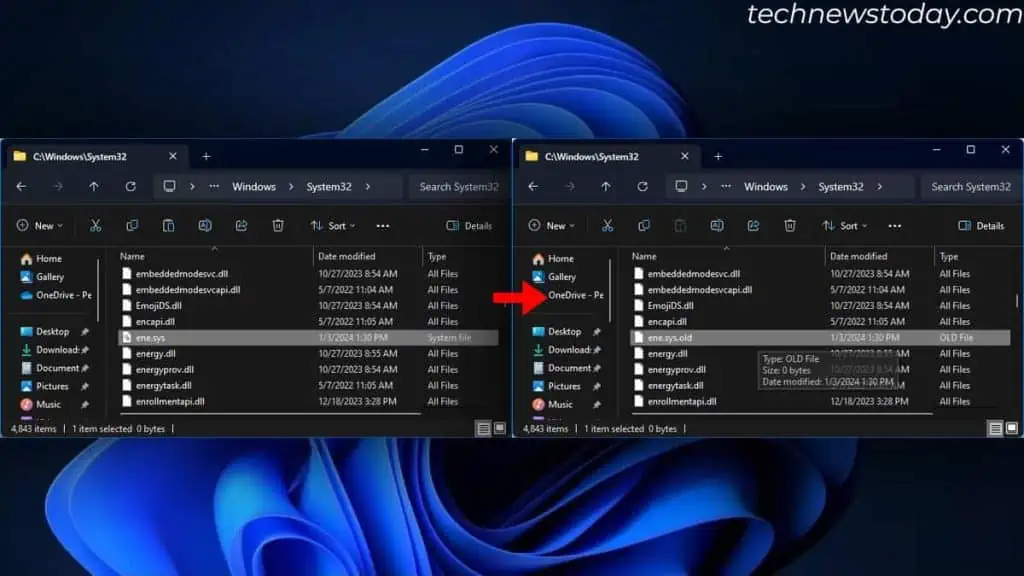
The faulty driver file was ene.sys. Once I renamed the faulty file to ene.sys.old, Windows automatically created a new file named ene.sys. This automatically fixed the error with my setup.
You can search for the driver in C:\WINDOWS\System32\drivers or C:\Windows\SysWOW64.
Once you find the unsigned driver, add .old to the filename, as shown in the picture below. After that, restart the PC.
In case this troubleshooting step does not work, try reinstalling the application altogether.
Roll Back Windows Update
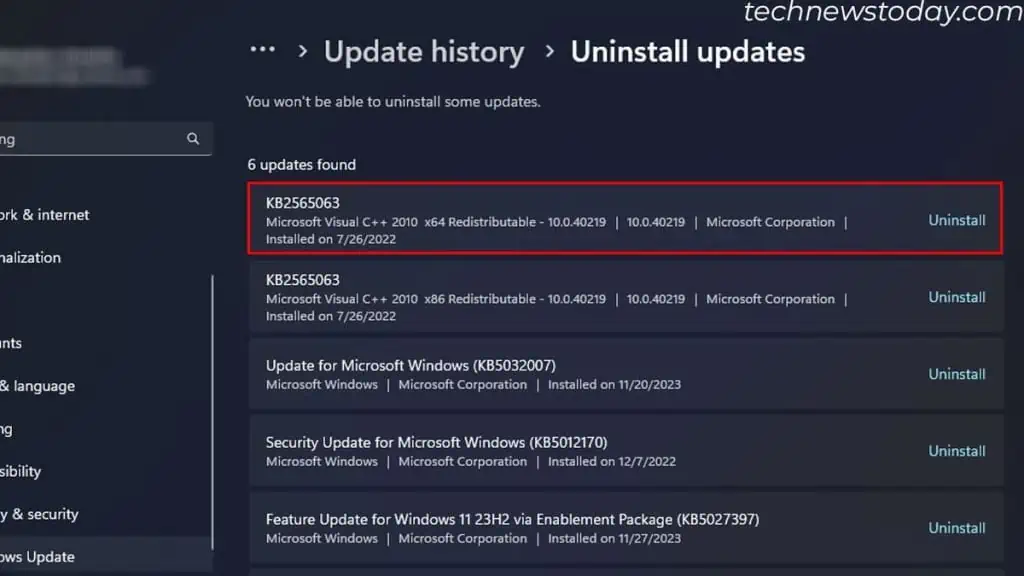
If you started getting the error after an update, rolling back the Windows update should help eliminate it.
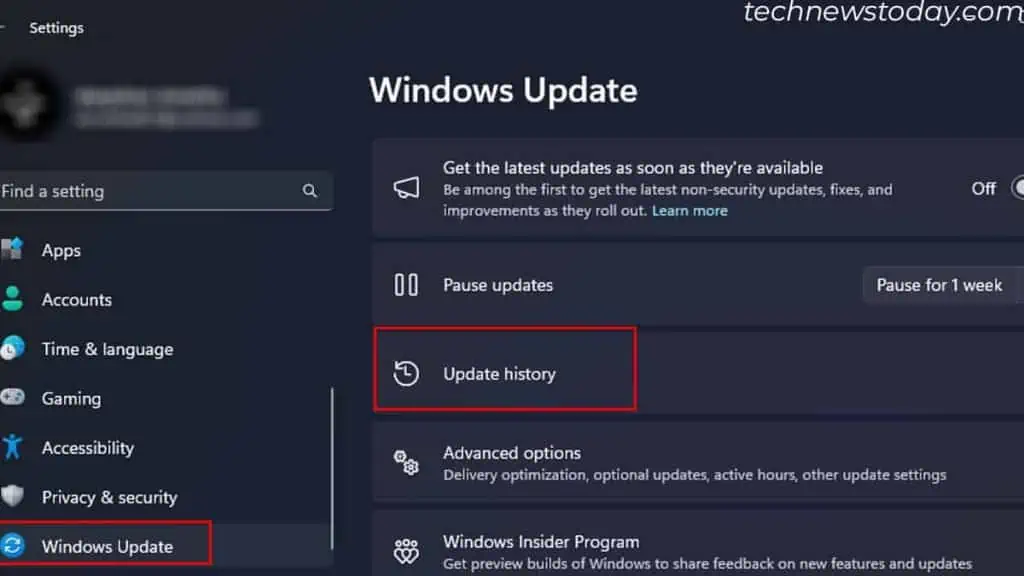
- Press the Windows + I and click on Windows Update.
- Scroll down to Update History.

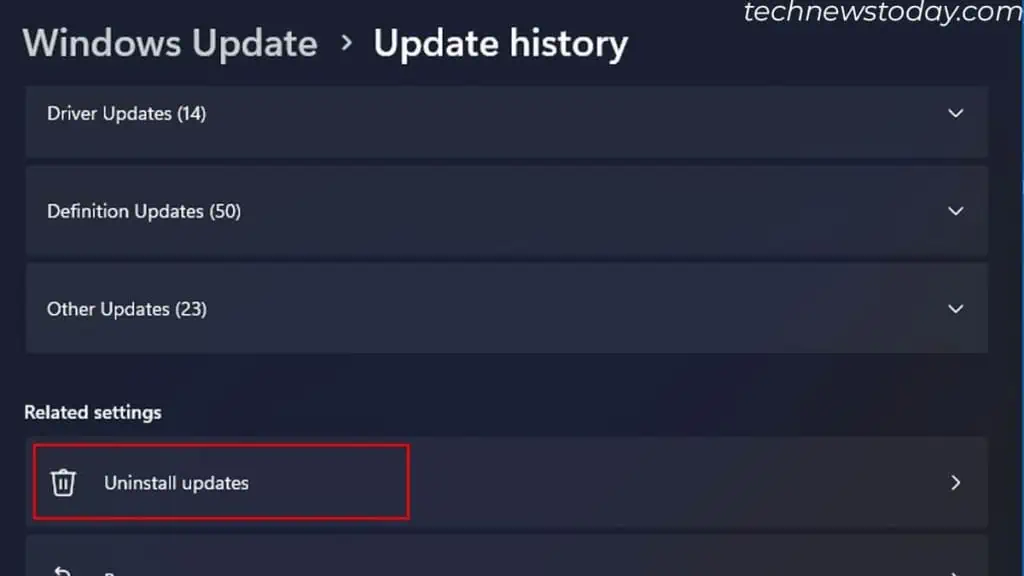
- Click on Uninstall updates.

- Click on Uninstall on the latest Windows Update.

- The system should restart once the rollback is complete.
Turn off Memory Integrity
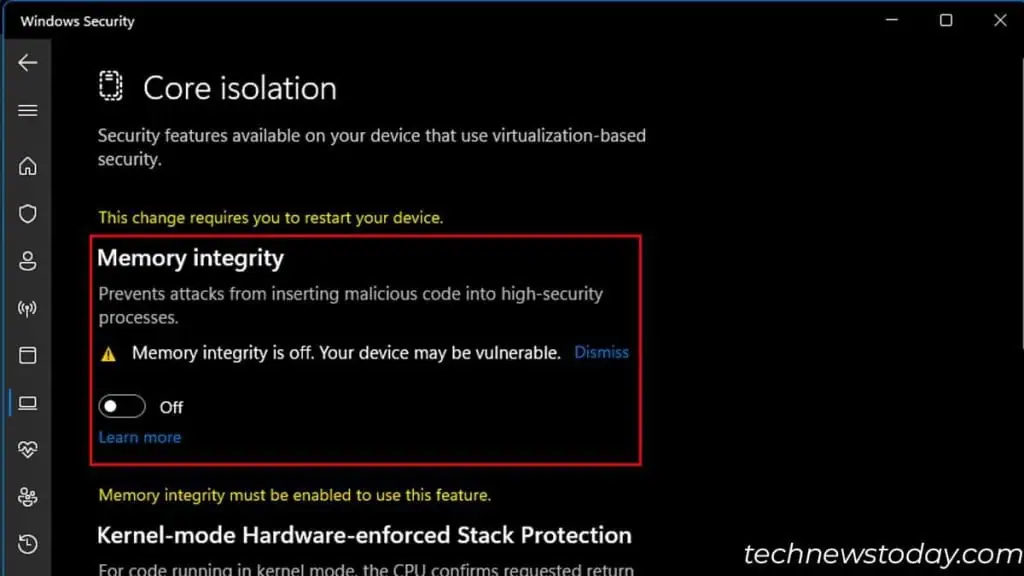
Memory Integrity is what prevents malicious files from inserting viruses into high-security processes.
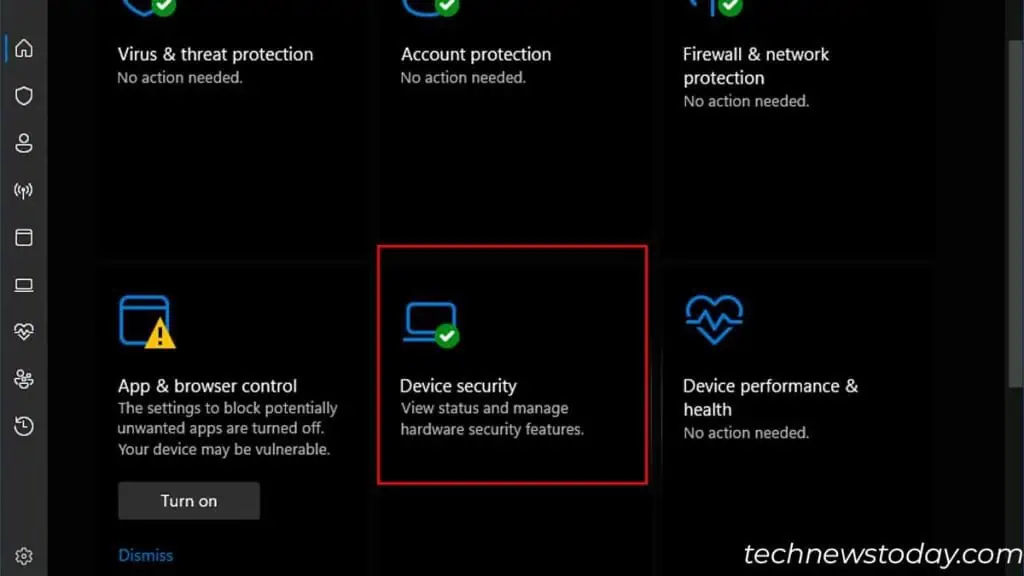
If enabled, it stops the unsigned driver from being loaded. So, you can turn off memory integrity to get rid of this error message:
- Press the Windows + R key, type
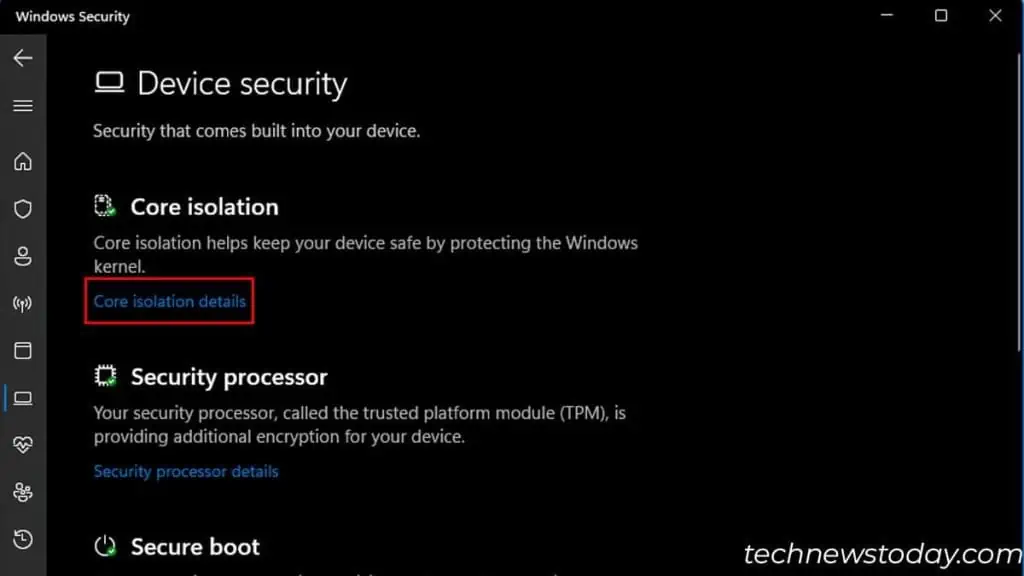
windowsdefender:and press Enter. - Click on Device Security.

- Select Core isolation details.

- Here, turn off Memory integrity.

- Restart your PC to save the settings.

