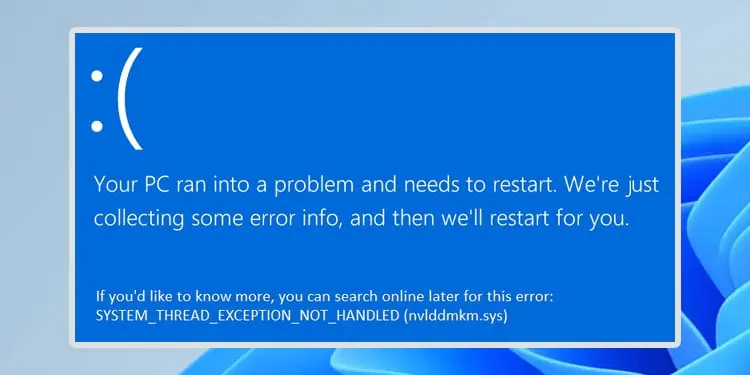
The SYSTEM_THREAD_EXCEPTION_NOT_HANDLED Blue Screen of Death (BSOD) error indicates that one of your system processes encountered an exception error and crashed as a result. You may also see the BugCheck StopCode 0x0000007e in the BSOD error message.
This issue can happen if there are some bugs within the system processes—especially device drivers. But it is also possible that your hardware devices are faulty and could not handle the necessary operations. So, you need to find the necessary process or device and then resolve the issue.
Analyze Using a Debugger
Usually, the above BSOD error shows the system file that caused the crash along with the error message. If not, you need to first determine which file it is.
After knowing the system file responsible for the error, you can determine which device driver it relates to by looking at its Properties. Apart from drivers, some apps may also be responsible in very rare cases.
You can use the WinDbg debugger to analyze the error and look for the exact cause.
- Open Microsoft Store and install Microsoft WinDbg Preview.
- Open this app as an administrator.
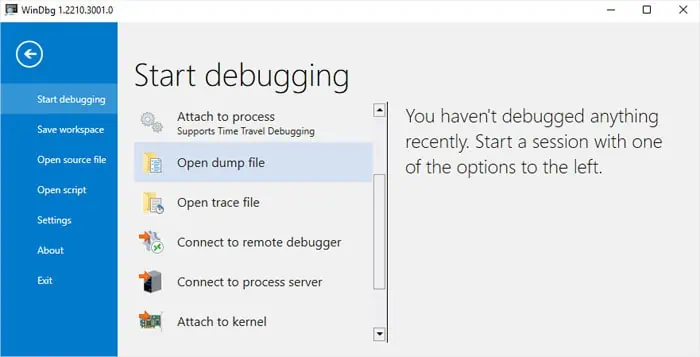
- Press Ctrl + D or go to File > Start debugging > Open dump file.

- Navigate to
C:\Windows\Minidumpon the loading window. - Select the most recent dump file and click Open.
- Look for the WinDbg terminal at the bottom of the window. If it’s missing, go to View on the menu bar and select Command.
- Enter
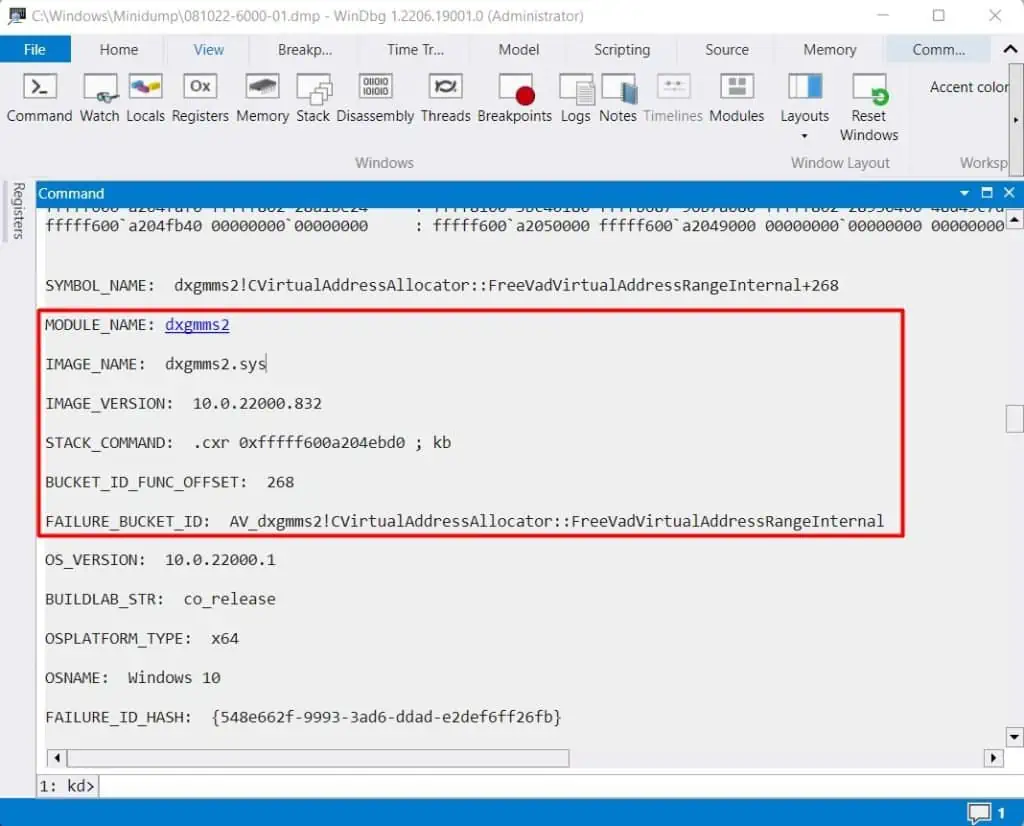
!analyze -von the terminal to begin the analysis. - After the analysis, look for MODULE_NAME and probably caused by to figure out the responsible file.

- Open the File Explorer and go to
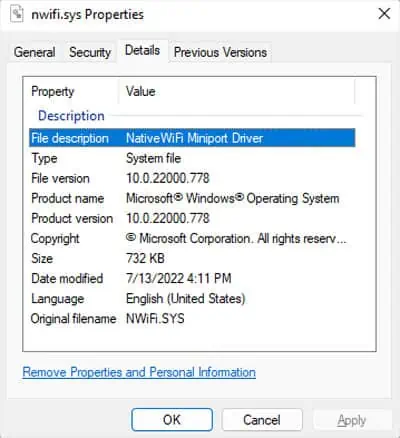
C:\Windows\System32\drivers. - Here, look for and select the file. Then, click Alt + Enter to open its properties.
- Go to the Details tab to learn more about the file.

If the file is not there or you want more information, I recommend checking the internet.
If an application is responsible, not the driver, then updating or uninstalling the application should fix the issue. But if the analyzed file points to a driver, either the driver or its corresponding device may be faulty, so you need to troubleshoot for all cases using the successive solutions.
Check Compatibility With Device
If you started encountering the issue after upgrading Windows, your system may no longer be compatible with one or more hardware devices. Similarly, if you have just added new hardware to your computer, then the hardware may be conflicting with your system.
You can check the specifications of your system as well as the devices to look for any compatibility issues. You will find the device specifications on the manufacturer’s official website. Then, to check Windows specifications, you need to go to the relevant Microsoft web pages for Windows 10 or Windows 11 system.
If there is any incompatibility, you may need to replace the devices with compatible ones. You can also contact the device manufacturer or visit official forums to look for any other device-specific solutions.
Troubleshoot for Driver
After ruling out any potential conflicts with the system, the next step is to troubleshoot driver issues. First, try updating the driver.
We recommend searching for the device driver on official websites, downloading the latest version, and then installing it. But you can also use the Windows Update feature if it is a Microsoft-registered driver.
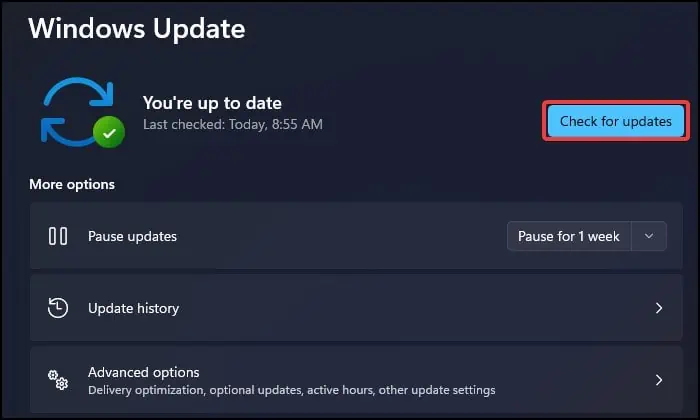
- Open Windows Settings by pressing Win + I.
- Go to Windows Update or Update & Security > Windows Update.
- Click on Check for updates.

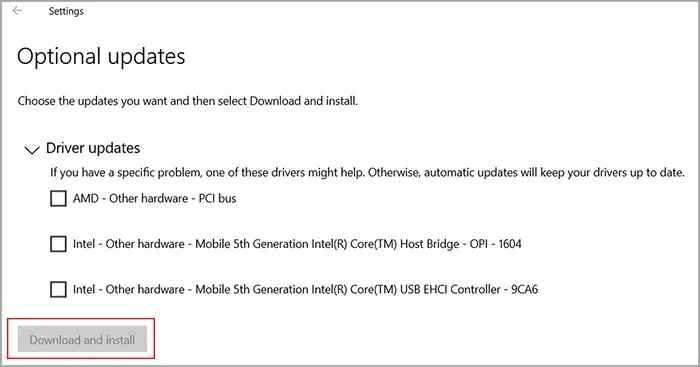
- Go to View optional updates or Advanced options > Optional updates.
- Expand Driver Updates if the category shows up.
- Check the list for the relevant driver updates. Tick the option and click Download and install.

If no update is available, you need to reinstall the driver.
- Open Run.
- Type
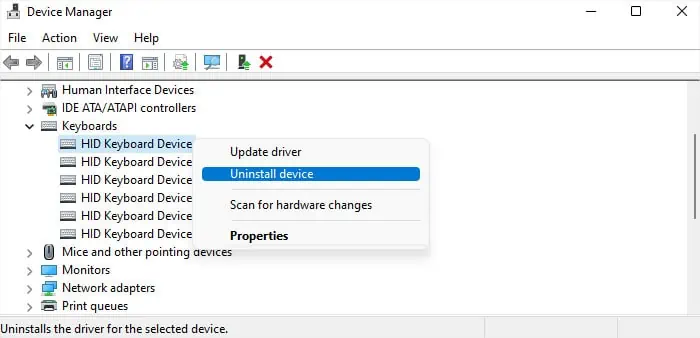
devmgmt.mscand press Enter to load the Device Manager. - Expand the relevant device category and right-click on the device.
- Select Uninstall device > Uninstall.

- Click on View > Show hidden devices from the menu bar.
- Uninstall all grayed-out devices inside the device category as well.
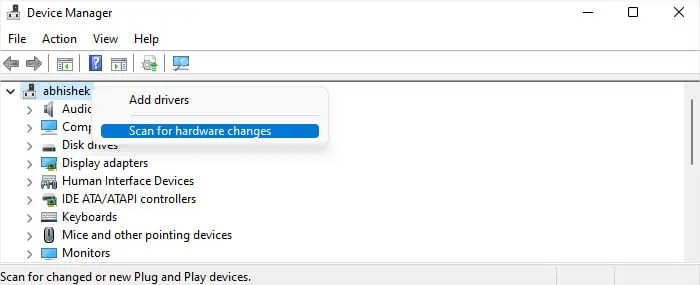
- Then, right-click on the computer (on the top of the device list) and select Scan for hardware changes to reinstall the driver. Sometimes, you may need to restart your computer too.

If it’s a graphics driver like NVIDIA, you need to uninstall it with Display Driver Uninstaller (DDU) to completely remove any residual files and then install the latest version.
Sometimes, this error can also arise from conflicts between the devices and your BIOS or OS. In such situations, you may need to update your BIOS or the device firmware. You can similarly check the manufacturer’s website, download the corresponding setup files and run them for this purpose.
Disable Overclocking
You will also encounter various BSODs if you have overclocked your PC beyond the limit it can handle. In fact with all the powerful GPUs and CPUs out there nowadays, overclocking is no longer recommended and most people prefer upgrading the components instead.
So, if your CPU or GPU is overclocked, you should disable it and see if it helps. In case you used some third-party apps for overclocking, you can similarly use the same app to disable it. Or you can uninstall the app altogether.
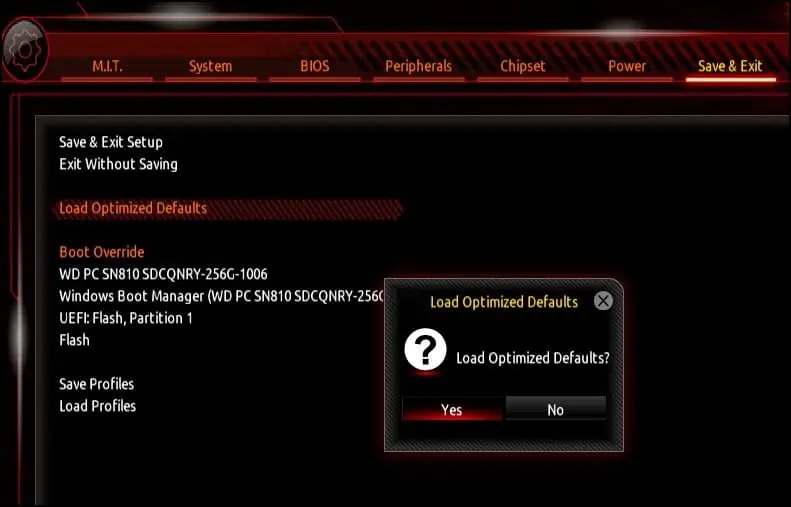
If you manually changed the voltage or frequency settings on the BIOS, you can reset the BIOS to do the same.
To reset the BIOS,
- First, access the BIOS setup utility by pressing the BIOS key repeatedly after you power up the computer and see the manufacturer’s logo.
- Look for options like Load Optimized Defaults or Restore Defaults and select the option.

- Confirm your action and then save and exit the BIOS if necessary.
If you can’t access the BIOS setup, you can remove and reinsert the CMOS battery as well. Also, some computers have a dedicated button on the motherboard to clear CMOS that you need to press for a few seconds.
Perform System Restore
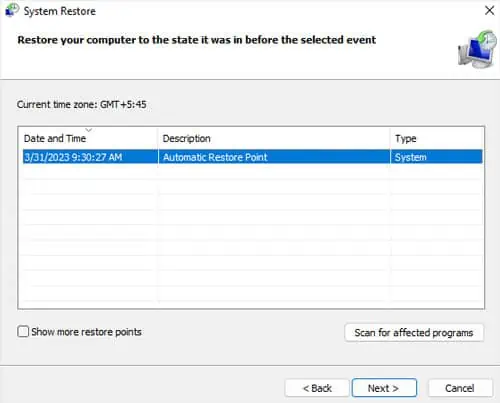
If you started encountering the issue right after making some changes to the system, you can run System Restore to revert your system back to the unaffected state.
Some possible changes include updating a driver or your system updates, installing an application, or running any third-party scripts. It is also why I always recommend creating a restore point before running such processes.
- Open Run.
- Type
rstruiand press Enter to open System Restore. - Follow the on-screen instructions while selecting an appropriate restore point.

Run Hardware Diagnostic
You should also look out for any physical hardware issues with the corresponding device components. If your computer contains dedicated diagnostic programs on the BIOS or pre-boot environment, you can run them and look out for potential issues. If not, you can use some third-party programs to run the diagnostics in an offline environment (without logging in).
Apart from that, issues with the RAM can also lead to different types of BSODs where the system or the debuggers detect some other apparent cause instead. You can run the Windows Memory Diagnostics program to look out for such errors.
If the programs detected any errors, you may need to replace the relevant hardware device. If not, it still indicates a software issue. So, your only remaining option is to reinstall Windows.
