If you can’t listen to any audio after inserting a headphone jack into your PC, your computer may not be recognizing it. In other cases, your headphones might not work even after your computer successfully recognizes them.
Regardless, the troubleshooting steps you need to go through are the same. To fix the Headphone Jack not working on the PC, first, check for connection issues and make sure the headphone is the default audio device.
If it doesn’t help, run the audio troubleshooter, update or reinstall your audio drivers and check application settings.
I will assume that you have already tried minor fixes, like checking the volume or restarting your computer.
Now, let’s move on to the actual fixes.
Check for Connection or Device Issues

To be able to properly troubleshoot this issue, the first step is to figure out if the issue is with the headphone or your system. Check your device and connections using the methods below to do so.
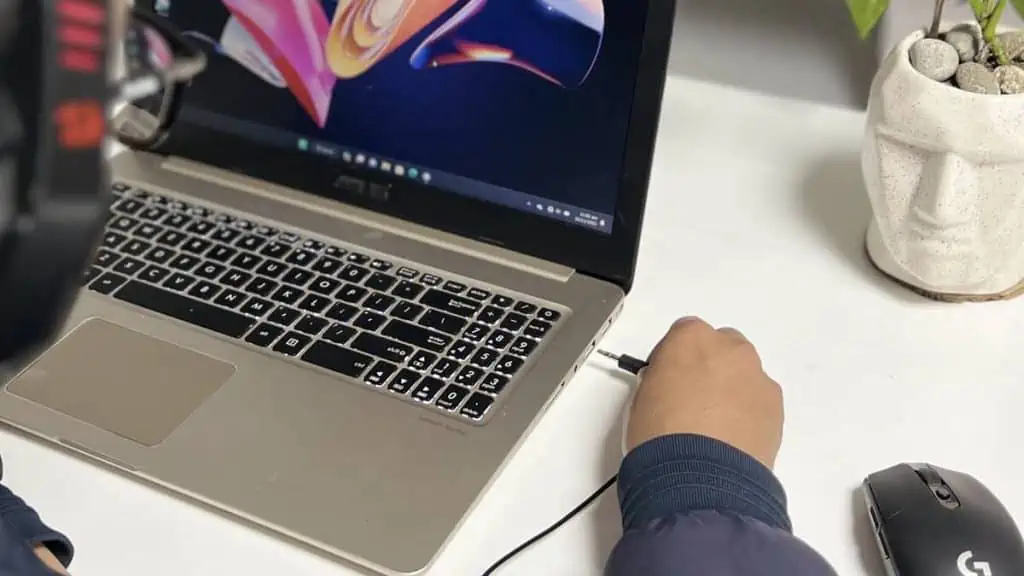
- Reinsert the headphone jack to your computer to resolve connection issues. You can also use other ports on your computer (from both the front and the back panel).
- If the device does not work with some ports only, they are likely damaged. You need to repair them in such cases.
- If you are using a headset with separate audio and microphone jacks, make sure they go to the proper ports (usually green for headphone and red for microphone). Most PCs and headsets should have icons on the ports as well.
- If applicable, connect the headphone to another PC, mobile or any device and see if it works. If yes, the issue is likely with your system instead. Try out all the solutions below in such cases.
- If the headphone does not work with any device, it is likely broken. Take it to a hardware repair shop or the official seller and see if they can repair it. If not, get a replacement.
Set Headphone to the Default Audio Device

It is also possible that your computer is using some other device as the default audio device. My computer often changes the default device to the monitor’s audio channel when I switch between my headphone and speaker.
So, go through the sound settings and make sure the correct device is set as default using the steps below.
- Open Run by pressing Windows + R.
- Type
mmsys.cpland click OK. - Look for your Headphone device. If you can’t find it, right-click on anything inside the tab and check Show Disabled Devices and Show Disconnected Devices.
- If the device is disabled, right-click on it and pick Enable.
- Then, right-click on it and select Set as Default Device and Set as Default Communication Device if available.
If your device shows Not plugged in or is not there at all, your computer hasn’t recognized it yet. Try out the solutions below before performing this method in such cases.
Enable Audio Ports in BIOS

It is possible to disable the audio ports on your PC through the BIOS or UEFI settings. So enter your motherboard BIOS and ensure that such options are enabled.
You will usually find the options under Chipset Configuration or South Bridge Configuration on the Advanced tab. If you can’t find them, check your motherboard’s BIOS guide or user manual for additional help.
Make sure to save and exit the BIOS to apply the changes.
Run Audio Troubleshooter

Windows comes with a dedicated troubleshooting utility for audio issues, which you can access through your system settings. It will automatically scan for and fix most software-based audio issues, so try running it as well. For that,
- Open Run.
- Type
ms-settings:troubleshootand press Enter. - Go to Other troubleshooters and click on Run next to Audio.
- Follow the on-screen instructions.
If you encounter an error while running the troubleshooter, check out our Windows Troubleshooter Not Working guide to help you out.
Update Audio and Chipset Driver

Your system uses audio and chipset drivers to operate the audio ports and other audio functionalities. Any issues in the driver software can cause audio issues.
You should always have the latest drivers to prevent such issues. You can update your driver by performing a manual Windows update. To do so,
- Open Run.
- Type
ms-settings:windowsupdateand press Enter. - Click on Check for updates. After it lists all available updates, select Install all.
- Restart your PC as necessary.
Reinstall Headphone or Audio Driver

If no new driver updates are available, manually uninstall it through the Device Manager and reinstall it to resolve audio issues.
It’s best to install the latest audio driver from the official website in your case. Here’s what you can do:
- Open Run.
- Type
devmgmt.mscand press Enter. - Expand Sound, video and game controllers.
- Right-click on your audio device and select Uninstall device. Confirm with Uninstall.
- Then, go to the official website of your motherboard or laptop and download the latest audio driver. If the device is a third-party device, you need to go to its official website instead.
- Install the driver by running the executable file.
If the driver doesn’t work, try installing a previous driver version the same way.
Check Application Settings

Sometimes audio issues can also occur due to improper application settings or bugs in the app. If you are trying to use the headphone with an application like Discord, try running checking it with other apps.
If the headphone works on other applications, go through the original app’s audio settings and make sure everything is alright. You may also need to uninstall the app and then reinstall it.
If it doesn’t help, go through the app’s official forums and see if you can find anything that helps.