
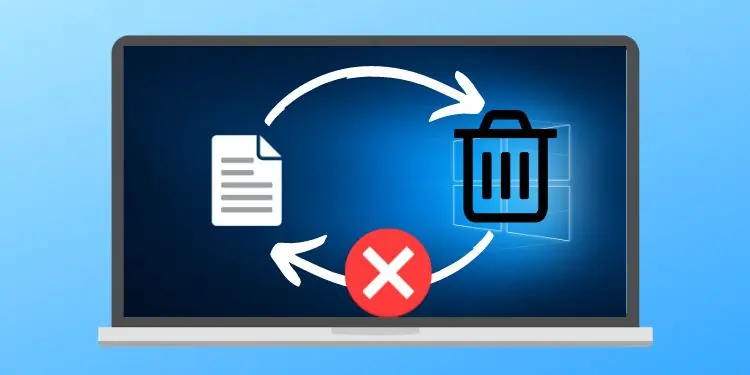
You probably want to remove some confidential files from your computer that should never fall into someone else’s hands. So, you move forward to delete them. But do you know that just deleting from Windows won’t permanently remove any files?
Yes, deleted files are recoverable until you clean the Recycle bin, which is like the graveyard of deleted data. Except, this graveyard acts as a reincarnation center for such data. Anyone who can access your computer will be able to restore the data you thought was gone forever.
In this article, we will be talking about the whole deleting process, the methods you should use to permanently delete files, and some advanced removal techniques that will make sure your data becomes irrecoverable from even forensic recovery experts.
How to Permanently Delete Files?
After deleting files, we move toward the desktop, right-click on the recycle bin and choose Empty Recycle Bin to empty it. But some other methods will help you directly empty the recycle bin. Such methods include:
Set Recycle Bin Settings to Not Hold Deleted Data
The manual method to empty Recycle Bin becomes tedious when you have to delete files periodically. So, if you don’t want to go through the extra step of emptying Recycle bin each time, you can probably try this setting:
- Right-click on the Recycle bin and choose Properties.

- Select the folder you want to implement this setting on.
- Under Settings for selected location, choose the radio button with ‘Don’t move files to the Recycle Bin. Remove files immediately when deleted.’
- Hit on Apply, and then OK.


Now, when you will delete any file and agree with the confirmation dialog box, it won’t reside in Recycle Bin.
Use Keyboard Shortcut
The fastest and easiest method to delete any file without making it recoverable from the Recycle bin is to use a key combination. Following are the steps you will need to follow to do so:
- Select the file or folder you want to delete.
- Press the Shift + Del keys.
- Hit the Yes button.
Using Command Prompt
Command Prompt is featured with various inbuilt commands to imitate and sometimes surpass the GUI(Graphical User Interface) methods of accomplishing tasks. For deleting purposes, the del command comes in handy. The file deleted using this command will bypass the recycle bin storage.
You can follow the steps below to use the del command:
- Press Windows + R keys to open Run.
- Type
cmd, and hit Ctrl + Shift + Enter to open the command prompt with admin access. - Click on the Yes button on the UAC prompt.
- Now run the command:
del <file path>


Change the ‘<file path>’ with the full path name, for instance: C:\Users\acer\Downloads\test.txt. In case you don’t know the file path, you can just right-click on the file and choose Copy as path. Then, paste it in place of ‘<file path>‘ and remove the quotes.
Using Powershell
Equivalent to the del command in Command Prompt is the Remove-Item of Powershell. But being like an upgraded version of command prompt, Powershell offers more powerful and flexible options to accomplish the job. These steps will help you to delete files using Powershell:
- Open the Run prompt.
- Type
powershell, and hit Ctrl + Shift + Enter to open an elevated Powershell. - Hit the Yes button on the UAC prompt.
- Execute
Remove-Item -Path <file path>


Yet again, change the ‘<file path>‘ with the actual file path as guided in the above section.
Can Deleted files be Recovered?
As mentioned earlier, deleting merely means making files inaccessible or removing their pointers. Emptying the recycle bin makes the data unrecoverable but from only Windows. The blocks of disks will hold data forever until they are emptied or overwritten, or the disk itself gets damaged.
Utilizing the actual data written over blocks, many recovery software are able to reverse engineer the deleted files. Thus, deleted files are recoverable.
So, how to permanently delete them? Well, the best method would be to overwrite data over the storage blocks. But manually finding those specific blocks isn’t feasible at all.
There are some specialized utility tools to permanently delete data from your disk. File shredders work by overwriting data on the storage blocks with random bits of information. In that way, even if any recovery software scans over the data holding block, no more than non-sensical data is found.
Thus, it’s always better to utilize a specialized eraser or shredder software to completely dump a file without any leftovers.
However, modern SSDs can respond to the Trim command from the motherboard. The command can help SSDs to identify the unallocated blocks and clean them. But not all PCs support trim, and HDDs are completely deprived of this privilege.
Moreover, trim runs in the background and not right after deletion, so immediately deleted data would still be recoverable.
Use Cipher and Sdelete to Permanently Delete Files
For the permanent deletion job, two command-line tools are provided by Microsoft Sysinternals, Sdelete.exe and Cipher.exe. You can use any one of the tools.
Although both help in achieving the same end result of deleting files by overwriting the storage blocks/clusters, Sdelete needs to be downloaded. In contrast, Cipher has been an inbuilt command line since Windows Vista and further.
Cipher
Cipher’s job is basically to encrypt/decrypt data while storing. Its switch /w was created to delete the backup data of the encrypted files for Windows servers. Later it was introduced as a command line for client Windows as well.
The command ensures permanent data removal by overwriting the occupied blocks thrice with random bits. Thus, it will take up a lot of time and resources when executed.
You will have to first delete the file. Then, To overwrite the blocks, you can follow the steps below:
- Press Windows + R to initiate Run.
- Type
cmd, and hit Ctrl + Shift + Enter to open the command prompt in admin mode. - Go with the Yes button on the UAC prompt.
- Now run the command:
cipher /w: c
Change ‘c’ with the drive letter where the deleted file used to reside.
Sdelete
Sdelete works differently than the cipher. It overwrites particular blocks while deleting the file, not overall unallocated space. Thus, it is faster and less resource-consuming.
To use Sdelete, you will have to download its zip file from the website. Then, follow the given steps:
- Go to the downloaded location and right-click on the zip file.
- Choose Extract All…
- Click on Extract to extract it to the current location on your disk.
- Now copy the path of the extracted folder.

The next step would be setting it as an environment variable so that it can be executed directly from the command prompt without needing to specify the sdelete.exe object each time.
- Press Windows + R to open Run.
- Type
sysdm.cpland hit Enter to open System Properties. - Move to the Advanced tab and click on Environment Variables…
- Select Path and hit Edit…
- Click on the New button and press Ctrl+V to paste the sdelete.exe folder path.
- Remove quotes and hit OK.
- Now, open Run, type
cmd, and press Ctrl + Shift + Enter. - Click on the Yes button.
- Run the command:
sdelete -s <file path>
Replace ‘<file path>’ with the actual one.


Where Does the Deleted Data Go?
Data in a disk is stored in its blocks, which are like small container packets. An individual block has a certain amount of storage capacity in bits/bytes. And piles of blocks add up to make sufficient capacity within any disk.
To read/write any data from numerous blocks, Windows needs to have accurate data pointers locating specific blocks. When a file is deleted, Windows only removes information about its location(pointers) but not the actual data from the blocks.
Deleted file data can be retrieved if its block location is known. So, to let users undo any accidental deletion of files, Windows keeps a copy of location data(pointers) along with its name, creation date, and others(called metadata as a whole) in the recycle bin.
A recycle bin is a combination of hidden folders taking up a certain percentage of each drive. If it fills up extravagantly, the metadata of the earliest files is removed. However, the recycle bin should be emptied to make any recently deleted file unrecoverable from within the Windows.