The Scan to Email feature on an HP printer allows you to send scanned documents and images directly to a recipient’s Email address. In most models, you need to access the Embedded Web Server (EWS) of the printer and manually set the SMTP server and SMTP port number to use the feature, which can be a lengthy process.
However, there’s an alternative method that can be used regardless of the printer model. You can simply add your Google account to Microsoft Outlook and then synchronize it with HP Printer Assistant to scan to Email. Additionally, you can also use the “HP Smart” app on your mobile phone to send the scanned documents via Email.
How to Scan to Email From HP Printer Using Windows Computers?
If you are willing to email the scanned documents through your Windows PC, we first recommend you create a Google account. It is because Google easily provides third-party app passwords that you can use while setting up Microsoft Outlook. Then, you can go through these steps.
Step 1: Add Your Email Account to Outlook
First, you should configure your Email account in Microsoft Outlook. If you have already configured your account, you can skip this step. Otherwise, follow these steps to add your account to Microsoft Outlook.
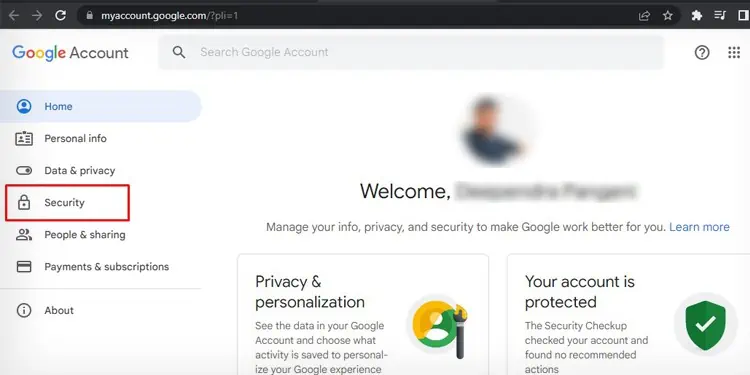
- First, go to your Google Account Settings.
- Click the Security tab on the left-hand side.

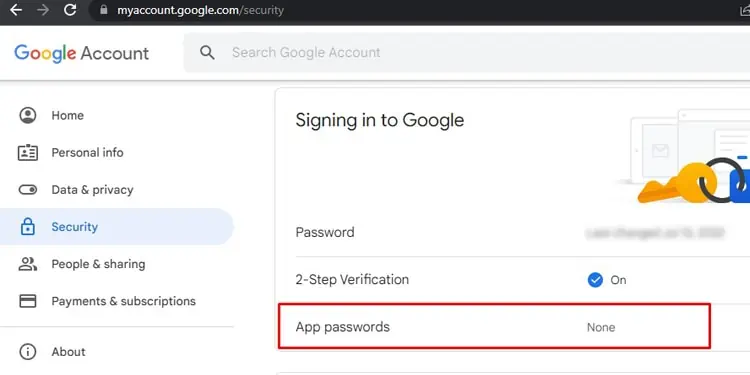
- Click App passwords under Signing in to Google section.

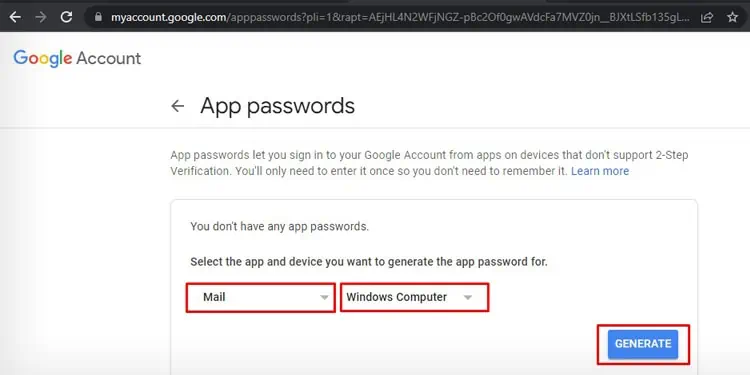
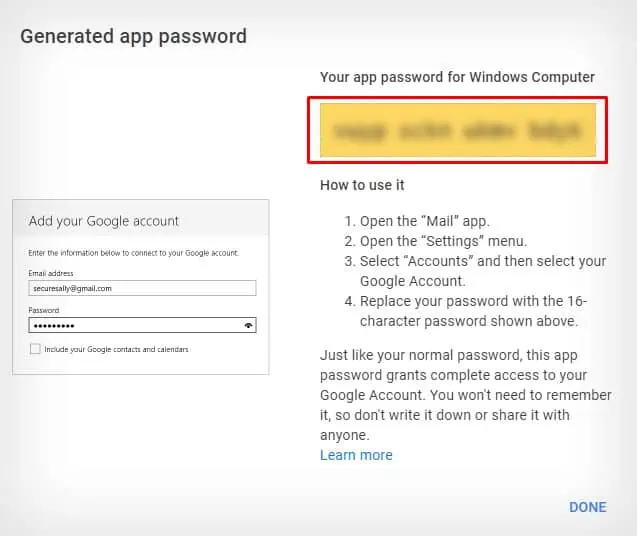
- Select Mail in the Select app drop-down and Windows Computer in the Select device drop-down. Click Generate.

- It will show you the app password. Copy the password.

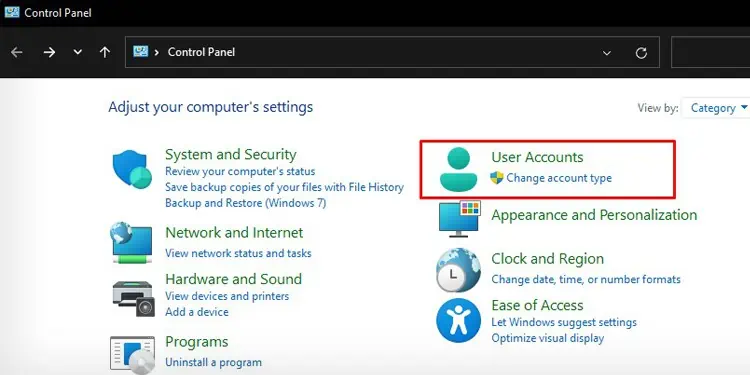
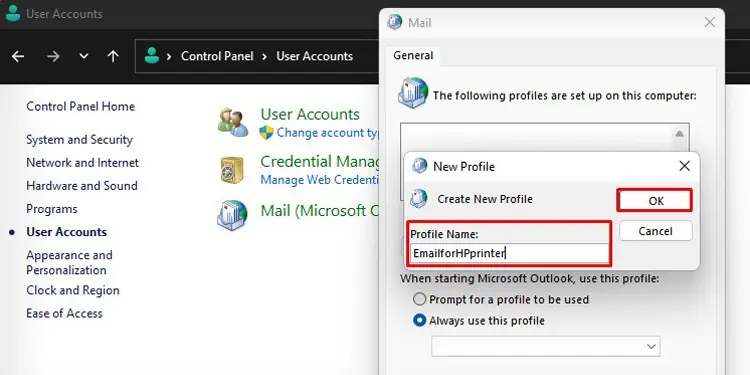
- Now open the Control Panel on your computer.
- Click User Accounts.

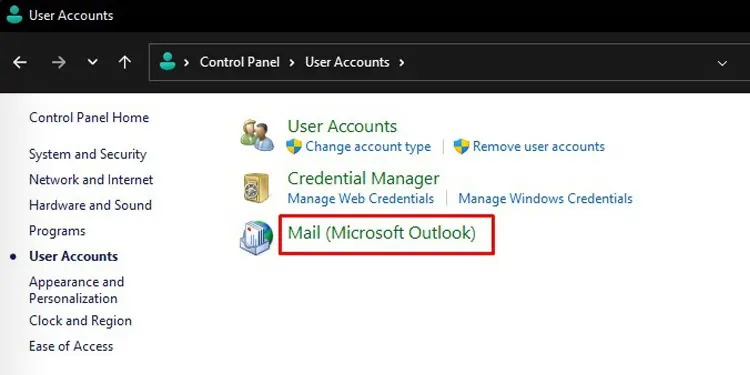
- Then choose Mail (Microsoft Outlook).

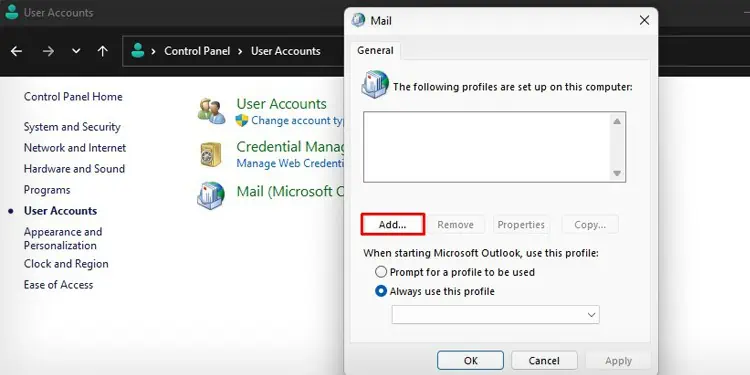
- Click the Add button.

- Give any name to the profile and click OK.

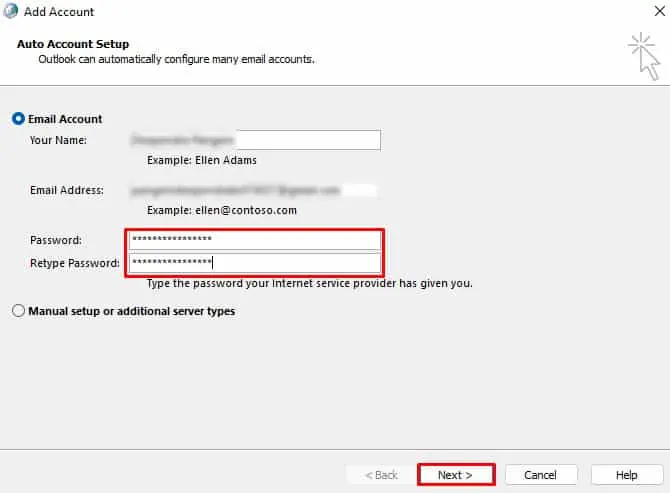
- In the next window, provide your name and Email address.
- Then paste the app password that you copied earlier.
- Click Next.

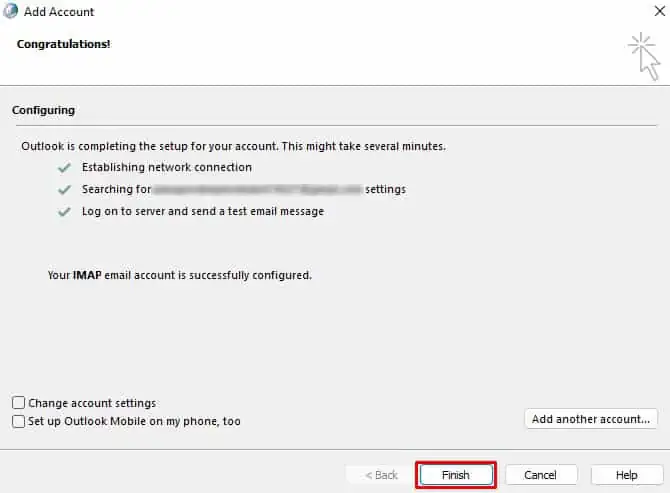
- After the configuration process is complete, click Finish.

- Click OK.
Step 2: Scan the Document and Send Email
Now that you have added your Email account to Outlook, you can start scanning and sending the documents directly to any Email address.
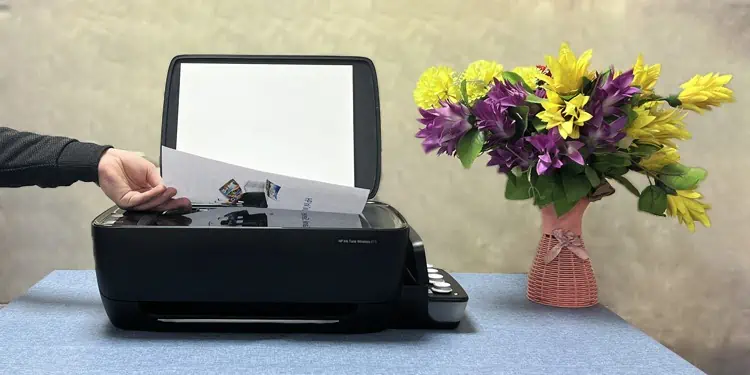
- Raise the lid of the printer’s scanner assembly.
- Put your document over the scanner glass such that the side you want to scan faces downwards.
- Close the assembly’s lid.
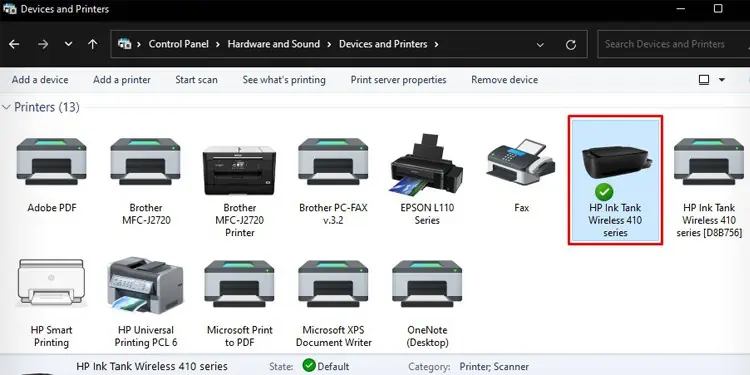
- Open Control Panel.
- Go to Hardware and Sound > Devices and Printers.
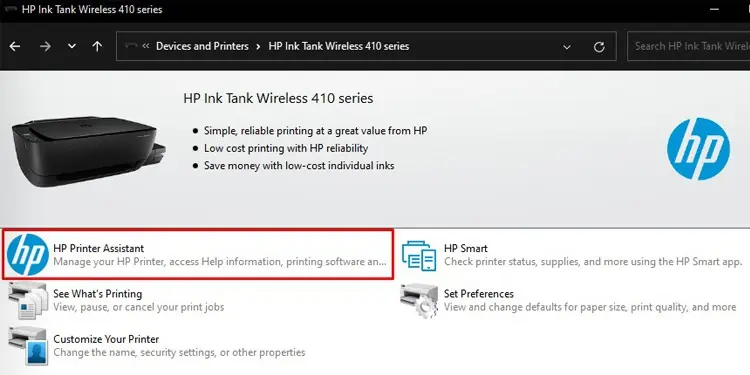
- Double-click your HP printer under the Printers section.

- Open the HP Printer Assistant menu on the next screen.

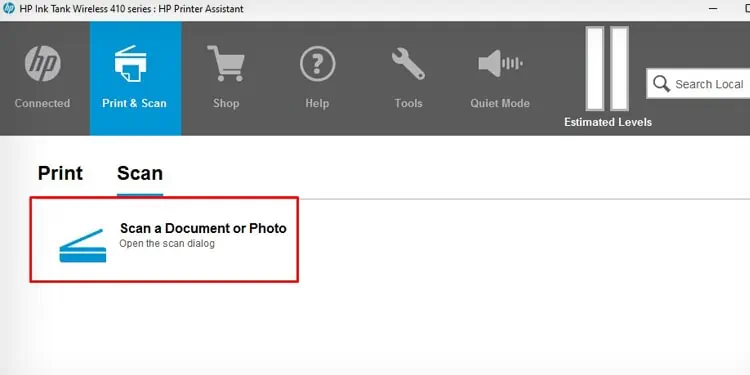
- Jump to the Scan tab and click Scan a Document or Photo.

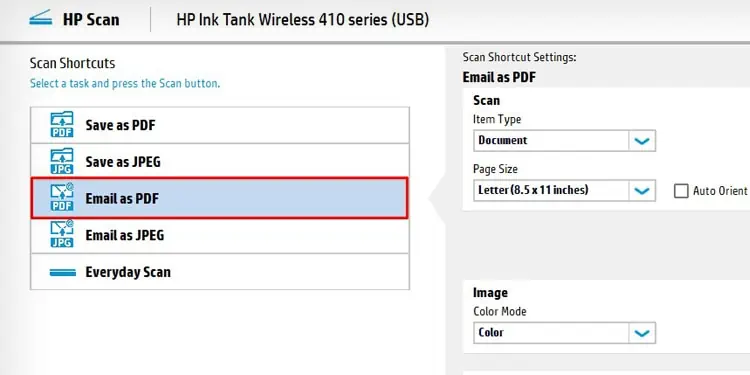
- You can either choose Email as PDF or Email as JPEG.

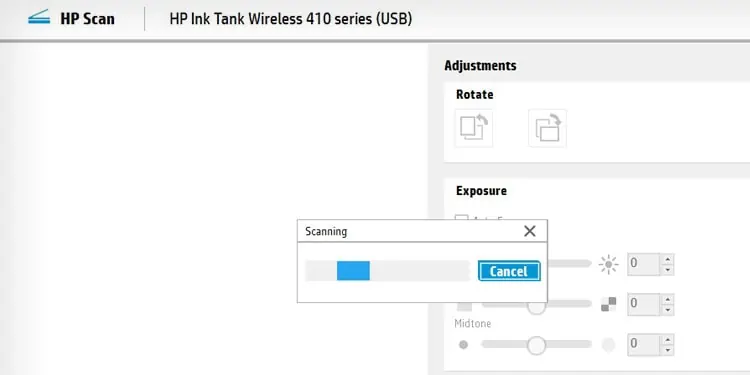
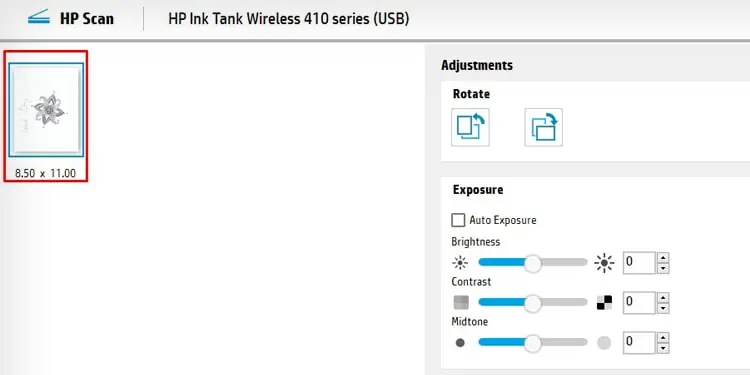
- Click the Scan button. Wait till the printer completes scanning.

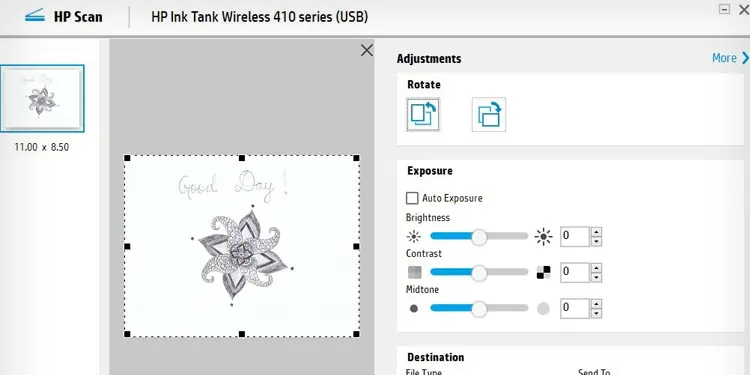
- Double-click the image to see the scan preview.

- You can rotate the document and adjust the exposure settings like Brightness, Contrast and Midtone.
- Click the Send button.

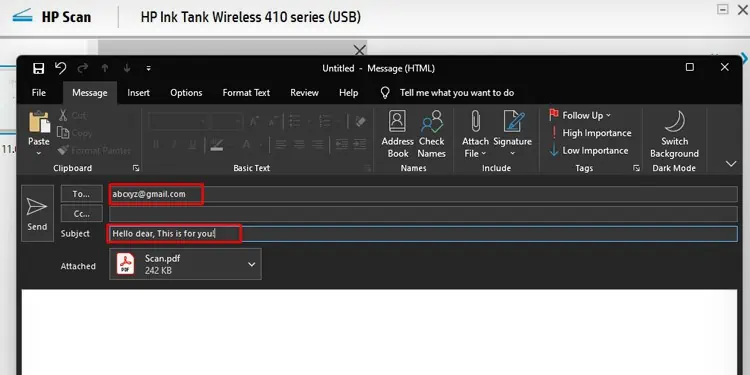
- It will redirect you to a new Outlook message window.
- In the To.. field, type in the Email address to which you want to send the Email.
- Give your Email a Subject.

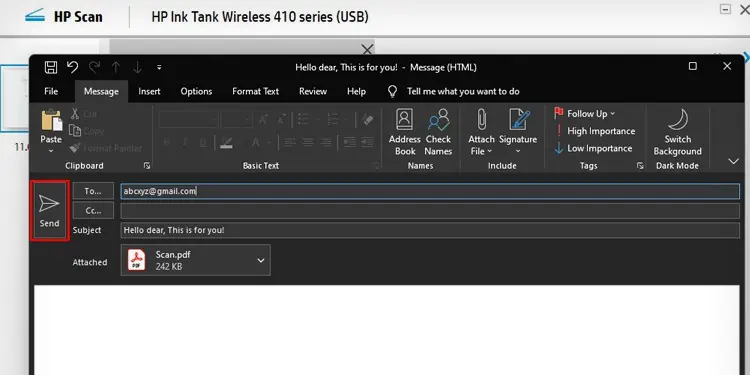
- Click Send. It will now send your scanned document to the recipient’s Email address.

How to Scan to Email From HP Printer Using Mobile?
You can also use the HP Smart app on your mobile phone and use the scan to Email feature. To scan to Email using HP Smart, first, you need to create an HP account. Then, you can share the scanned documents over Email.
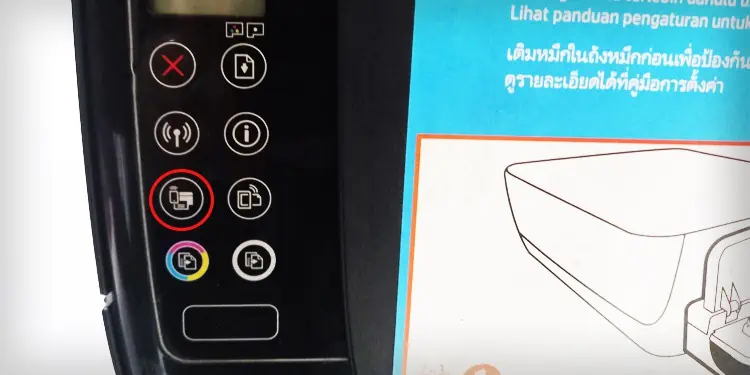
- Turn on the Wi-Fi Direct on your printer. If you have a touchscreen panel, you can navigate to the Wi-Fi settings and turn it on. Or, you can press the Wi-Fi Direct button on the printer’s button panel to enable it.

- Once enabled, find the password of your HP printer. Generally, it’s 12345678.
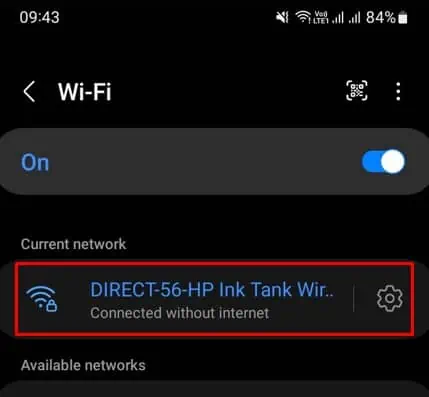
- Now, go to the Wi-Fi settings of your mobile phone and connect to the Wi-Fi Direct Name of the printer.

- Then open the scanner lid of your printer and place the document on the scanner glass.
- Close the lid.
- Open HP Smart on your phone and add your printer.
- Log in with the HP account.
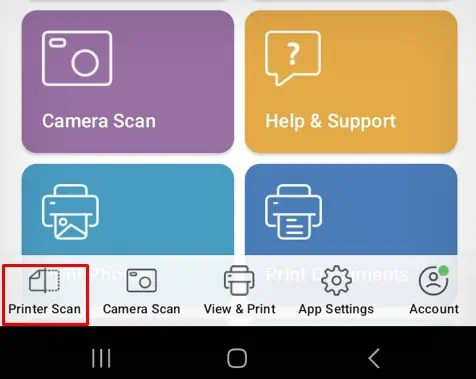
- Tap the Printer Scan button on the lower left of the screen.

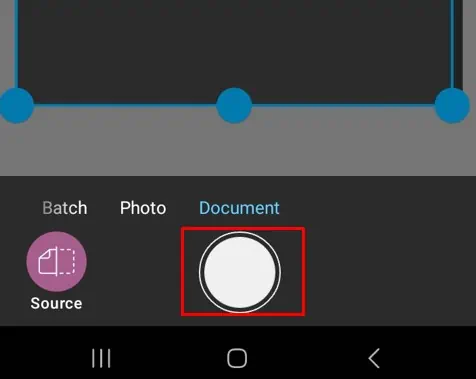
- Press the Capture button on the next screen. Your printer will now start to scan the document.

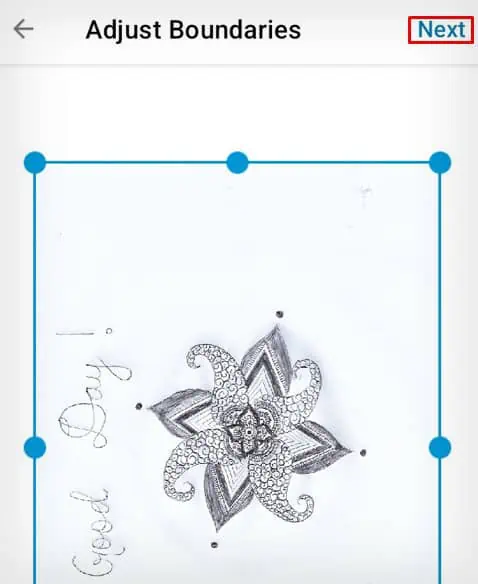
- You can see the scanned image on the next screen. Tap Next.

- Tap the Share icon.

- Choose the format and size of the document on the next screen and tap Share.
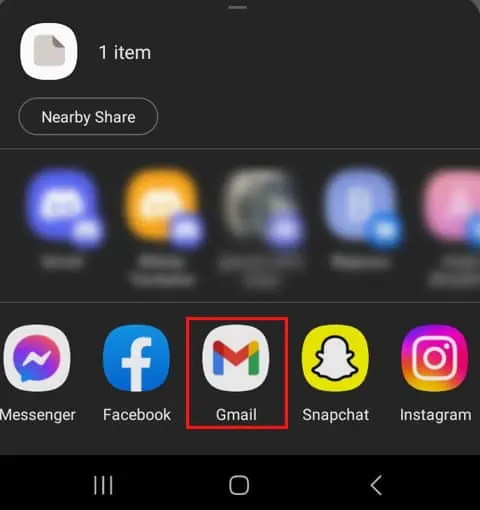
- Choose Gmail on the popup.

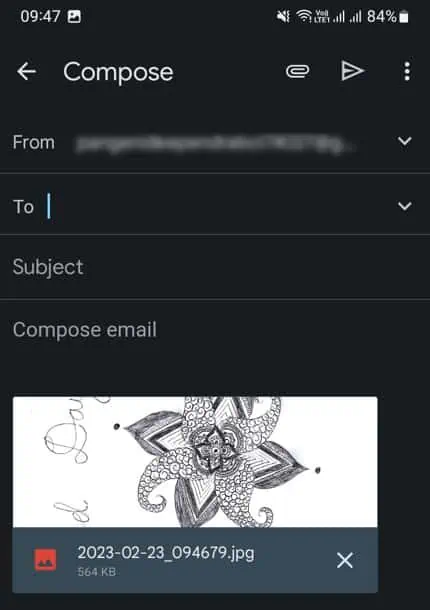
- Type the recipient’s Email address, give a subject and send the mail.


