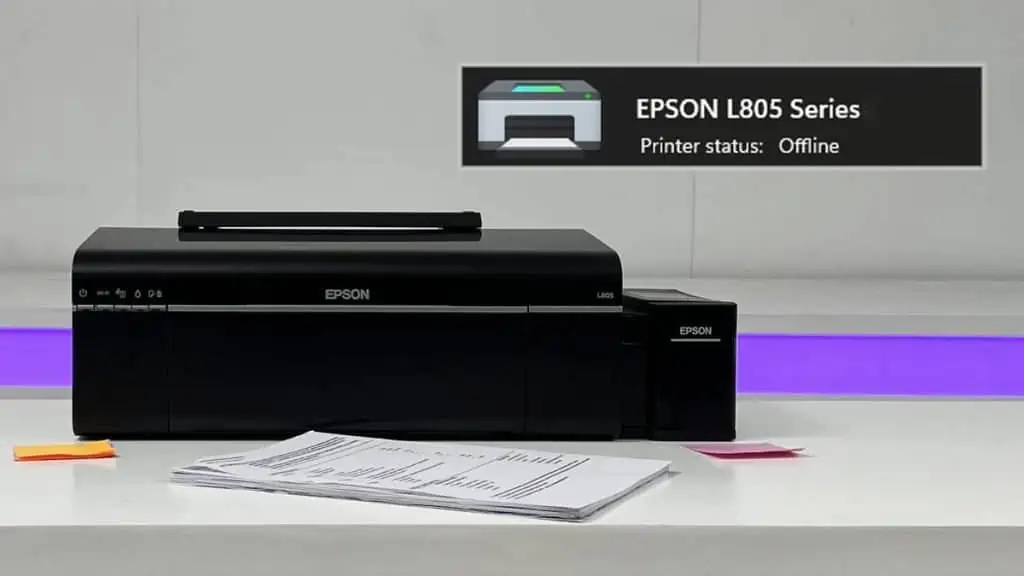
If your Epson printer is offline, start fixing it by restarting the print spooler service. Your computer cannot communicate with the printer with a crashed spooler.
Moving forward, check for error messages/lights on the printer’s control panel and resolve them.
In case your printer still refuses to print, it’s most likely an issue with the printer driver or the IP address assignment.
Let’s see how to fix them.
Restart the Spooler Service
The print spooler service is a critical Windows service that manages all printers and print jobs on your computer.
I’ve often seen this service crash when there is a pile of print requests stuck in a print queue. And it’s one of the major reasons your Epson printer goes offline.
There’s nothing to worry though! You can simply restart the service and get your printer online. To do it,
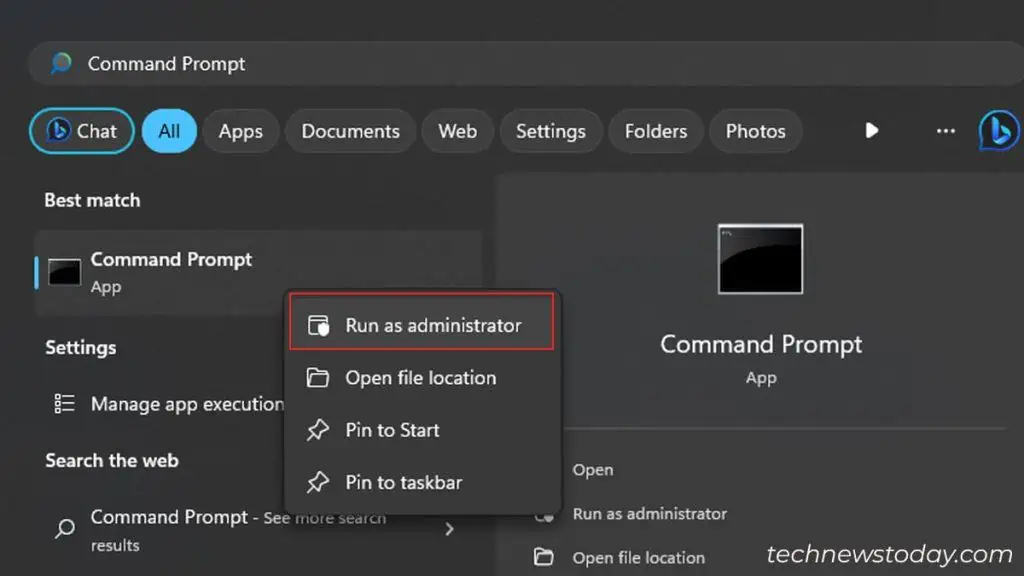
- Run Command Prompt as administrator.

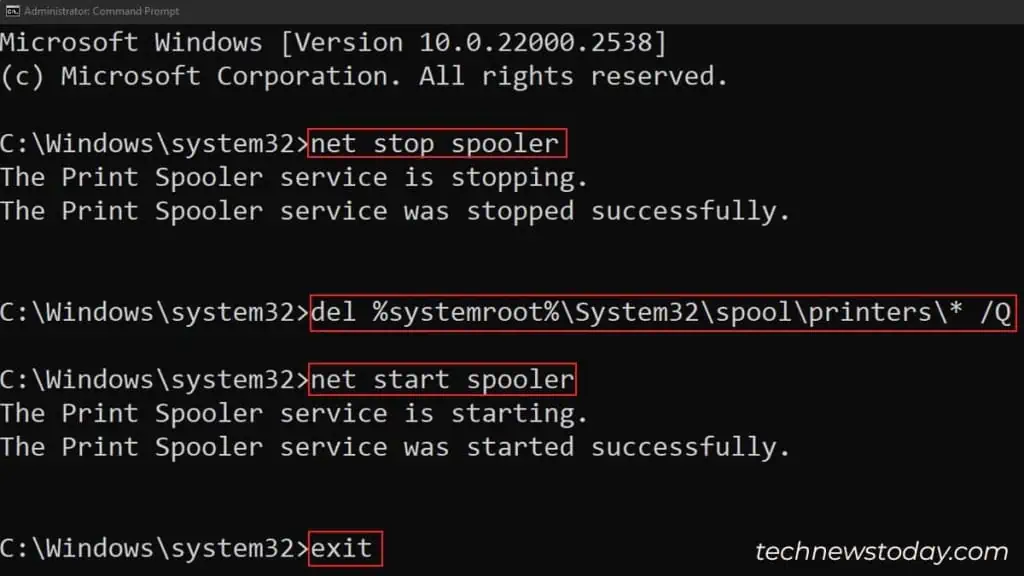
- Enter these commands.
net stop spoolerdel %systemroot%\System32\spool\printers\* /Qnet start spoolerexit
- See if that works.
Check for Printer Errors
Do you see any error messages flashing on your printer’s screen? Or, blinking lights? If yes, your printer is trying to tell you something.
For instance, if the Wi-Fi indicator is flashing orange, it means there’s a Wi-Fi error. Most likely, your Epson printer is not connected to Wi-Fi.
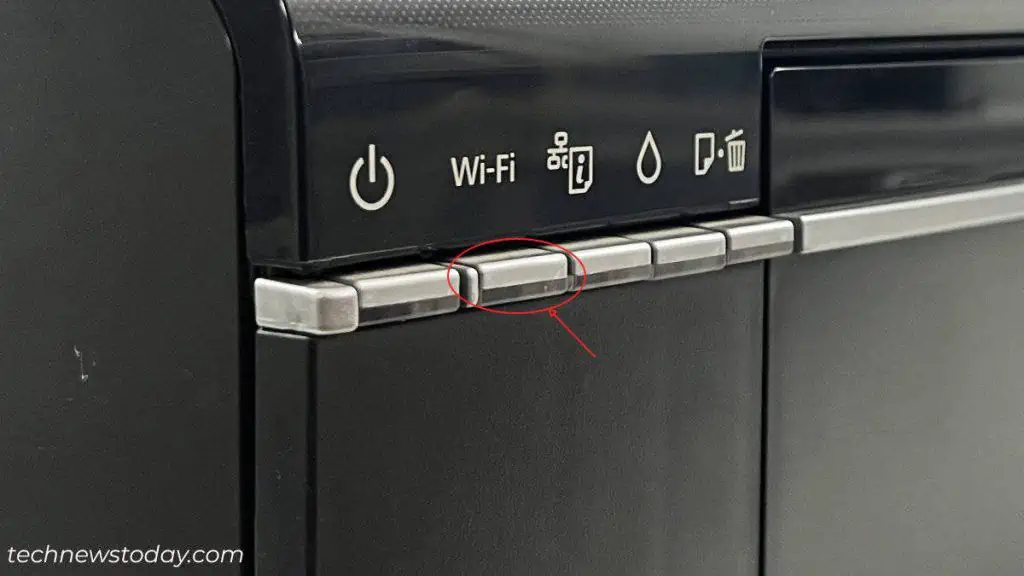
You’ll also encounter similar errors/flashing lights if there’s a paper jam, low ink level, or problems with ink cartridges.
In such cases, your printer refuses to print and shows offline. To fix it, first, restart the printer. If the issue persists after a restart, note the error and look for fixes accordingly.
Once you sort out the error, follow these steps to get it online.
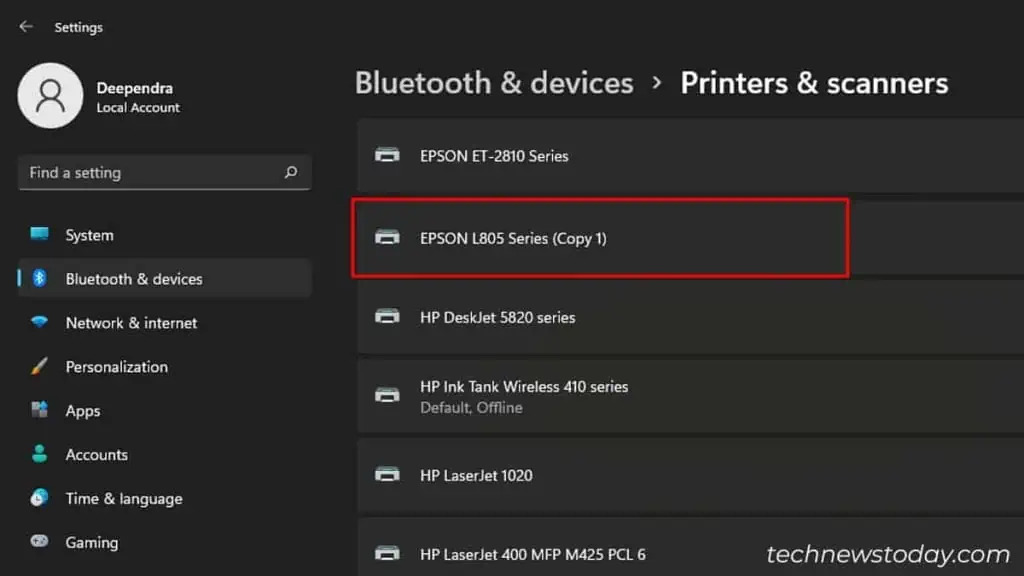
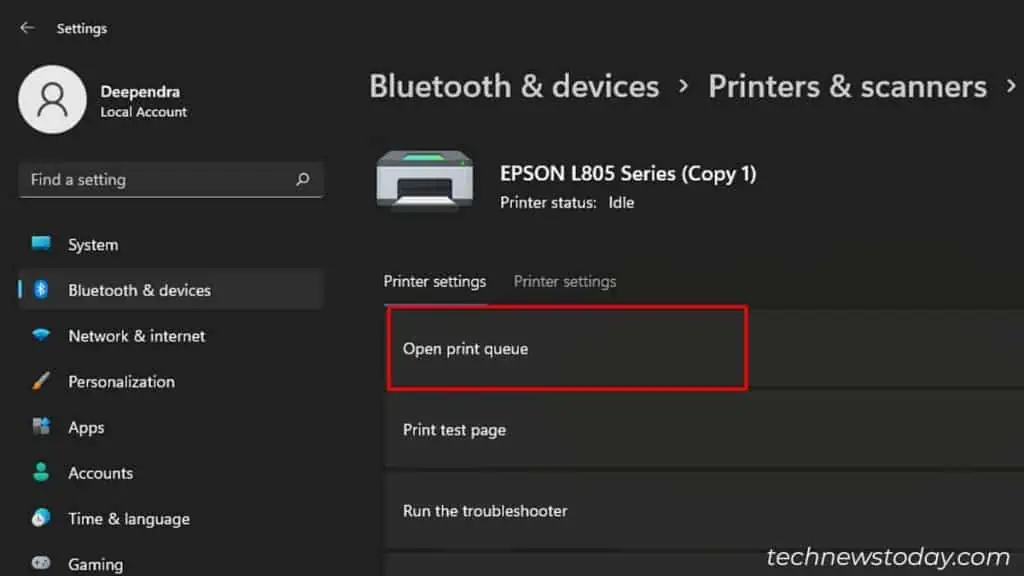
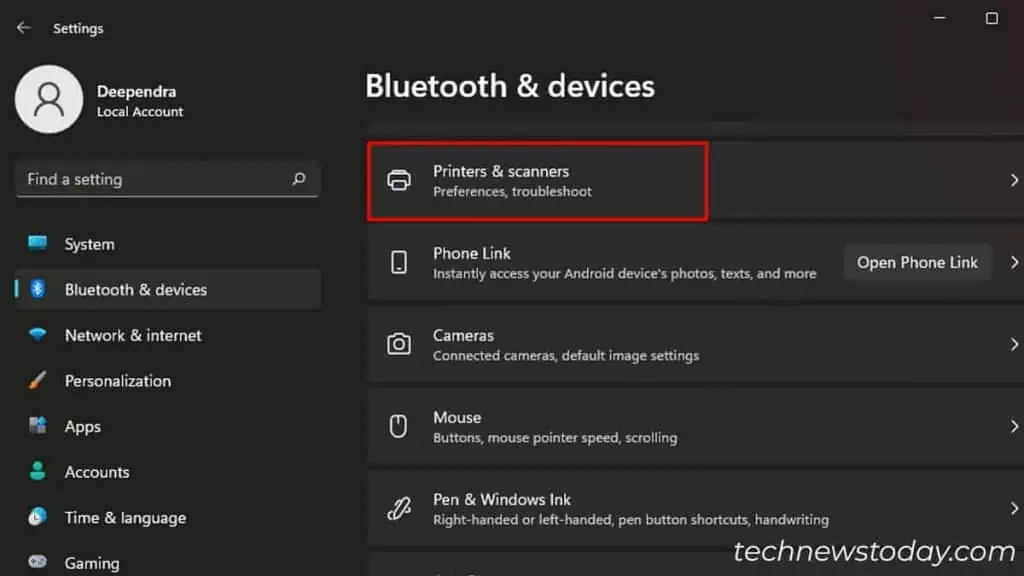
- Choose your printer from the Printers & scanners settings.

- Click Open print queue.

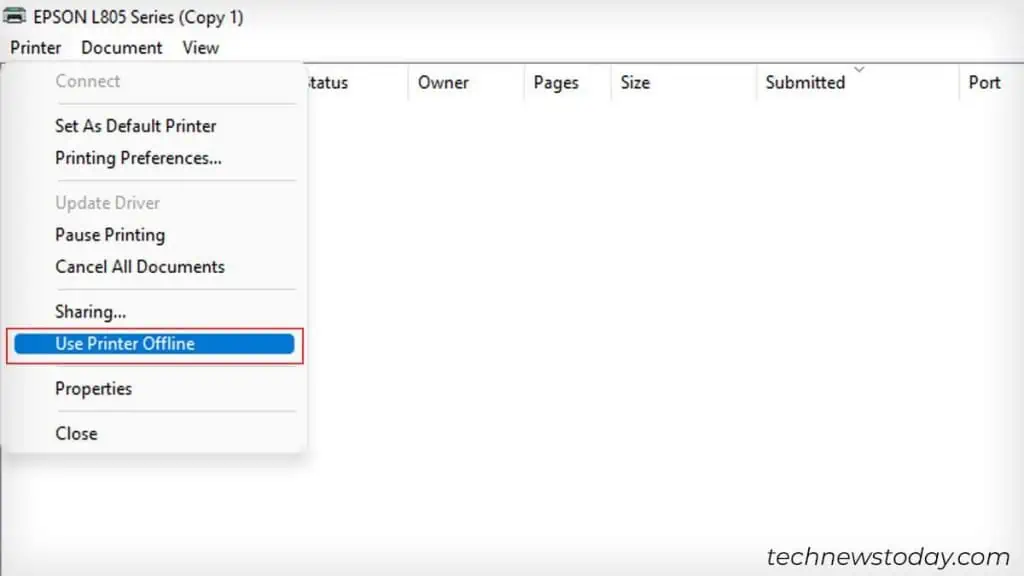
- Then uncheck the Use Printer Offline option.

- See if that resolves the problem.
Lightbulb moment: I often used to overlook the built-in printer troubleshooter in Windows computers. But interestingly, it has helped me find and fix the printer errors a couple of times.
So, I strongly advise you to try it as well. Go to Settings > System > Troubleshoot > Other troubleshooters > Printer to run it.Install Printer Drivers
Printers also mark themselves offline when there is no driver installed on the computer. To fix it, go to the Epson official website and download the compatible drivers.
If you are experiencing issues despite having drivers, reinstall it. Here are the steps.
- Open Printers & scanners from Settings.

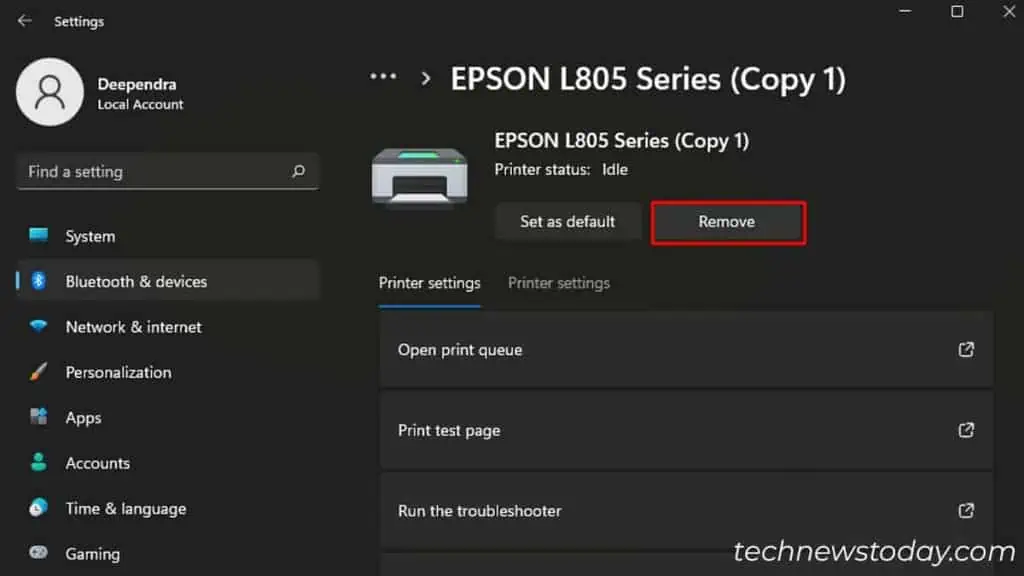
- Choose your Epson printer.

- Uninstall/Remove it.

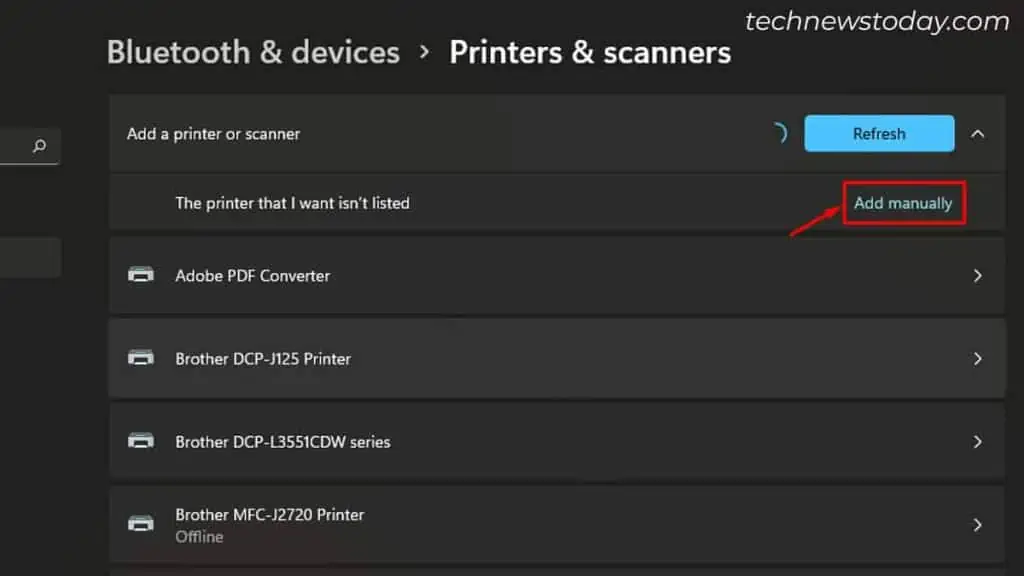
- Click on Add device > Add manually.

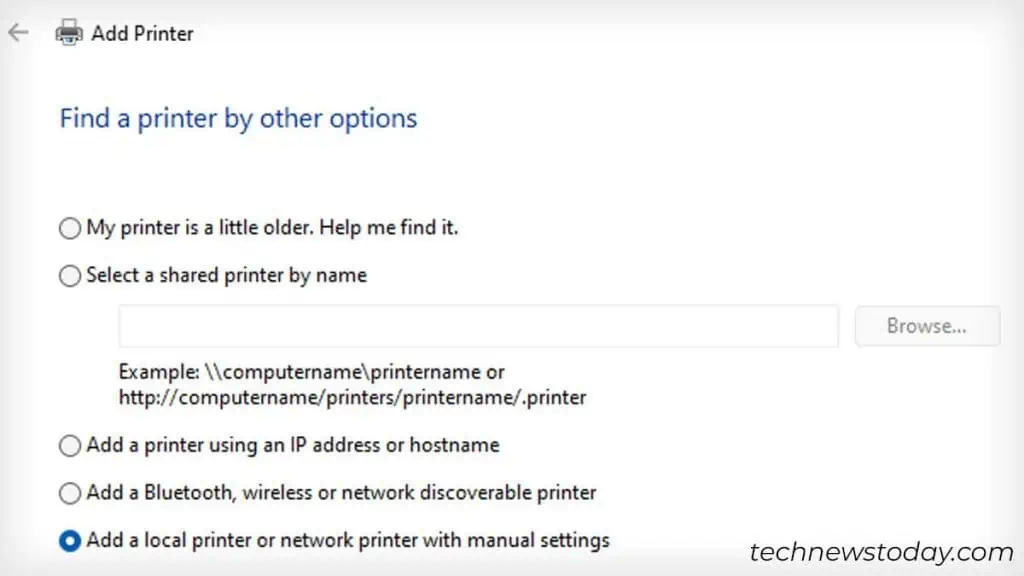
- Select the highlighted option.

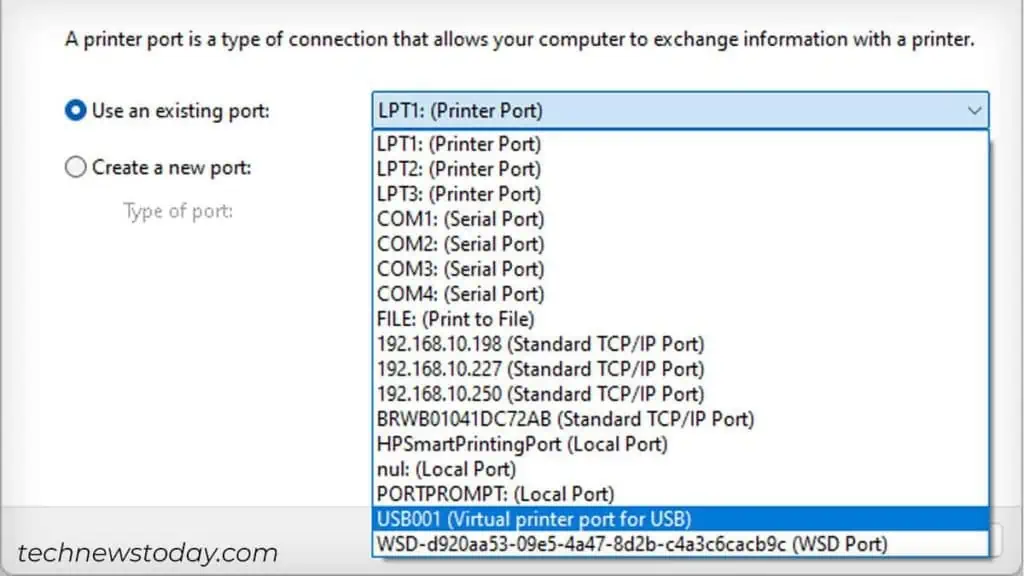
- Choose the port. Choose USB for the wired printer, WSD for the wireless printer, and Standard TCP/IP if you added a wireless printer using an IP address.

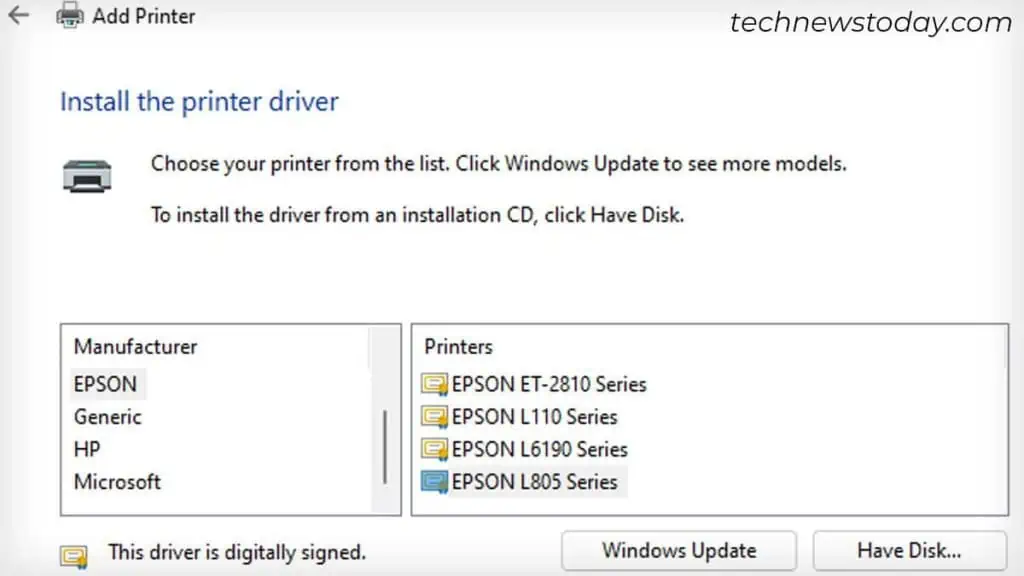
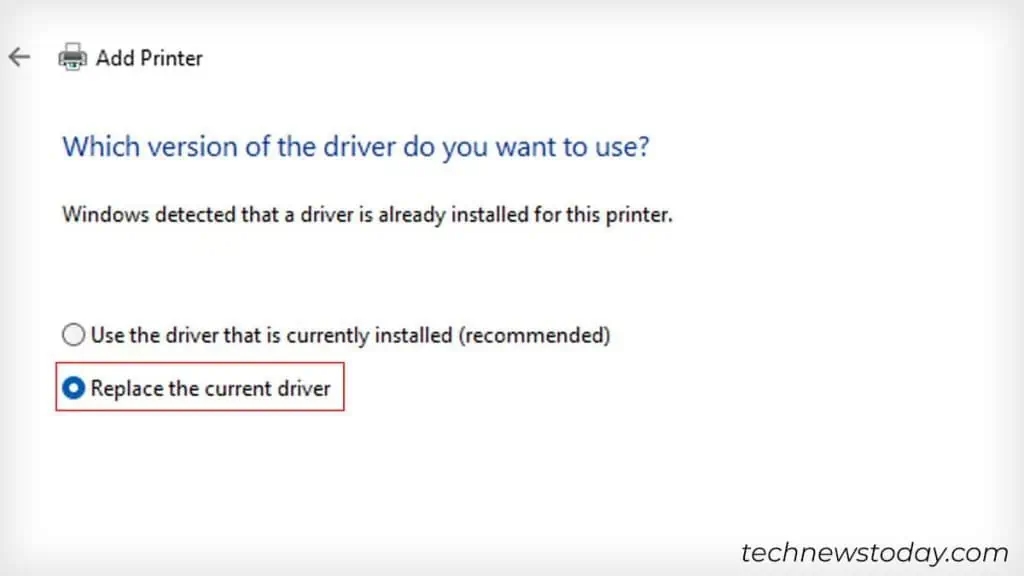
- Pick the Epson driver > Next.

- Replace it.

Configure the Sleep Timer Settings
Most of the Epson printers are, by default, configured to enter sleep mode after 10 minutes of inactivity. The manufacturer does claim that the printer wakes up automatically after sending a print job. But it might not always work.
With that said, your computer can not communicate with the printer and shows the printer offline error. So I advise you to change the sleep timer settings to prevent such issues later. To do it,
- Go to Settings > Printers & scanners.

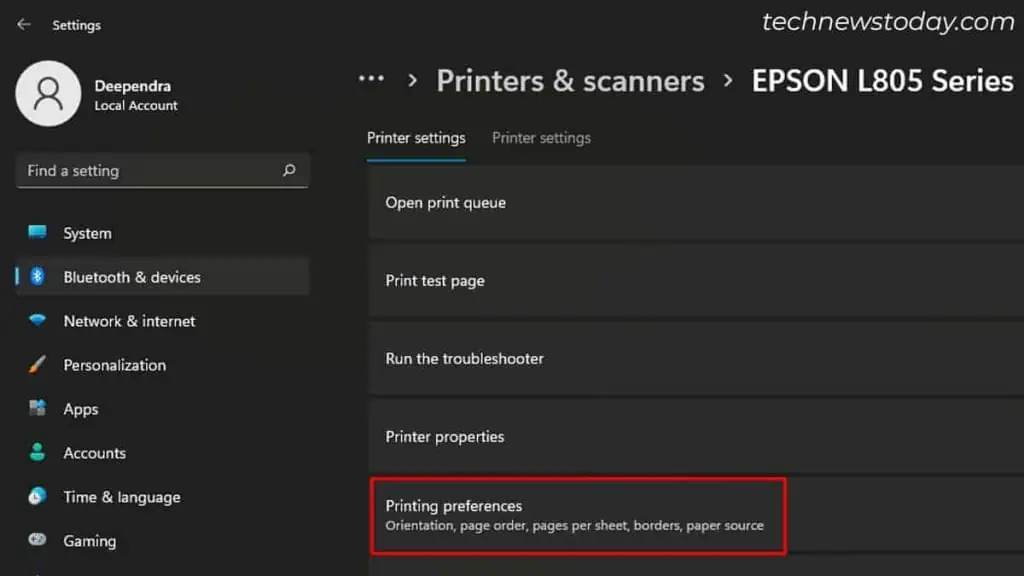
- Select your Epson printer and open its Printing Preferences.

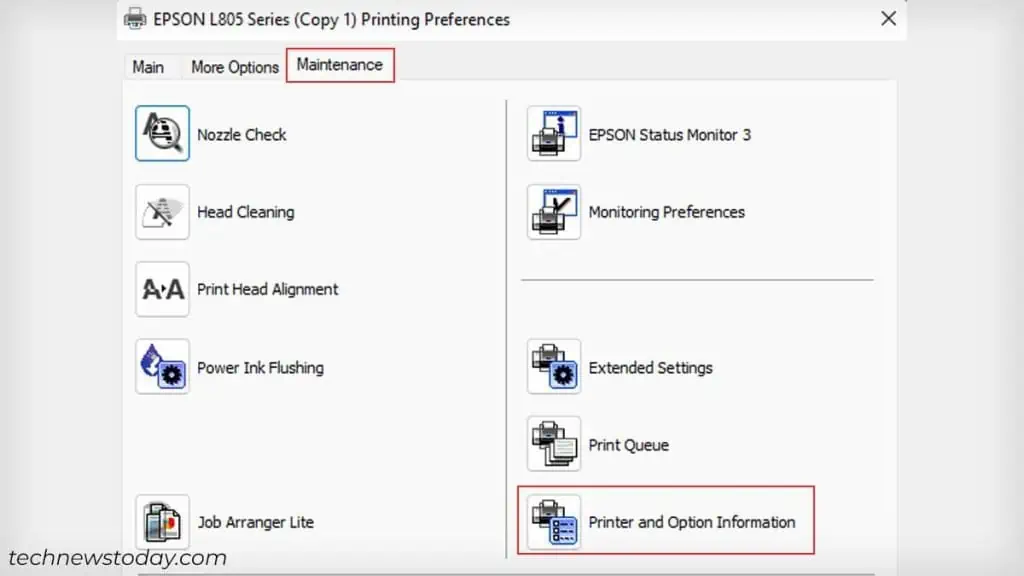
- On the new window that opens, go to Maintenance and choose this.

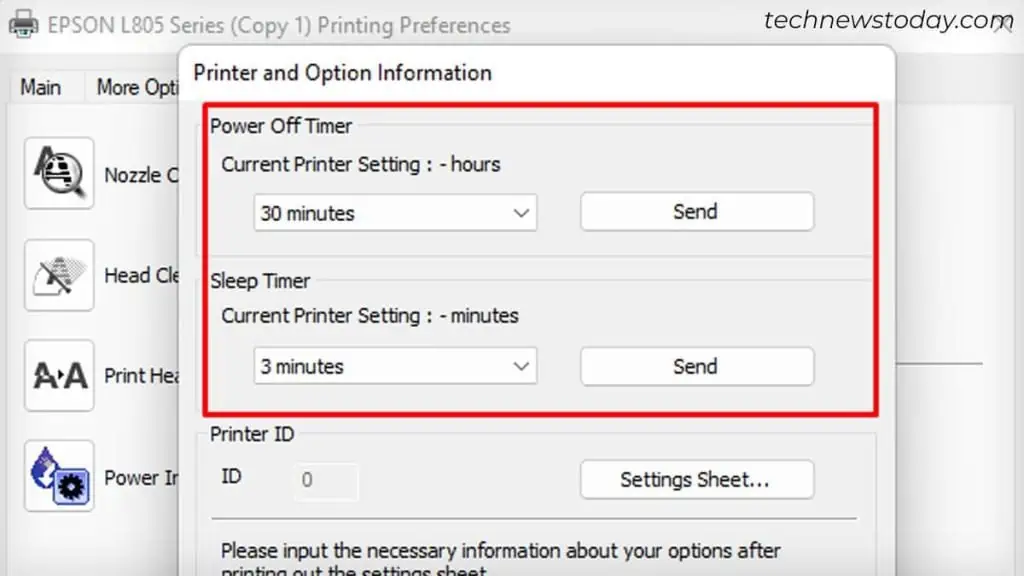
- As you can see, my Epson L805 is configured to sleep after 3 minutes and shut down after 30 minutes. Similarly, see yours and change them to the highest available value.

- Click Send > OK.
Fix IP Address Conflicts
Similar to other network devices, printers also get a DHCP IP address from a Wi-Fi router. Meaning, they are assigned new IPs when the lease time of the current IP expires.
When this happens, it creates a conflict between the printer’s current IP and the IP set on your PC. This prevents the PC from recognizing the printer, making it offline.
That’s why you should always assign static IP to printers. Once the static IP address is set,
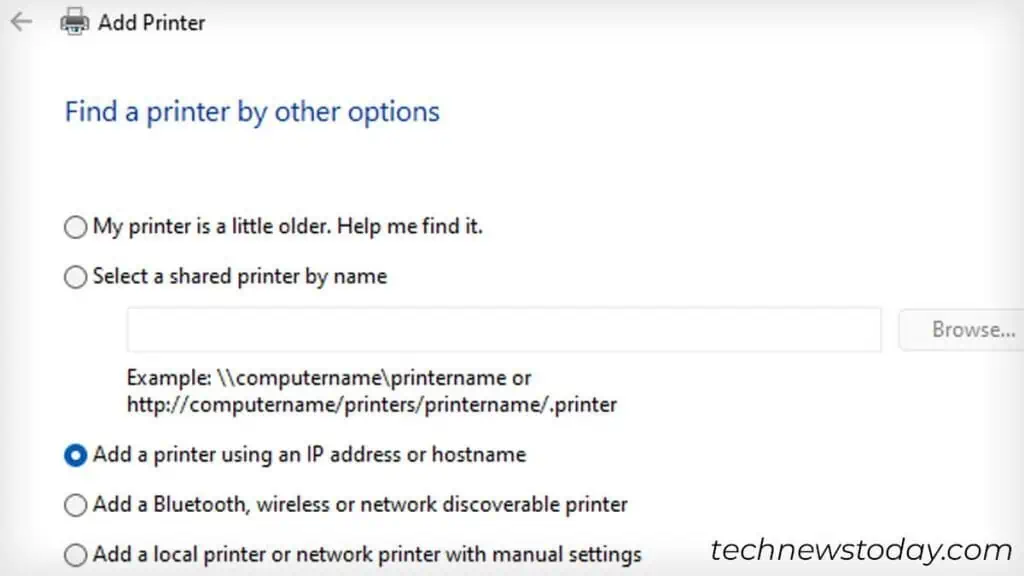
- Open the Printers & scanners settings > click Add device > Add manually.

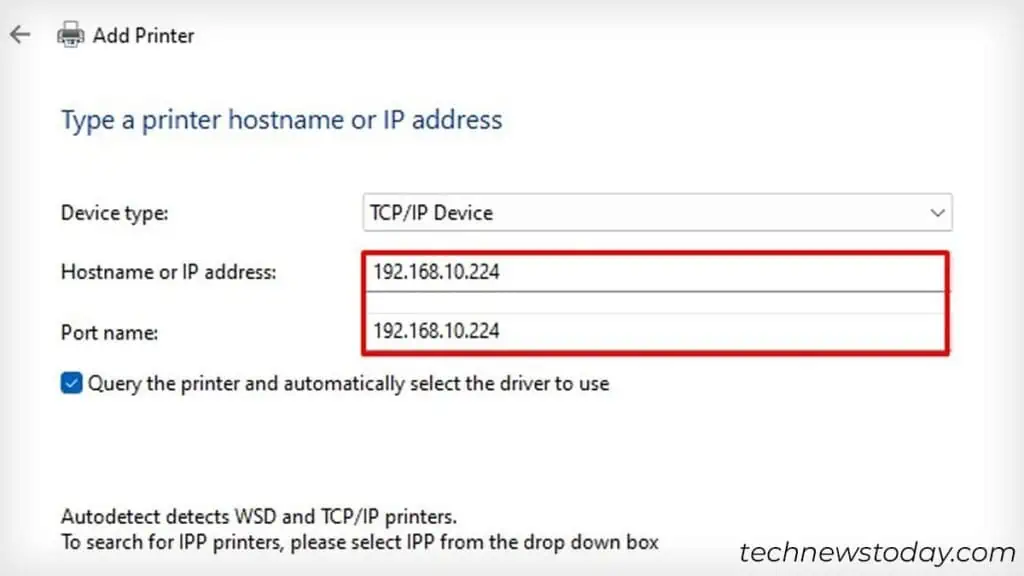
- Choose the option that says Add printer by IP.

- Follow the instructions. That will install your Epson printer using static IP.


