
To install an Epson printer, first connect it to your PC using a USB cable. Then, go to the manufacturer’s website and download the driver. Once the driver gets installed, your printer is ready to print.
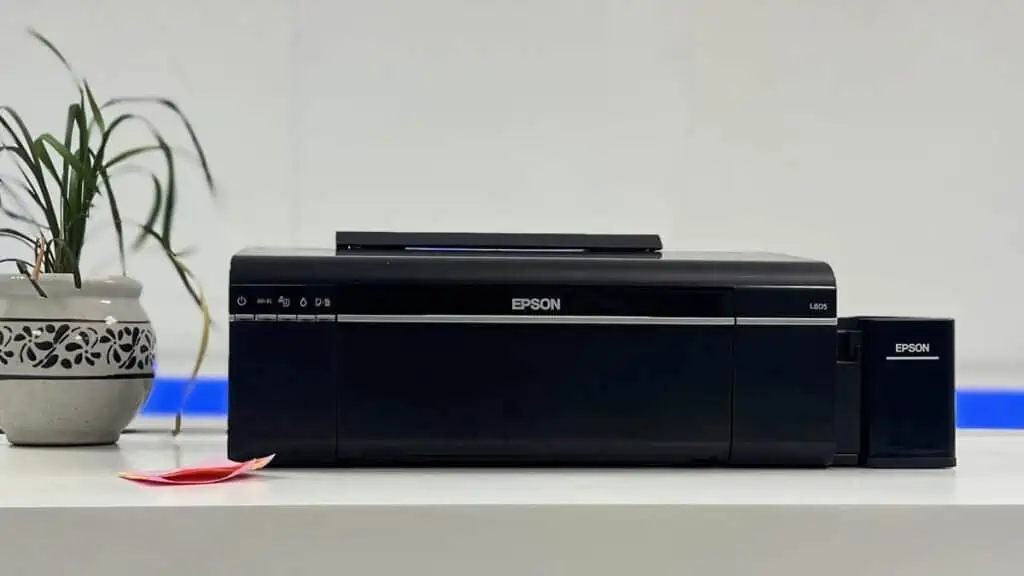
Let me quickly demonstrate how I installed the Epson L805 series printer on my computer.
Connect Printer to Your Computer
To start, bring the USB cable that came with your printer. Plug its B side (square end) into the printer and the other side into your computer.

Then, connect its power cord to an electrical outlet on the wall. Moving forward, press the power button and turn on the printer.

Install the Printer Driver
Now that your printer is on standby, open a browser on your computer and go to Epson’s official printer support page. Once you get there,
- Enter your product name in the search box. For instance, I am installing an Epson L805 printer. So, I’ll search for it.

- On the next page, expand the Drivers menu and click Download. If your printer comes integrated with a scanner, you also need to download the scanner driver. It will be listed there too.
- On the new tab that opens, click Accept. Your download will begin.
- Once the download completes, launch the setup (.exe file).
- You’ll get this screen at the beginning. Click OK.
- Accept the license agreement.
- Choose USB connection mode on the next screen.
- If you have connected your Epson printer to Wi-Fi, and thinking of making it wireless, choose Network connection here.
- The setup wizard will now search for the printer and install it.
- You’ll get the installation successful message at the end.


Finalize the Installation
Alright! We’ve now successfully installed the printer. To know if the installation went fine,
- Go to the Control Panel > View devices and printers.
- The printer name should be listed there under the Printers section. If not, please re-do the installation. I recommend restarting your computer before doing it.
- Also, right-click the printer and choose Printer properties.
- Then print a test page.
- If the test page printout seems faded/blurry, check the ink levels on your printer and refill it.
- Once everything is sorted, you’re ready to start printing.


