
Paper jams on HP printers are generally false paper jams that you can easily fix with a simple restart.
But if you’re dealing with an actual paper jam, restarting won’t help. Instead, you’ll need to get the paper scraps out of your printer. You may even need to reset your printer to factory settings.
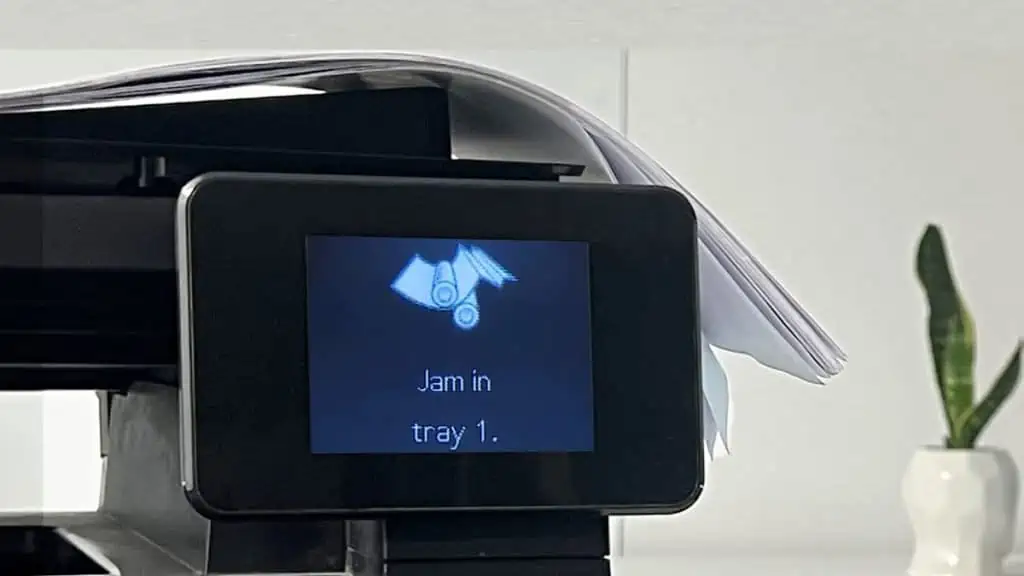
Here, I’ll demonstrate the exact troubleshooting process I follow to fix paper jams on my HP LaserJet Pro 400 MFP M425dn printer. I’m sure you’ll be able to figure it out as well.
Restart Your Printer
To begin with, restart your printer and see if the error goes away. In case that does not work, I also advise you to power cycle the printer. To do it,
- Turn your printer off and unplug the power cable.

- Press the Power button for a while.
- Leave it for a few minutes and turn it on.
- See if the issue persists.


Check Stuck Papers Under the Toner Cartridge Cover
If restarting/power cycling doesn’t work, it’s very likely you are experiencing a true paper jam. So it’s time to check and remove any torn papers/scraps stuck inside the printer.
Let’s start by clearing out stuff under the toner cartridge cover. Quickly grab a flashlight, compressed air/blower, and a prying tool. Then,
- Turn off the power supply of your printer and remove the cables.
- Let the printer cool down. I suggest you leave it for at least 5 minutes.
- Get all the papers out of the paper tray. Also, remove the tray.
- Take the flashlight and inspect for paper scraps/torn pieces. If found, remove them.
- After that, open the front door of your printer and lift the toner cartridge cover.
- Uninstall the toner cartridge.
- Remove any paper pieces found there. Examine the nook and corner and remove the paper scraps. You may use a pry tool if needed.
- Now grab a blower/compressed air to blow out any foreign materials. It will help if anything is blocking the optical sensors from detecting the papers. Also, clean under the printer rollers.
- Remember, you should not leave any paper scraps inside.
- Once everything is sorted, reinstall the toner, close the front door, and the toner cartridge door.


Clear the Paper Path
The toner cartridge area is the most prone area for paper jams. So, we cleared it out at the very beginning. Still, there are also chances the paper is stuck in the paper path. Now let’s clean the same.
- Access the paper path cover of the printer and dislodge it. It generally lies at the rear of the printer.
- Once you get to the rubber wheels, check if any paper pieces are stuck. If possible, remove it using your hands. If not, you can use a toothpick/pry tool to remove it.
- With the help of a flashlight, inspect further.
- Take a blower and blow the dust out of it. Blow all the visible parts of the printer path.
- Rotate the wheels and ensure there is no jam.
- Now check the paper output tray and remove any stuck papers.
- Close the paper path cover and try printing. The paper jam error should disappear now.


Reset the Printer
HP printers are equipped with optical sensors which detect papers when they pass through the paper rollers.
Sometimes, a glitch in the printer’s memory can stop the sensor from working. And you get the paper jam error.
No worries though! Factory resetting your HP printer will again bring it back to its normal state.

I have fixed the paper jam issue several times on my LaserJet Pro 400 MFP M425dn with a factory reset. So, I strongly recommend you give it a try.
However, remember that you must set up the printer from scratch after a reset.
Finding Hardware Defects
If nothing seems to work, there’s a high chance the optical sensor has failed. Or, the roller wheels have worn out and need a replacement.
Please take your printer to the authorized HP repair center and ask them to look into the issue.