
If your printer is not connecting to a computer,
- Either the spooler service has crashed.
- There’s no printer driver installed on your computer.
- Or, there’s an IP address mismatch issue.
Regardless, let’s get into the fixes.
Restart the Spooler Service
Printers often refuse to connect with a failed/crashed spooler service. So to begin with, clear the stuck print jobs and restart the service.
- Open Command Prompt with admin rights.

- Run these commands one after another.
net stop spoolerdel %systemroot%\System32\spool\printers\* /Qnet start spoolerexit
- Check if that works.


Connect Using Printer Driver
Hopefully, the aforementioned fix already did the job for you. If not, restart your printer and try to reconnect it. Do it from Settings as well as the Control Panel.

If the issue persists, do it from the installation media as well. I have recurrently been through cases where my printer won’t connect via Settings/Control Panel. But using the installation media does its job perfectly.
To do it, download the printer drivers from the manufacturer’s official website and install them.

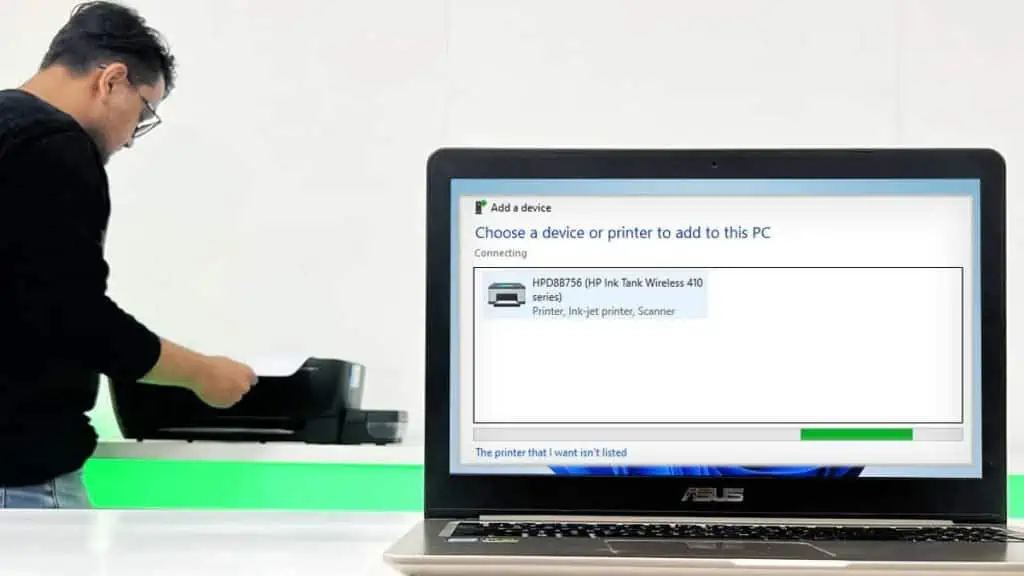
Go through the installation wizard and it will successfully find and connect to the printer.

Here are the official websites for Canon, HP, Brother, and Epson.
If the printer driver still fails to detect the printer, uninstall all the printer profiles from Device Manager and re-do the process.

Always Use Static IP With Your Printer
IP address conflict is another reason your printer won’t connect to the computer.
Printers get dynamic IP addresses by default. But when the IP renews after the end of its lease time, the IP set on the PC and the current printer’s IP mismatch, leading to a conflict.
So, if you’re trying to add the printer using an IP address, assign it a static IP first. While at it, also make sure the IP for your printer and the IP of your computer are on the same subnet.
For instance, provided that your computer’s IP is 192.168.10.88, the printer’s IP address should lie between 192.168.10.2 and 192.168.10.254. Only then, the computer can find and connect to your printer.
- Go to Settings > Printers & scanners.
- Click Add device > Add manually.
- Check this option.
- Choose TCP/IP and enter the static IP you just assigned > click Next. The wizard will now connect the printer to your computer.


