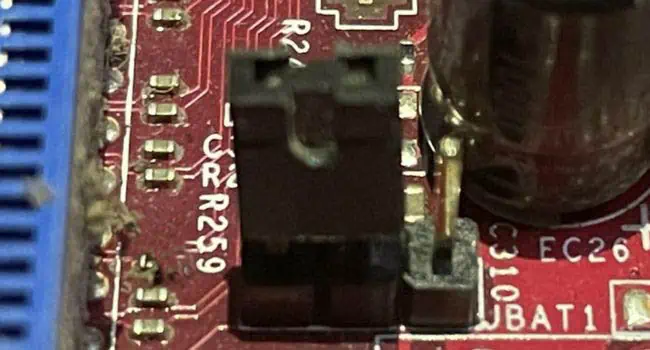
Whether it’s a bad overclocking or failed BIOS update, you could end up with an unstable system, or in the worst case, your PC might refuse to boot up. In such scenarios, you should always initiate the troubleshooting by resetting your motherboard.
If you can access the BIOS page, directly load the default BIOS configuration from its dedicated section. However, if you’re failing to reach the power-on screen, you need to clear the CMOS values.
While the general concept of resetting BIOS on every motherboard is quite similar, the steps may slightly vary based on what the manufacturer recommends. After following my detailed guide, you should be able to apply factory settings on every ASRock motherboard series.
Method 1: Loading Default BIOS Settings
Misconfigured BIOS settings can lead to frequent crashes and significant degradation in the system performance. If you’re not facing a boot/system failure and your PC passes the Power-On-Self-Test (POST), you can likely access the UEFI settings and directly load the factory values.
So, before moving forward, find out the dedicated key that lets you access the BIOS page. For most models, it’s Del or F2, but this could be different for your motherboard. You may look up the user manual or search for it on the internet.
Once that’s done, follow the step-by-step guide below to learn how to enter ASRock UEFI Setup Utility and load the default BIOS configuration:
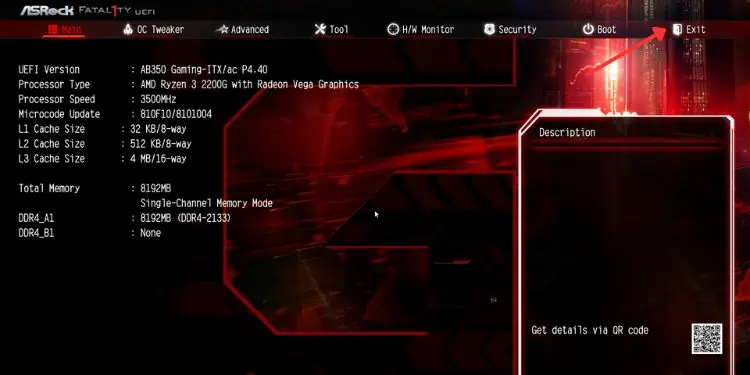
- Start/restart your computer and hit the BIOS key before the POST completes. In simple language, press the key as soon as you see the manufacturer’s logo.
- Once you’re in the BIOS interface, select Exit.

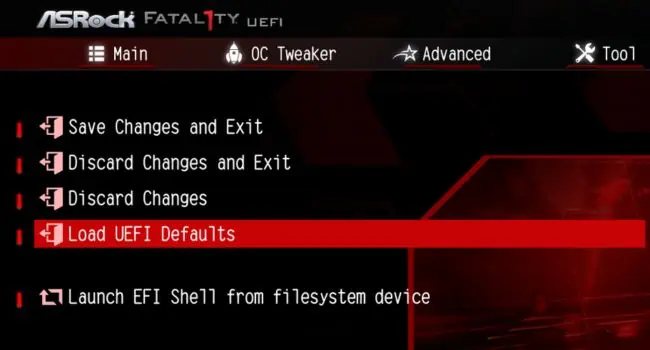
- Here, choose Load UEFI Defaults.

- In the confirmation window, hit Yes.

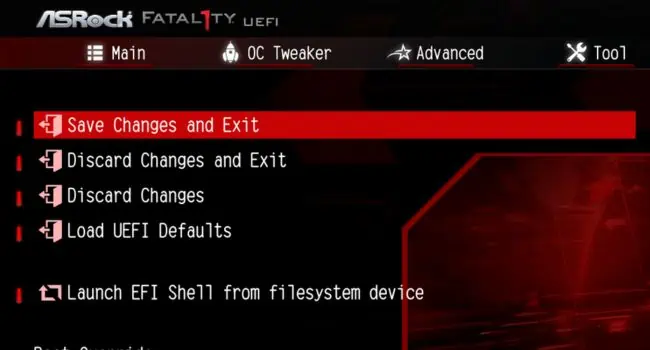
- Now, pick Save Changes and Exit.

- Again, in the confirmation window, press the Yes button.

- Your computer should reboot and the motherboard should be restored to factory settings.
Additional Tip: If your computer is set to legacy mode, access the BIOS first and use the dedicated keys (indicated in the right pane). Usually, it’s F9 to apply the default values and F10 to save the changes.
Method 2: Using Clear CMOS Button
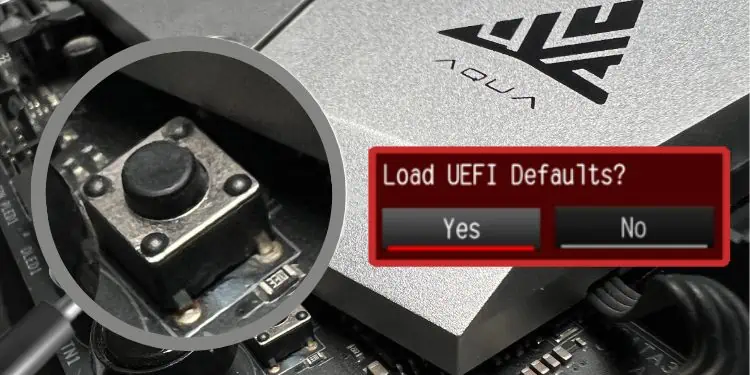
Whether you own a high-end Taichi, Fatal1ty, Aqua, or any other motherboard from ASRock, you’re likely going to find a button that lets you clear the CMOS values. This is the quickest method to reset BIOS and can help even when you’re getting a black screen after a failed/corrupted update or some other hardware faults.
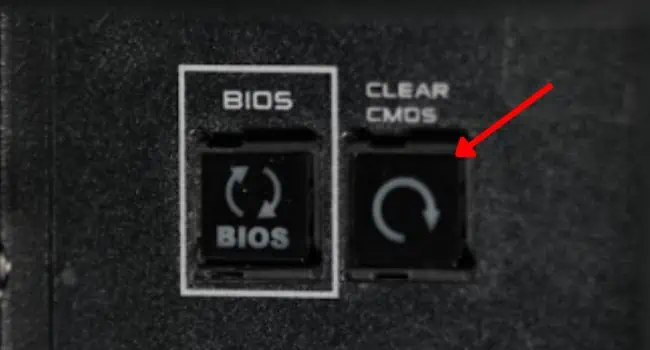
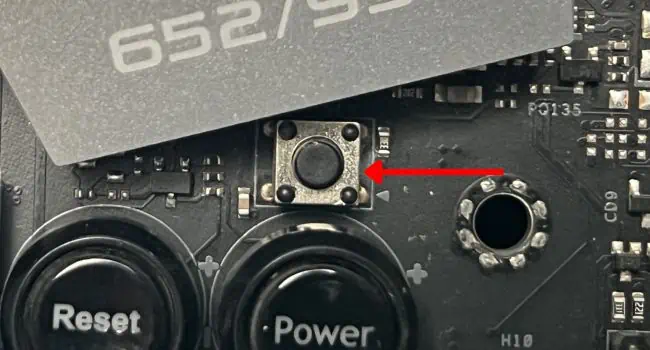
In most ASRock models, the Clear CMOS button is included in the rear motherboard panel. However, you could even find this on the system board as a ‘smart’ switch. While the former is easy to locate, the latter may require a user manual. Look for CLRCBTN1 or similar indications.
Also, note that just pressing this button won’t restore the BIOS configuration. Basically, you’re only erasing the RTC RAM. So, once you’re able to access the UEFI interface, you have to load the factory values as discussed earlier.
- First of all, shut down your computer.
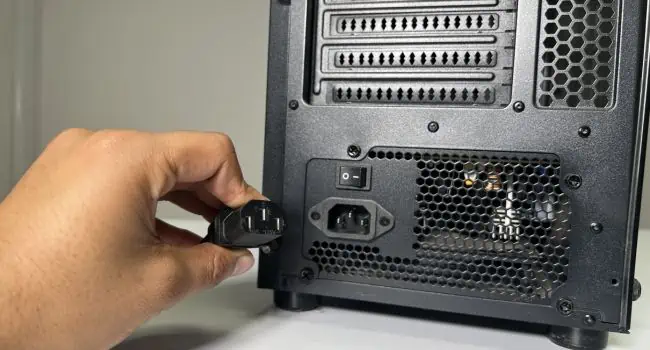
- Wait until the PC is completely turned off before you disconnect the power plug.

- If the Clear CMOS button is in the rear I/O panel, press it to quickly clear the values.

But if yours is located on the mainboard, open the PC case first in order to reach the button. - Look for the small switch, which is usually near the other two smart switches (Power and Reset). The following image (of the X570 AQUA motherboard) should give you a much clear idea.

- Press it and wait for about 15 to 30 seconds until the CMOS is properly cleared.
- Then, put back the case, plug back the power cord, and start your ASRock PC.
- Now, you might be accompanied by an AMI BIOS screen. In that case, hit F1 (or the key it’s asking you to press) and you should get to the BIOS Setup page. Even if you do not see any message on the display, just use the dedicated key to access it.
- Get to the Exit tab, load the default values, save changes, and exit.

Method 3: Removing CMOS Battery
For many ASRock users, the Clear CMOS button didn’t help reset the BIOS password. Also, this dedicated switch is unavailable on most mid-end and low-end system boards.
On the other hand, the CMOS battery is included on every motherboard. Its sole purpose is to continuously power the NVRAM chip that stores all the BIOS settings, system date/time, checksum, and other hardware parameters. Moreover, this technique can even help erase forgotten or unknown BIOS passwords.
Once you remove this cell, the power supply is cut off and the chip no longer retains the applied settings. The next time you start your computer, it boots up with the factory values, or in some models, you have to manually do it.
- Begin by turning off your PC and cutting off power from the PSU.
- Hold the power button for 10 to 15 seconds to drain the capacitors.

- Now, lay the PC flat on its side. Make sure you’re doing this on a flat, tidy, and anti-static surface.
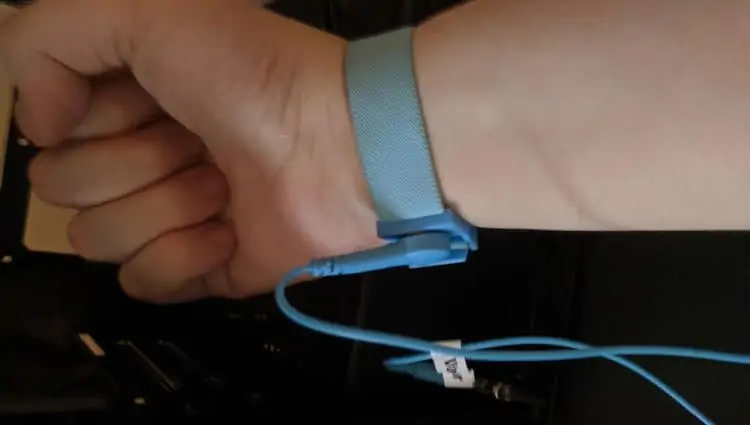
- Also, wear an anti-static wrist wrap and connect it to a grounded surface. This way, the static buildup on your hands will be transferred away from you and the PC, preventing the components from ESD. In case you do not own one, you can follow our other guide to learn how to ground yourself when operating a computer.

- Next, untighten the screws and open the chassis. You may do this using your thumb and index fingers. However, if this is too tight or you own an older case, you’ll require a screwdriver of an appropriate bit size.

- If your CMOS comes with a white plug, follow the below steps:
- Disconnect the plug from the motherboard header.

- Wait for about 15 minutes before reinserting it.
- Disconnect the plug from the motherboard header.
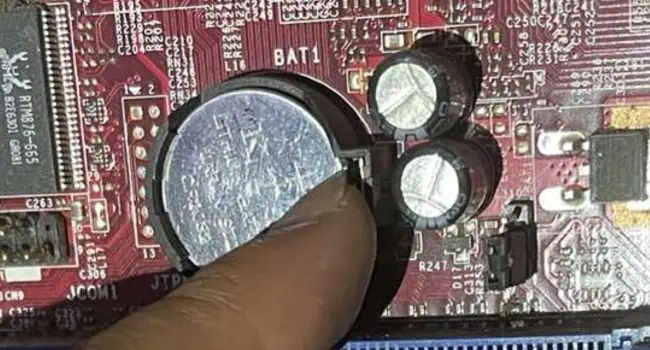
- If your motherboard has an onboard battery (separate CMOS compartment with a ‘BAT’ indication on the motherboard), here’s what you should do:
- Use an ESD-free tool (like the plastic opening tool I’m using below) to unlock the CMOS battery from its holder. But if you have properly grounded yourself and have no such tool available, you may push the lock using your finger as well. Just be extra careful such that you do not damage the holder.

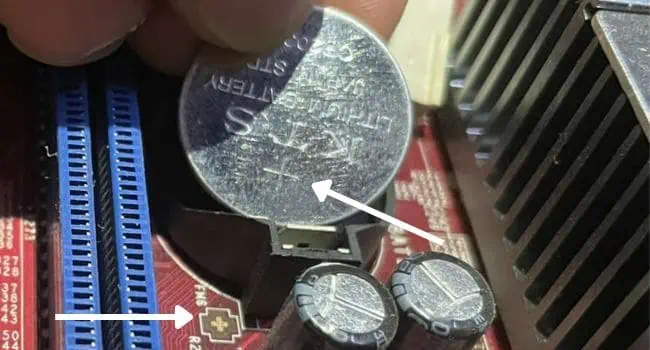
- Applying a slight pressure should pop the battery out. Also, you may keep holding the plastic tool and carefully remove the CMOS battery from its slot.
- Reinsert it, ensuring the positive side faces upwards. You’ll likely hear a ‘click’ sound, confirming that it’s secured.

- Use an ESD-free tool (like the plastic opening tool I’m using below) to unlock the CMOS battery from its holder. But if you have properly grounded yourself and have no such tool available, you may push the lock using your finger as well. Just be extra careful such that you do not damage the holder.
- Now, close the side panel and secure it with all the screws.
- Plug back the power cord and start your PC.
- Enter the BIOS screen to set the optimized defaults. Then, save it and exit, which should reboot your PC.
Method 4: Shorting the CMOS Jumper Pins
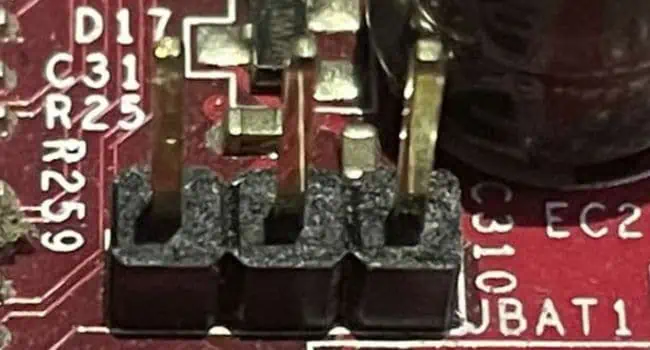
Another effective way to clear the RTC RAM or CMOS values is to make two jumper pins short-circuit. Most ASRock models support either 2-pin or 3-pin headers.
To confirm this, I suggest inspecting the user manual first. If you do not have the physical book available, you may find yours on the official ASRock support page. Usually, the jumper pins are labeled CLRCMOS1 and are positioned somewhere near the CMOS battery.
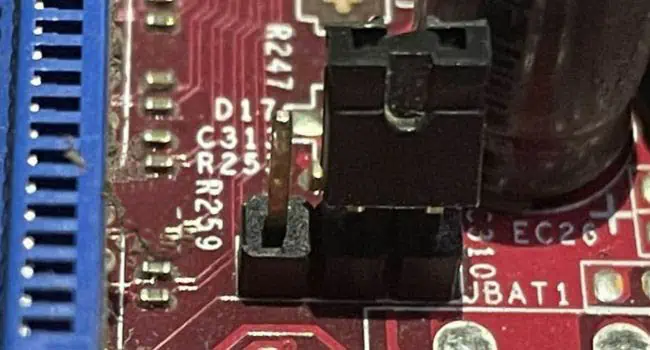
You can utilize a jumper cap (a small metal clip covered by plastic) or any other conducting metal object. The cap method is more useful for motherboards with three pins as it is placed in the first two pins by default.
All you have to do is shift the cap and wait for a certain time (as indicated in your manual). When there’s no cap above the pins, it means that the jumper is open and when the cap is placed, the jumper is short. Follow the general guidelines below to learn this in more detail:
- Ensure the computer is turned off. Once that’s done, unplug the power adapter.
- Next, keep holding the power button for at least 15 seconds, which should discharge the residual static electricity.
- Then, unscrew and open the PC casing.
- After properly grounding yourself, locate the CMOS jumper (indicated with the CLRCMOS1 label).
- If yours has a 2-pin like the one below, simply touch the two pins with a screwdriver (or any other metal conductor) for about a minute. This should cause short-circuit and clear the CMOS values.

- However, if you own an ASRock motherboard with a 3-pin jumper, here’s what you should do:
- Remove the cap from its default seated position, which is usually the first two pins.

- Insert it into the second and third pins, which is technically referred to as the ‘clear position’.

- Leave it here for at least 15 minutes before reverting the position (back to the first and second pin).

- Remove the cap from its default seated position, which is usually the first two pins.
- Now, reseat the PC chassis, plug back the power cord, and start your computer.
- Enter the BIOS menu using the dedicated key. Here, load the UEFI defaults, save changes, and quit.

