
There was no feature to display our content on an external device in the past. Later, the technology improved, and we finally got to connect our PCs to other hardware using wires.
Today, Microsoft has made it possible to connect Windows to external devices wirelessly. Now, we can easily project our pictures, videos, and other media on a monitor or a smartphone. However, connecting to a wireless display in Windows 11 is just an optional feature. Therefore, you must install a program before casting your content on external devices.
This article will guide you on how you can connect to a wireless display in Windows 11. Moreover, we will also explain how to project media from other devices on our computers.
How to Connect to a Wireless Display in Windows 11
Basically, we can connect to a wireless display in Windows 11 using various techniques. We have mentioned some basic ones in this article. Using these methods, you can link your PC to another hardware and vice versa.
Using Windows Settings
Windows has an in-built feature to help you connect to a wireless display. This section will guide you step-by-step on how you can install, connect, and project your PC to an external device.
Step 1: Install Wireless Display Feature in Settings
At first, we must install the Wireless Display feature if we wish to connect to a wireless display in Windows 11. Without downloading the program, we won’t be able to cast our photos and videos. So, here’s a simple guide on how you can install this feature on your PC:
- From the start button, open Settings.
- Under Apps, select Optional Features.

- Since Wireless Display is an optional feature, you need to add it to your computer first. Therefore, select View features under Add an optional feature.
- Now, find Wireless Display manually. Alternatively, you can search for it on the search bar.
- Tick mark on the feature and click on Next.
- Next, click on Install and wait until the program gets added. This may take several minutes, depending upon your internet speed.


Step 2: Connect to a Wireless Display in Windows Settings
This is an in-built Windows feature accessible by three techniques. Once you enable the Connect to a wireless display option, you can connect to external devices in no time. Here’s how you can connect to a wireless display:
- Open Settings from the Start button.
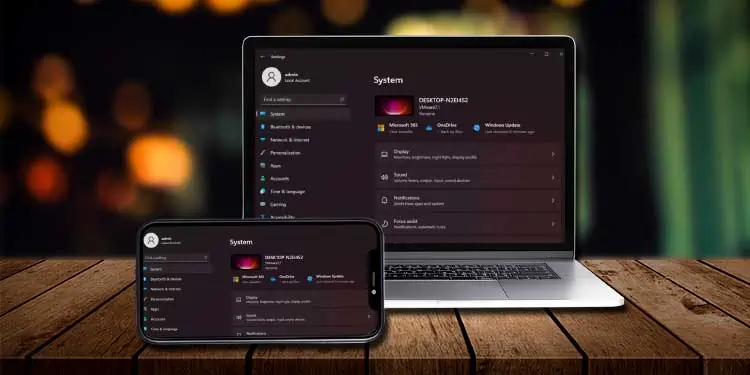
- Under System, select Display.
- Visit Multiple Displays in the Scale & layout section.
- Click on the Connect button.
- Now, your system shows all the available devices that you can connect.
- Choose your desired device – whether it’s another PC, smartphone, TV, or other external hardware.
- Before joining, we need to make sure the external display should support Miracast.
- Then, click on Connect.
- Finally, manage the required settings of the display screen.

Instead of visiting the Windows settings, you can directly open the Cast feature via Quick Settings. Follow these steps if you haven’t added the program yet:
- Select the Overflow icons present in the right-hand corner of your Windows Taskbar.
- Choose the Pencil icon to edit the widgets.
- Click on Add and select Cast.
- Now, the next time you open the Quick settings, you can directly access the Cast feature.

Alternatively, you can open the Cast window by pressing Window Key and K. Moreover, you can also press Window Key and A to open the Quick settings and then choose Cast.
Step 3: Projecting to Your PC
Projecting to this PC is a feature that makes your computer a wireless display. Once you enable this function, you can connect Windows devices to your computer.
Interestingly, we can even use their keyboard and mouse functionalities. Here’s how you can project other devices to your PC:
- Firstly, visit your computer settings.
- Under System, select Projecting to this PC.
- Change the availability option to either Available everywhere or Available everywhere on secure networks. Keeping it turned off will not show our PC to other devices.
- Furthermore, you can change your PC’s name and even add a pin.
- Now, click on Launch the Connect app to project this PC.
- Finally, find your computer on another device and manage the required settings.


Using Third-party Applications
Generally, we cannot connect Windows 11 to random smartphones. Whether you have an Android device or an iOS device, you must use third-party applications to view the contents of a PC.
Well, there are plenty of third-party applications available. Some of the most popular ones include AnyDesk, LetsView, and Chrome Remote Desktop.
Although the third-party software provides additional features, we recommend you to use the in-built feature as far as possible.
How Can I Uninstall Wireless Display in Windows 11?
Follow these steps to uninstall Wireless Display in Windows 11:
- Launch the system settings.
- Under Apps, select Optional features.
- Search for Wireless Display on the search bar.
- Finally, click on Uninstall.