
If your printer has Wi-Fi capabilities, connecting it to a Wi-Fi network is a straightforward process. However, due to the wide range of printer models available today, it is equally challenging to find the exact steps for connecting a particular printer model to Wi-Fi.
Here, I’ve gathered some common methods of connecting printer to Wi-Fi that works for most printer models.
Via Control Panel
The easiest method to connect your printer to Wi-Fi is through a control panel. The control panel primarily comes in two variants—the first one with the touch screen setup and the second one with the LCD screen and button setup.
Regardless of the printer model, the process includes going to the wireless settings and connecting your printer to a preferred Wi-Fi network.
On Brother Printers
- Open Settings from the control panel of your Brother printer.

- Select Wi-Fi.
- Choose Setup Wizard.
- Select the Wi-Fi SSID you want to connect to.
- Click OK.
- Enter the Wi-Fi password > press OK.


On Canon Printers
- While you are at the home screen, open Menu.
- Go to Network Settings.
- Tap Select Wired/Wireless.
- Choose Wireless LAN.
- Then choose Wireless LAN Settings.
- Tap SSID Settings.
- Press OK once you see the Select Access Point option.
- Select the Wi-Fi network you want to connect to.
- Enter its password.
- You can easily change the keyboard layout to symbols, uppercase, or lowercase letters using the Switch Entry Mode option.
- Press Apply.
- Tap Yes.
On Epson Printers
- While you are at the home screen, use the arrow buttons to go to the Wi-Fi Setup menu. Press OK.
- Press OK on the Wi-Fi (Recommended) option.
- Again press OK to proceed.
- Choose Wi-Fi Setup Wizard. Wait for a while till the printer completes scanning the nearest Wi-Fi networks.
- Select your Wi-Fi network.
- Enter the password > press OK.
On HP Printers
- Go to the control panel of your HP printer and tap the Wireless icon.
- Tap the gear icon (Settings).
- Choose Wireless Setup Wizard.
- Select your preferred network.
- Enter the wireless password > Done.
Using Printer Drivers
You can also connect your printer to Wi-Fi using the official drivers from your printer manufacturer. This method is mostly useful when you do not have an LCD screen setup on your printer. In fact, it works for all printer models regardless of the build and design.
On Brother Printers
- Use the USB A-B cable to connect your printer and computer.
- Power on the printer.
- Open the Brother official driver download page on your computer.
- Search your printer name.
- Choose your OS.
- Click the highlighted link as shown in the image below.
- Start the download.
- Launch the installation file.
- Accept the license agreement.
- Follow on-screen instructions.
- Once you are at this screen, choose Wireless > Next.
- Select this option.
- Choose the Recommended option.
- Select the highlighted option.
- Tick Checked and confirmed > Next.
- Click Yes > Next. Your printer will now be connected to the Wi-Fi network.


On Canon Printers
- Connect your Canon printer to the computer using the USB cable.
- Open a web browser on your computer and go to Canon’s official website.
- Click Set Up.
- Search your printer model > click Go.
- Click Download.
- Launch the driver installation file.
- Click Start Setup.
- Follow the on-screen instructions and prompts until you come to a wireless setup screen.
- Select your preferred wireless network > enter the password > Next.
- It will connect your printer to the Wi-Fi network.
On Epson Printers
- Download the printer setup utility from the official website of Epson.
- Launch the setup file on your computer.
- Go on following the on-screen instructions till you reach the Select Your Connection window.
- Choose Wireless connection and click Next.
- Now select the highlighted option as in the image below.
- Select the second option that uses a temporary USB cable connection to connect your printer to Wi-Fi.
- Follow the instructions and complete the wireless setup process on your Epson printer.
On HP Printers
- Bring the USB A-B cable and use it to connect the printer and computer.
- Go to the HP printer driver download page on your computer.
- Enter your product name and Submit.
- Download the driver installation file using the link as shown in the image below.
- Launch the driver installation file.
- Keep following on-screen instructions until you reach the Connection Options screen.
- Select Manual Setup > Next.
- Choose the Wireless option > Next.
- Confirm the use of the Wi-Fi network.
- Follow on-screen instructions to complete the wireless setup.


Via WPS Button
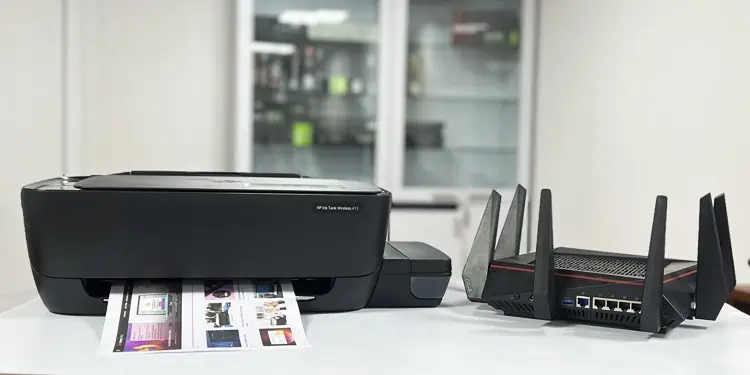
If your router comes with a dedicated WPS button, you can also use it to connect the printer to Wi-Fi. The steps to use this method are quite similar for all the printer models. Let me demonstrate the steps on an HP Ink Tank 410 Series printer.
- Power on your printer.
- Press the Wireless or Wi-Fi button on the control panel of the printer. Keep pressing it until the indicator begins flashing.
- If your printer has an LCD screen, go to Wireless Settings > Wireless Protected Setup > WPS (Push Button) mode.
- Push and hold the WPS button on your router. The WPS indicator on the router will also start flashing. Make sure you press the WPS button on the router within two minutes.
- Wait till the indicators on both devices stop flashing. It indicates that the printer is now successfully connected to the Wi-Fi network.

