
There are three best ways you can connect your HP printer to Wi-Fi. The first is by using the official HP Smart app. Simply launch the application, go to Wireless Setup Wizard, and connect the printer to your preferred Wi-Fi network.
The second method includes pushing the WPS button on your Wi-Fi router. This allows your printer to connect to Wi-Fi without even having a password.
Apart from that, you can temporarily hook your printer to the computer using a USB cable and set up Wi-Fi.
Now let’s get into the details.
Via HP Smart
HP Smart is a foolproof method to connect your HP printer to Wi-Fi. Trust me, I have hooked a bunch of HP printers and have no single complaint.
To begin with, download and install the HP Smart app. Then, follow these steps:
- Turn on your printer. Open the app and complete the setup.
- Once the app displays the Ready status, click Printer Settings.

- Go to Advanced Settings.
- Choose the Wireless Setup Wizard tab > Next.
- Select the Wi-Fi network you want to connect to > Next.
- Enter the wireless password > Next. If you do not have it, here’s how to find a Wi-Fi password on Windows.
- Click Finish once the printer connects to the Wi-Fi.


Now, you’re all set to add a network printer to other devices connected to that Wi-Fi network.
Use the WPS Push Button / WPS PIN on Your Router
If you have admin access to the router, you can utilize its WPS push button to do the needful. You may also find the WPS PIN of your printer and connect it to the router.
Since the latter method is quite tedious, I will be emphasizing the former method in this section.
For that, first, take your printer near the router or vice-versa, whichever is possible. Then,
- Press the Wireless/Wi-Fi button on the control panel of your printer. You’ll see the corresponding indicator start to blink. Here’s the indicator flashing on my HP Ink Tank Wireless 410 series printer.
- This step holds true for most of the HP printer models. Yet, some of them may require you to press and hold the Power button along with the Wireless button. Please consult the user manual to know how to turn on WPS setup mode.
- If the printer has an LCD, navigate to its Wireless or WLAN settings first. Choose Wireless Protected Setup > Push button mode.
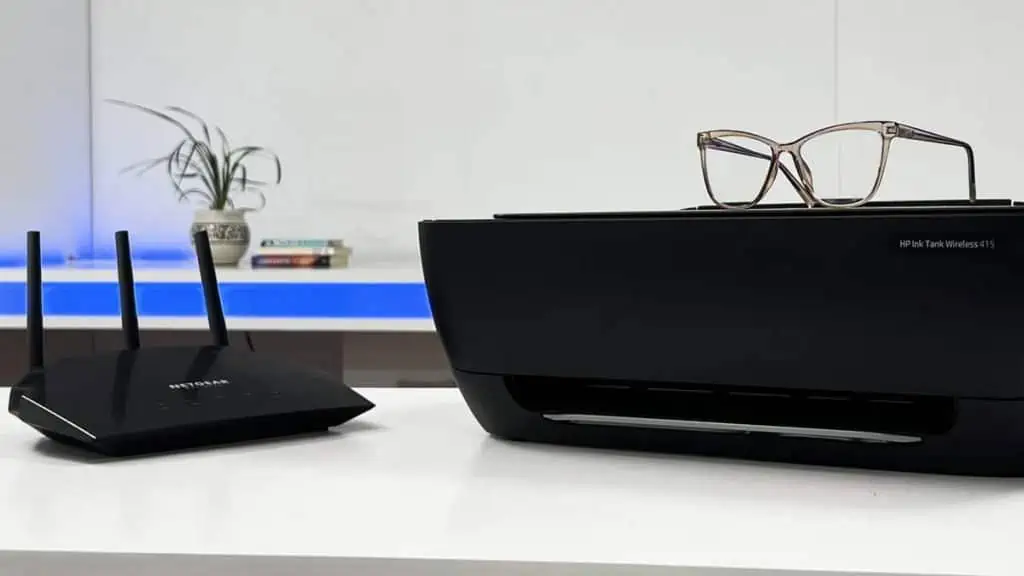
- After that, press the router’s WPS button and hold it until the corresponding LED starts flashing. The button generally lies at the rear panel of your router. This is what it looks like on my Netgear WiFi 6 AX1800 dual-band router.
- Wait a few seconds. The printer’s wireless icon and WPS icon on the router will stop blinking. This indicates that the connection has succeeded.
- As you can see below, I have successfully connected my HP printer to the Netgear router with this method.


Setup Wi-Fi Through USB Connection
You also get an option to configure Wi-Fi when you are setting up your printer for the first time. For this, you should temporarily connect your printer to a computer using the USB cable. Then, go through these steps.
- Power on your printer.
- Connect your computer to the same Wi-Fi network you are planning to hook your printer.
- Now, go to the HP driver download page and search for your printer model.
- Download the corresponding driver.
- Open the program and click Continue > Next.
- Check the agreement and click Accept.
- Specify all the privacy options as per your wish. The program will now start installing the printer driver.
- Once you get to the Connection Options screen, check Manual Setup. Click Next.
- Select Wireless > Next.
- Check the option as shown in the image below. Click Next.
- Follow the on-screen prompts. You’ll get a confirmation message once the printer is connected to Wi-Fi. You can then disconnect the USB cable from your PC.


The printer is now ready to appear in the list of wireless printers. Here’s a detailed guide to help you fix it if your computer can not find the wireless printer.
Sometimes, you may also face critical errors like 0x0000011b when trying to add a shared printer. This is nothing but just a glitch in the Windows update. In such cases, consult our guide to fix the ‘Windows cannot connect to the printer‘ error.