
If your computer cannot find a wireless printer, it might be due to various reasons:
- The printer is in sleep mode
- The printer is in an error state
- Computer and printer connected to different Wi-Fi network
- Weak Wi-Fi signal
- Temporary glitches in Windows
- A crashed Print Spooler service
- No printer drivers installed on your computer
- The printer getting IP address on another subnet
- Incorrect printer sharing permissions and so on
Here, I’ll demonstrate the exact troubleshooting process I follow when my computer cannot find my wireless printer, Brother MFC-J2720.
General Troubleshooting Steps
- Go to the printer’s display panel and see if it is awake. If you do not see anything on the screen, the printer is probably sleeping. Press the power button to wake it up.

- In case any error messages are flashing on the screen, note down the error and seek fixes accordingly. Your computer can not find printers that are in an erroneous state.
- Make sure your printer and computer are linked to the same wireless network. If you have a dual-band Wi-Fi router, connect both of them to the 2.4 GHz band.
- Connection issues are normal if you have placed the Wi-Fi router and printer at a distance. Bring them as close as possible.
- Restart your router and printer and wait for a while until both of them get connected to it. Then, use both, Control Panel and Windows Settings to find the wireless printer.
- Remove all the existing printers on your system and try to find the printer again.


These are just the basic troubleshooting steps, though. Let’s go through some advanced fixes to resolve the error.
Restart the Print Spooler Service
The print spooler is a special Windows service that spools print jobs and handles every printer-related operation on your computer.
Restarting this service often helps to fix a printer that refuses to print or keeps going offline.
Not to mention, it is equally helpful to fix it when your computer is not finding a wireless printer. To do it,
- First, open CMD with admin rights.
- Copy-paste these commands there. Do not forget to hit the Enter key after each of them.
net stop spoolerdel %systemroot%\System32\spool\printers\* /Qnet start spoolerexit
- See if your computer can find the printer now.


Run the Setup From Installation Media
I’m pretty sure you already tried finding your wireless printer from the Settings and Control Panel. But there’s still another way you can do it. I often use this method and yes, it’s a foolproof method.
Recently, I have been through a similar situation. I tried adding my office printer Brother MFC-J2720 to my computer. But it neither showed up in Settings nor the Control Panel.
As such, I went to Brother’s official site, downloaded the driver setup file for my model, and installed it.

It found the printer successfully and I was able to print without any issues.

Here I have listed the official websites of Brother, Canon, Epson, and HP for your ease.
Check the Network Status of Your Printer
Just because your printer is connected to the same Wi-Fi network as your computer, doesn’t necessarily mean that your PC will find it.
Such things mostly happen when there is an IP address conflict between your printer and computer. To know if that’s the case, you have to find the IP address of your printer first.
While you can use a range of methods to find it, I suggest you use the printer’s screen or print the network configuration page.

Here’s the IP address of my HP printer as seen on the network page. Its 192.168.10.224.
Once you grab the IP, compare the IP with your computer’s IP. The printer’s IP must be on the same subnet for your computer to find it.

As you can see, my computer’s IP is 192.168.10.88. With subnet255.255.255.0, the printer should have an IP between 192.168.10.2 and 192.168.10.254. And this holds true in my case.
I have often seen my HP printer getting IP on another subnet like 192.168.20.124. Sometimes even random IPs like 96.194.234.62. That won’t work.
If you have similar kinds of IP conflicts, reconnect your printer to the Wi-Fi network and see if that brings back the correct IP.
The best bet would be to assign a static IP to your printer and then add it to your computer using the same IP.
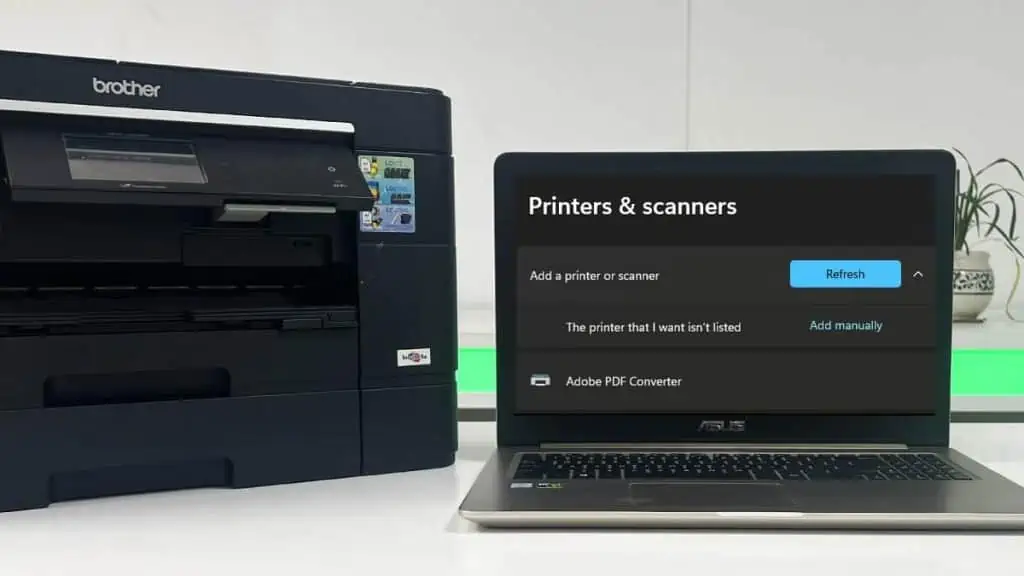
- Click Add device > Add manually while you’re at the Printers & scanners window in Settings.
- Proceed with the third option.
- Choose TCP/IP in the drop-down and enter the static IP you assigned earlier. I will enter 192.168.10.224.
- The wizard will detect the TCP/IP port and add the printer to your computer.


Other Things to Try
- If you are trying to find a shared printer on the network, the host computer may not have set the sharing permissions correctly. Refer to this guide on how to add a shared printer. You may contact your administrator for support.
- Users often report their Antivirus software preventing them from adding the printer. Turn it off for a while and check if that works. The same holds true for VPNs. If you have any, disable it and give it a go.
- Check MAC filtering on your router. If the printer’s MAC address is listed in the block list, release it. Printers can not communicate with your computer with blocked MAC.
- If nothing seems to work, get in touch with your manufacturer for further assistance. In case there’s something urgent, you can always connect the printer via a USB cable and complete your job.