
Since most printers available today are plug-and-play, you can start printing your documents right away after connecting them to the computer. The printer driver on your Windows computers will help carry out the print jobs easily without setting up the printer. However, you need to install the official printer drivers to access all the functionalities.
In this guide, I will show you the entire process to add a local and network printer on your computer.
Adding a Local Printer in Windows
If you are planning to use your printer with a single PC only, you can use a general wired connection method (USB connection) to add it to the computer.
- Power on the printer.

- Connect it to your computer using the USB cable that came with the printer.
- Wait about a minute till the computer detects and installs the printer driver.
- You will see a popup mentioning that the printer has been installed successfully.
- Now open the Control Panel on your Windows computer.
- Click Hardware and Sound.
- On the next screen, choose Devices and Printers.
- You will see the profile of your printer under the Printers section. Click it.
- At this time, the status of your printer would be shown as “Driver is unavailable”. More on this later. For now, you can start printing without doing anything further.
- Open any applications like WordPad or MS Word and try printing. It will print your documents no matter the status of the printer.


Installing Official Drivers
Now that you have installed the printer, you will be able to access the basic print functions. However, you will still see the “Driver is unavailable” status on the control panel.
To get rid of this error, you need to install compatible drivers for your printer from the official website of the printer manufacturer.
Without the official drivers installed, the printer can stop working anytime. It can also, at times, throw errors like a paper size mismatch error. Besides, you can not access the advanced functionalities of the printer, like changing the paper size, color and grayscale settings, and maintenance options like head alignment and printhead cleaning.
Here’s how you can install compatible drivers for your printer from the printer manufacturer.
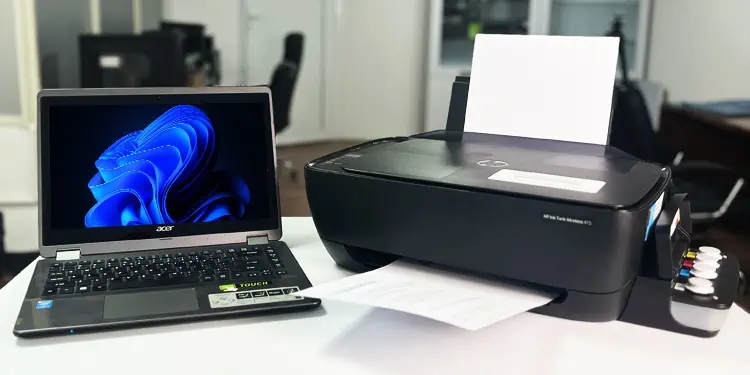
- Go to the official driver download page of your printer manufacturer. Here we reference the HP Ink Tank Wireless 415 series printer. So, we will visit the official driver download page of the HP printer.
- Search for your printer name in the search box.
- Download the full software solution from the next page.
- Once downloaded, launch the
.exefile. - Accept the terms and conditions on the installation window.
- Choose USB on the Connection Options screen and go on following the on-screen instructions to set up the printer.
- Once the setup is complete, you can fully access the features and functions of your printer.


Adding a Network Printer in Windows
You can also connect your printer to a Wi-Fi network and access it via any device on the network. Once the printer is connected to a network, you don’t need to move your printer frequently, and it provides the flexibility of printing from your desk.
Step 1: Connect the Printer to Wi-Fi
Depending upon your printer model, you can use a variety of methods to connect it to the Wi-Fi network. If it has a touch screen available, you can navigate to the wireless settings and connect it to the Wi-Fi.

Similarly, you may use a WPS button on your router and a Wireless button on the printer to connect it to Wi-Fi without using a password. Further, you could also use manufacturer’s specific applications like HP Smart for HP printers to connect them to the Wi-Fi.

The steps to connect the printer to Wi-Fi solely depend upon the printer manufacturer and model. So, please consult the user manual of your printer and connect it accordingly.
Step 2: Add Printer to Your PC
Once you have connected the printer to the Wi-Fi network, connect your Windows PC to the same Wi-Fi. Then, follow these steps to add the printer.
- Open the Run application on your PC.
- Type
control printersand press the OK button. - Click Add a printer on the top left side of the Devices and Printers window.
- It will start searching for and show the printers available on the Wi-Fi network.
- Choose your printer, click Next.
- It will start installing the wireless printer.
- You will see a “You’ve successfully added……” message at the end. You can now start printing wirelessly from your device.


Manually Adding Network Printer
You can manually add a network printer if Windows can not auto-detect it. However, you need the IP address of your printer to manually set it up.
To find the IP address of your printer, you can print a network configuration page of the printer or view the wireless summary from the touch screen panel. Then, use it to connect the printer to your PC.
You can also refer to this article on how to find the IP address of your printer. Then, follow these steps to add the printer to your computer.
- Hit Windows + I on your computer keyboard to open Settings.
- Click Bluetooth & devices > Printers & scanners.
- Click the Add device button.
- If it discovers the printer, select it. Otherwise, click Add manually.
- On the next window, check the box next to Add a local printer or network printer with manual settings. Click Next.
- Choose Create a new port.
- Select Standard TCP/IP port from the drop-down. Click Next.
- Enter the IP address of your printer on the next window. Then click the Next button.
- The setup wizard will detect the TCP/IP port and add the printer to your Windows computer.


